Monday, August 26, 2019

HAPPY TIMES

Happy Monday! I'm sharing a layout I created using Scrapbookingstore.com's August Kit. This kit features papers and stickers from Echo Park Co. and it's absolutely adorable and most of all, it's perfect for scrapbooking your summer memories!


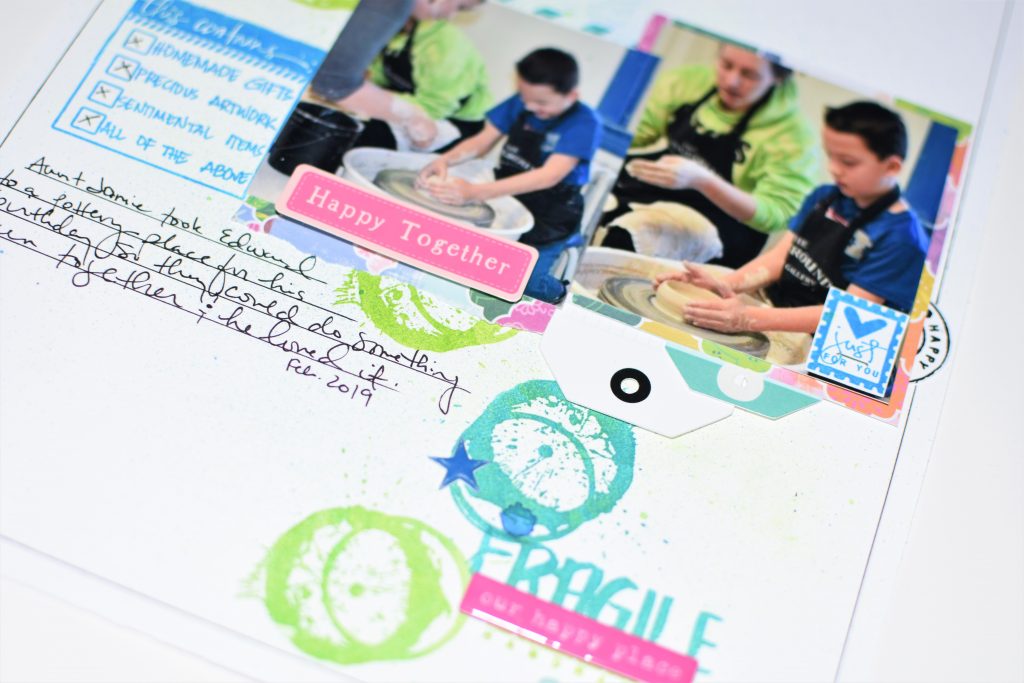
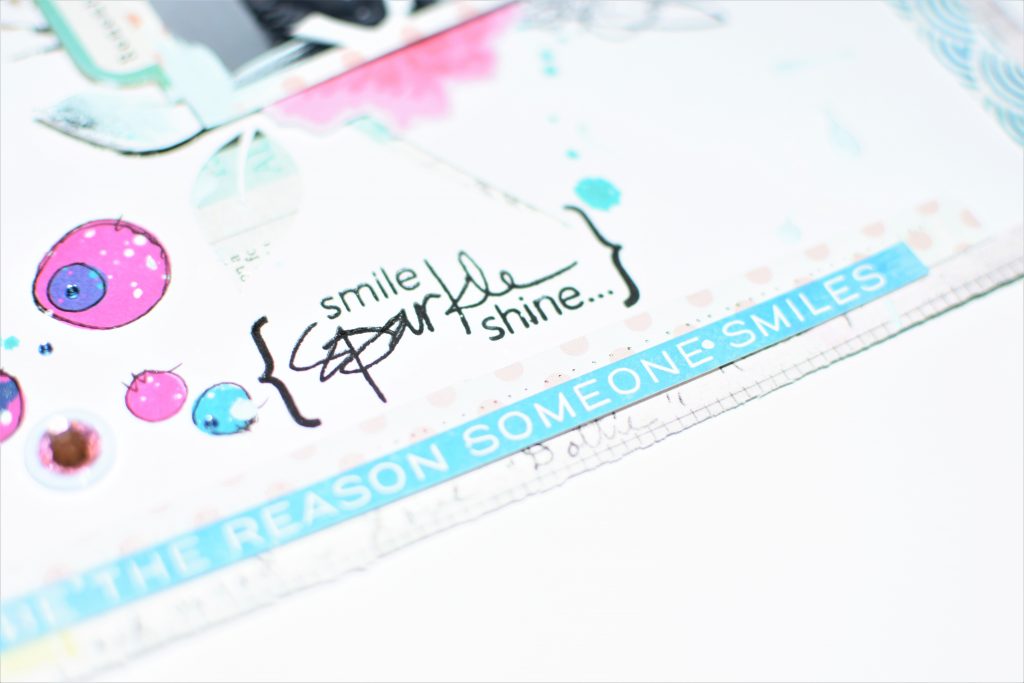
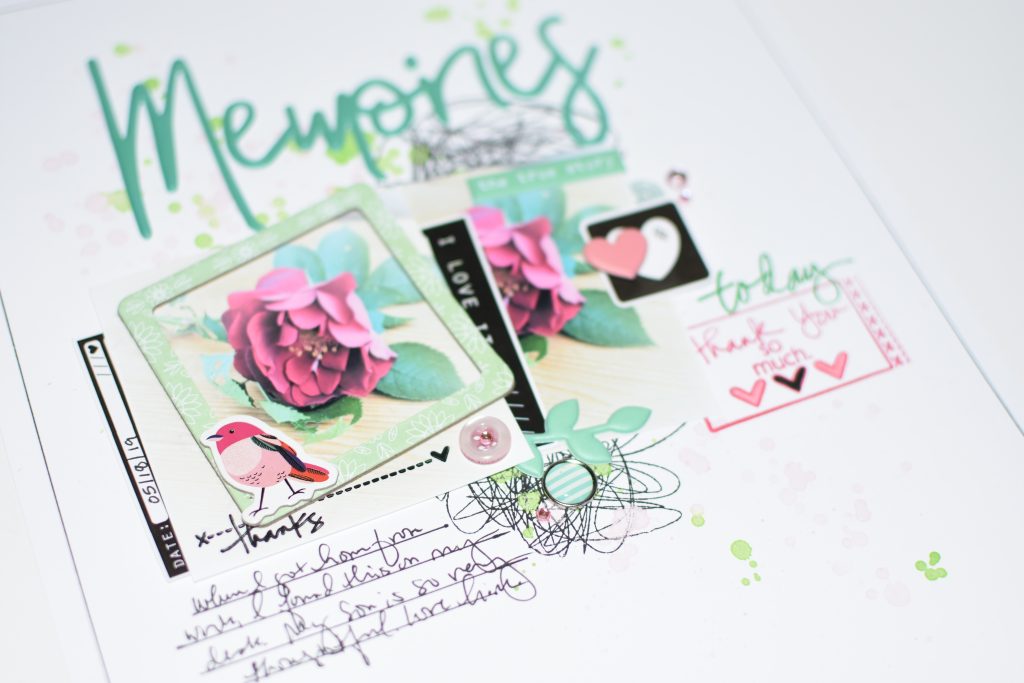
This layout took me about 15 minutes including the time it took for me to design this layout. The adorable stickers made it easy... This layout totally brings a smile to my face.


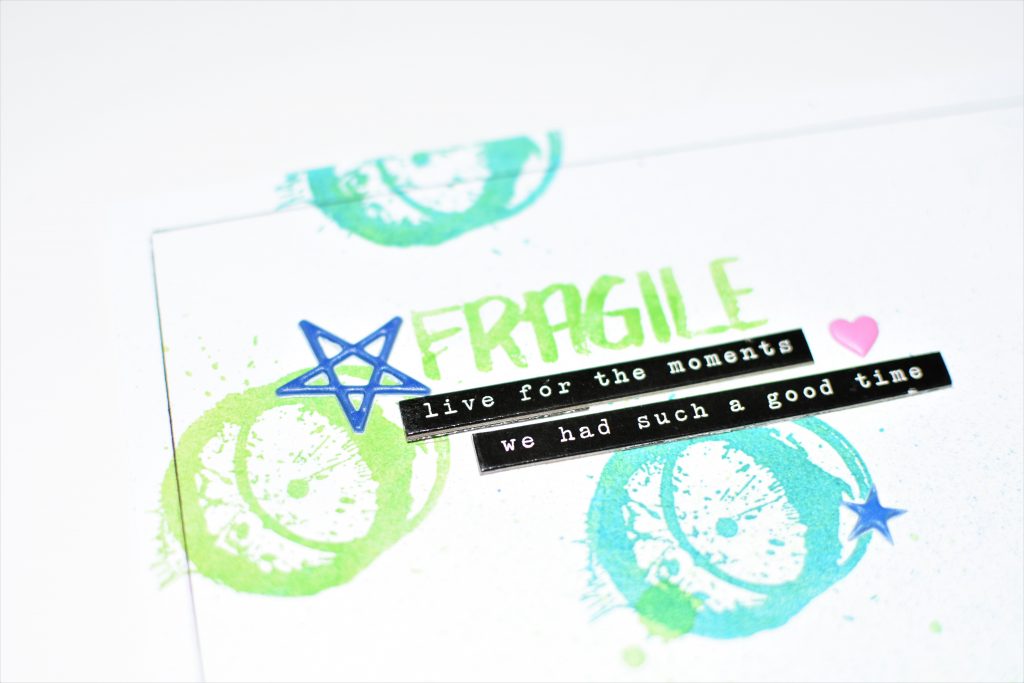
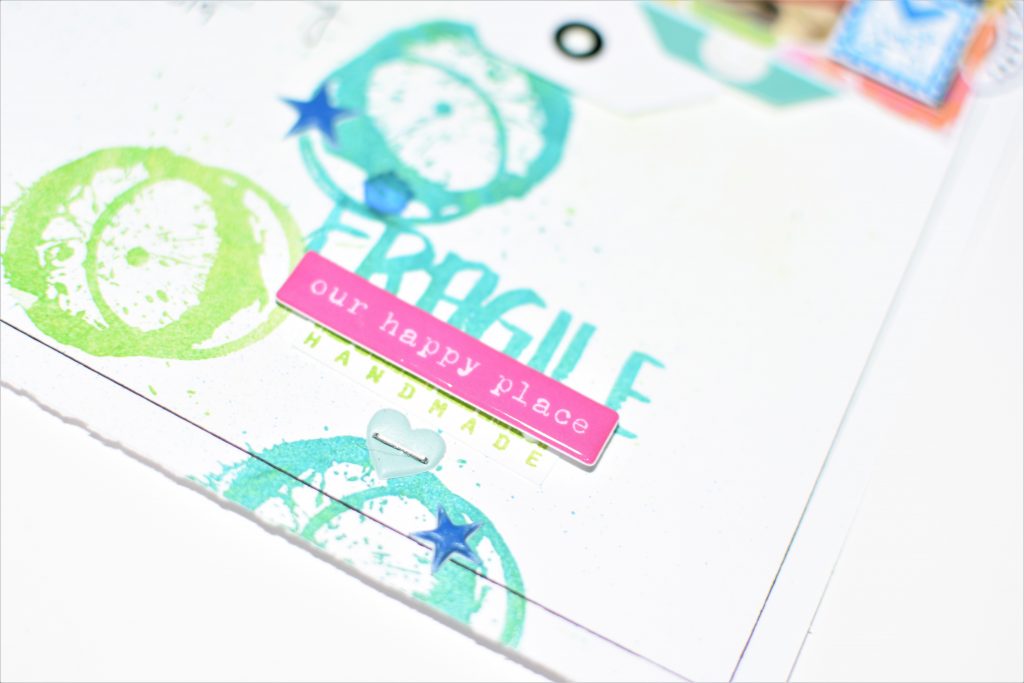
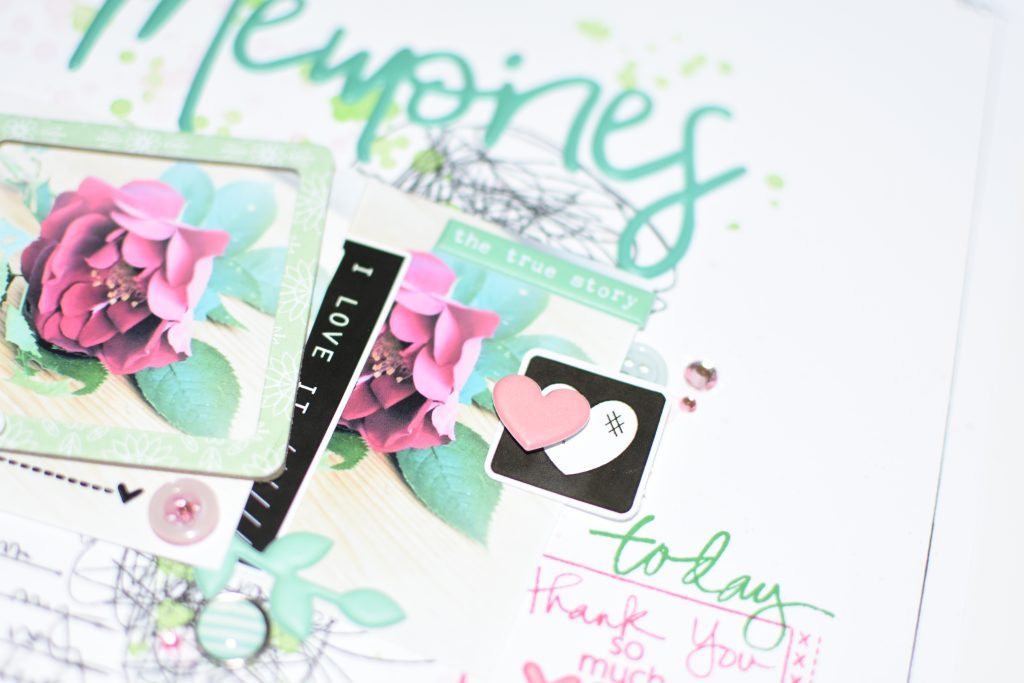
I used Foam squares to pop up some of the stickers for added dimension. I used three different Colorations Sprays from Art Anthology. These spray inks are sooooo vibrant. You need these in your stash. 


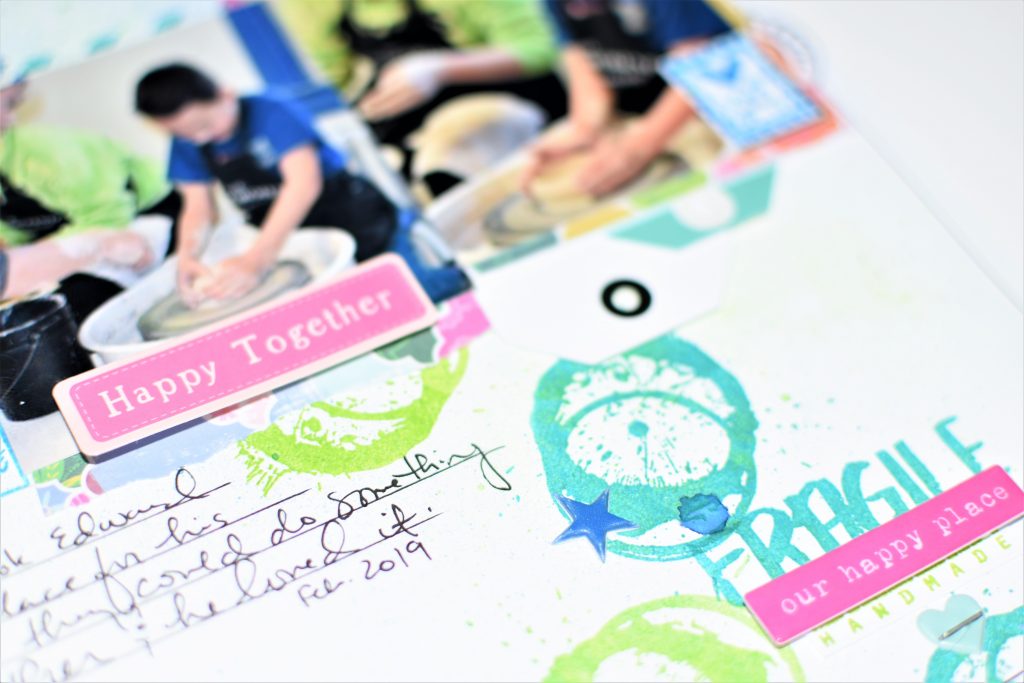
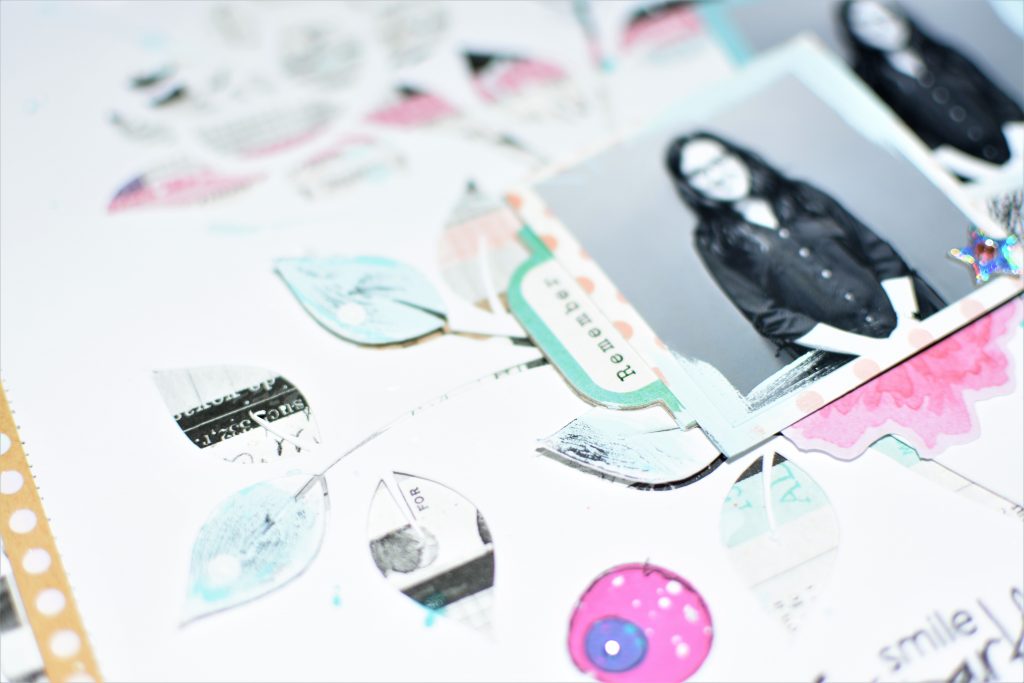
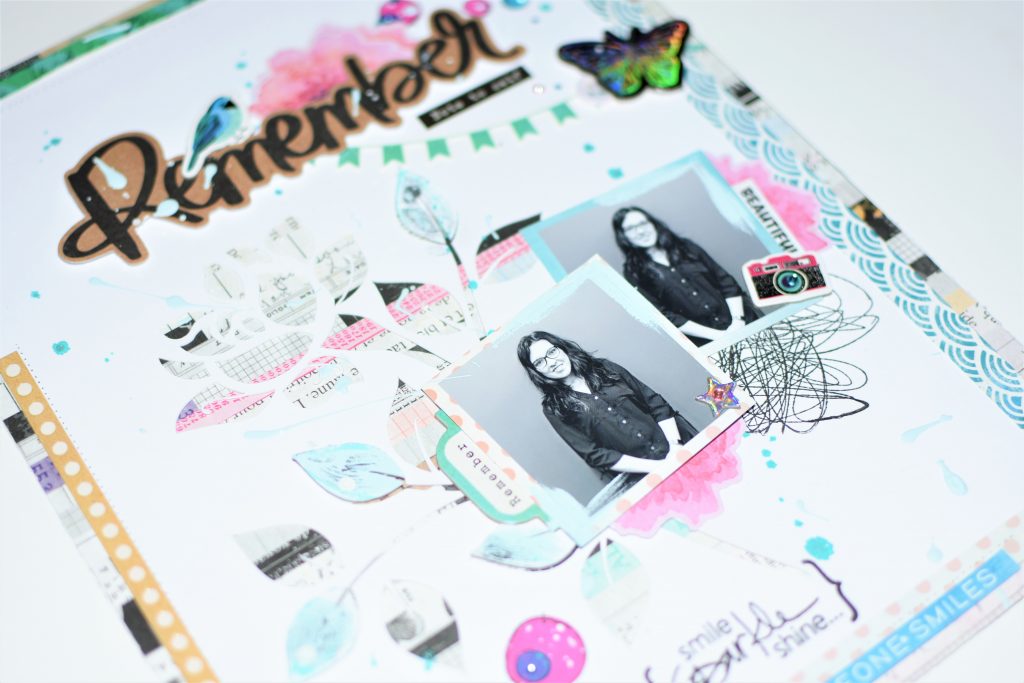
I cut a flower from the patterned paper and used a foam square to layer it on the sticker flower.


Instructions:

  1. Cut lemon/cherry patterned paper to measure 8 ½”x11”. Cut a sheet of white cardstock to measure 7 1/2x10”. Using the patterned paper as the base, mount the white cardstock to the center of the base.
  2. Mat 3 ½”x 4” photo using the floral patterned paper.
  3. Spray blue mist onto the white cardstock.
  4. Cut the “Welcome Summer” sentiment from the the cut-apart sheet. Adhere mat approximately 1 ½” from the bottom of the white cardstock, approximately 1” from the right-side of the layout.
  5. Adhere matted photo above the mat so that the photo lines up above the Welcome Summer.
  6.  To complete the layout, adhere stickers as shown using foam squares to add dimension.
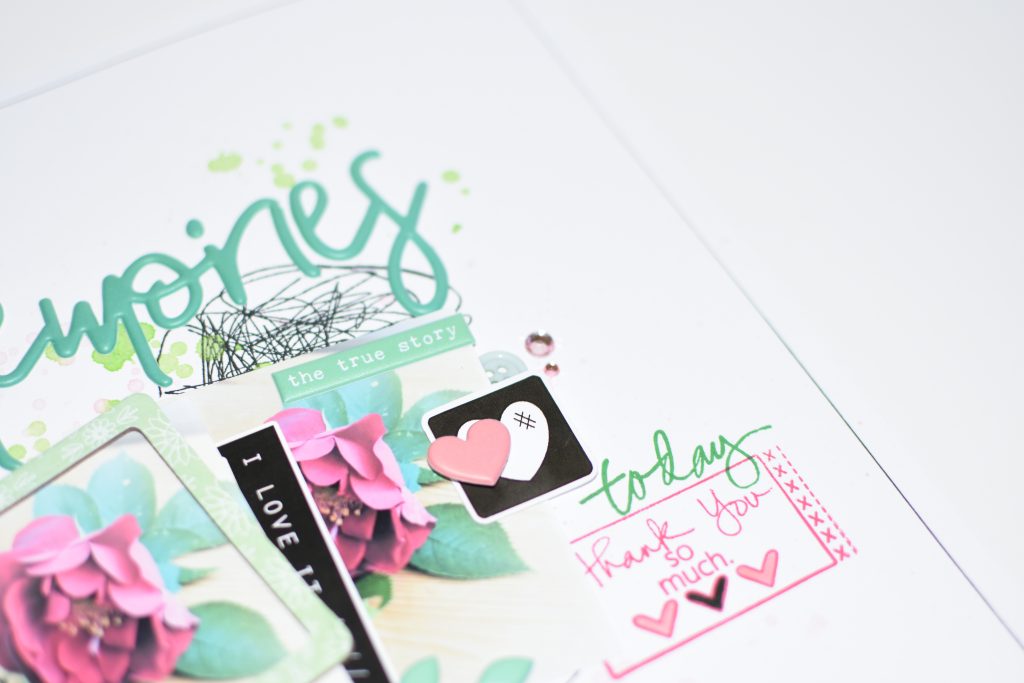
  7. Add journaling at the bottom If desired.
Thanks so much for visiting today! If you would like to snag a kit of your own, hurry and get it before they sell out! Click Here.

Thursday, August 22, 2019

FRAGILE

Good morning stampers. Nicole here with a fun mixed media layout I created using the Happy Mail Stamp Set and New Day Stamp Set. For this layout, I decided to use bright, happy colors to make the photos pop a little bit. Because these photos were taken in a dark room, the photos were a bit grainy, but I still wanted to use them to share this special memory! Back in February, my sister took Edward to a local pottery place for his birthday. Rather than buy him something he didn't need, she wanted to do something special with him and they had a blast!


To begin, I sprayed the background using a lime green and blue spray inks. Then, I used a lime green and bright blue ink to decorate the background using the splattered circles.

DSC_3846

These little splatters are fun. Initially, I was only going to use a few, but then I decided to add a variety, diagonally across the layout.

DSC_3850

The little sentiment box is the cutest! I just love it. :)

DSC_3851

I used a few stickers, tags and other embellishments to decorate the layout. I really like the pink with the lime blue and green. It adds the perfect touch!

DSC_3855

DSC_3864

DSC_3863

Thanks so much for visiting today!

Tuesday, August 20, 2019

ENJOY TODAY

Hi friends. I'm back with another art journal spread I created for Bad Girls Couture. My sister posted these maternity photos on FaceBook and I fell in love!! Of course, I had to scrap them...


To begin, I mixed some Last Sin and Broken Doll acrylic paint with some Molding Paste to give the paint more texture. Then I used the Rose Swirl 6"x9" Stencil from Art Anthology to create a pretty background for my spread.


Once the background was completely dry, I used some Pink Paislee embellishments to decorate the layout. The tiny tag is from Jillibean Soup.


I kept this spread pretty simple with the main focus on the adorable photos of my pregnant sister and her dog!


I've included a quick video so you can see how quickly this layout came together.


Thanks for visiting today!

Friday, August 16, 2019

REMEMBER

Hi everyone. I'm so excited to share this fun, mixed media layout I created! I totally had fun with this layout. I started the layout a few months ago. At that time, it was very plain...no paint or stamps. I decided to go back to the layout and doctor it up a bit and I'm so glad I did. I just love this sooooo much.


I used my Silhouette Portrait to cut a large flower from white cardstock. Then I backed up the cardstock using patterned paper.  I used a few strips of patterned paper and stickers to create fun borders around the layout. I added a scribble from the Happy Art Stamp Set at the bottom of the photo to make it a bit messy. I used the following ink pads from the shop- Charming PinkWarm BreezeNocturn.

DSC_3050

After I was done placing everything down, I covered the photo with a few pieces of scraps and splashed acrylic paint and turquoise mist all over the layout. Then I used the circles from the New Day Stamp Set to create fun bubbles all over the layout. To help the circles blend in with the layout, I used a black pen to trace the circles.

DSC_3054

To fill in the white space at the bottom, I used the "smile sparkle shine..." stamp. Love it!

DSC_3047

DSC_3052

DSC_3062

Thanks for visiting today! What do you think? Are you ready to try using a variety of inks on your next project? 

Thursday, August 15, 2019

YOU MAKE ME HAPPY

Good morning! Nicole here with a pretty mixed media layout I created using the Flity stencil and the Patina Texture set. I love this texture set. It looks sooooo pretty on paper! The colors look perfect against the photos!


I covered the veneer flowers using the Patina Seafoam. Then I brushed the Sedona Colorations Spray along the edges using a paint brush. I colored the butterfly using the Sedona Colorations and added a Clear Coat (Linen) to make it shimmer a bit.


I have a feeling I'll be using the Flity stencil again. I just love it!


I used some papers, chipboard and stickers from Pink Paislee to embellish the layout.


Here is a process video for you to see how easy it is to work with the texture sets along with the stencil and Coloration Spray! Fun stuff!


Supplies Used:
Stencil: Flity
Patina Texture Set
Coloration Spray: Sedona
Clear Coat: Linen

I hope I have inspired you to experiment with the Flity stencil with the Patina Texture set. The texture set is perfect for distressing wood veneer embellishments!

Nicole

Sunday, August 11, 2019

GETAWAY

Happy Sunday everyone. I had a lazy day today... I have been scrapbooking all day just for fun... No DT assignments, just fun stuff.


I saw Pinkfresh Studio's challenge for August and thought I'd play along. The color palette is gorgeous and I definitely challenged myself on this layout... I included some hand-stitching!


To begin, I used We R Memory Keeper's stitching tool to create several stitched lines. Then I used a variety of gorgeous Colorations Sprays (Granny Smith, Timeless, Salmon and Ink Spot) from Art Anthology to add lots of color on a 8 1/2"x11" white cardstock.


I used a heat gun to speed up the drying time. Then I punched several 2" circles using a circle punch.


After I punched all of my circles out, I hand-stitched each circle using pink, yellow and blue thread. This took some time...:)


I used recycled packaging to smear the Colorations Sprays on another piece of cardstock to create a colorful background so that the circles would blend in nicely.


I used a heat gun in between the colors so the colors would not become muddy.


Here are some close-ups of the final project. TOTALLY love this... it's so pretty and colorful...such a happy layout. I used bits and pieces of embellishments from different collections for this layout...


Thanks for stopping by today. Hope you have a wonderful week!

MIXED MEDIA TAGS

Happy Sunday everyone. Hope you're enjoying your day! I have a really pretty mixed media spread to share with you today. I used lots of mixed media products to alter this Tag/3 Pocket spread from Bad Girls Couture's shop!


Here is what the spread looks like before I started working on it. You can do so much with this adorable pocket page spread. I was going to add photos to each tag and then alter them, but then I decided to use inspirational sentiments instead. I just couldn't decide on what photos to use... and I just wanted to create.


I started by painting the two tag pockets at the top using the Bad & Tatted acrylic paint, Then I used the Double Flower stencil from Art Anthologyl and Bad Girls Couture Molding Paste along with a palette knife to create the flowers. Once the molding paste was completely dry, I used the Broken Doll acrylic paint and Last  Sin to color the flowers in a bit. I used Art Anthology's Colorations Spray in Sky Blue to add some more color to the ribbon and tags.


As you can see, lots of beautiful textures and color went into this spread. I just love it. 


What do you think? Fun, stuff! And to make this post even better, I've include a full video tutorial so you can see just how easy this spread was to make... seriously, not that complicated at all. It was totally fun.

Thanks for visiting today!

Friday, August 02, 2019

MEMORIES

Happy Friday stampers! For those of you who do not know, I have a 9 year old son. He's my pride and joy and he LOVES his mommy. Often at times, I'll come home to find random treasures left on my desk from him to me. It's so thoughtful and I just love that I'm raising a kind, thoughtful kid. Something we need more of in this world... More KINDNESS. 


To begin, I splashed green and pink watercolor paint all over the white cardstock. Once the paint was completely dry, I added a few scribbles from the Happy Art Stamp Set.

DSC_2075

I used a few Bits & Pieces-Totally to embellish this layout. The touch of black and white really makes the green and pink pop.

DSC_2076

After carefully placing the photos down, I decided to use the today and thank you so much stamps from the Thanks Stamp Set

DSC_2078

I used a few embellishments from Pinkfresh Studio to embellish the layout. Totally loving the chipboard frame and puffy sticker word! I tucked a few buttons here and there from the shop. I love buttons because they add a hominess feel to the layout.

DSC_2081

Thanks so much for visiting today. I hope I was able to inspire you to use your stamps more often on your next projects!