Friday, August 28, 2020

PHOTO FRAME CREATED USING IRON-ON-INK

Hello all! I finally got the chance to play with the Blank Picture Frame and I need more of these in my life. A few weeks ago, I was in the mood to color so I pulled out a sheet of copy paper, Picture Frame, Artesprix's Gnomie Botanical Sublimation Markers, Sublimation Stamp Pad, and stamps and just played. It was so much fun!

I'm seriously loving the gnomes lately. They are sooooo cute. Trinity Stamps just released the cutest stamps so I played with three different stamp sets to create this adorable picture frame.

To create this Picture Frame, you will need the following:

Materials:


Step by Step Instructions:

Step 1. To begin, I used the picture frame as a template to trace on white cardstock using a pencil.

Step 2:

Next, I stamped Trinity Stamp's Hello There, The Bright Side, and Blooming Bunch images onto the plain piece of paper using the Sublimation Ink. I love the little gnomies with all the flowers.


Step 3:

I colored the images using the Gnomie Botanical Sublimation Markers. Make sure to color outside the lines to avoid any white from peeping around the edges!


Step 4:

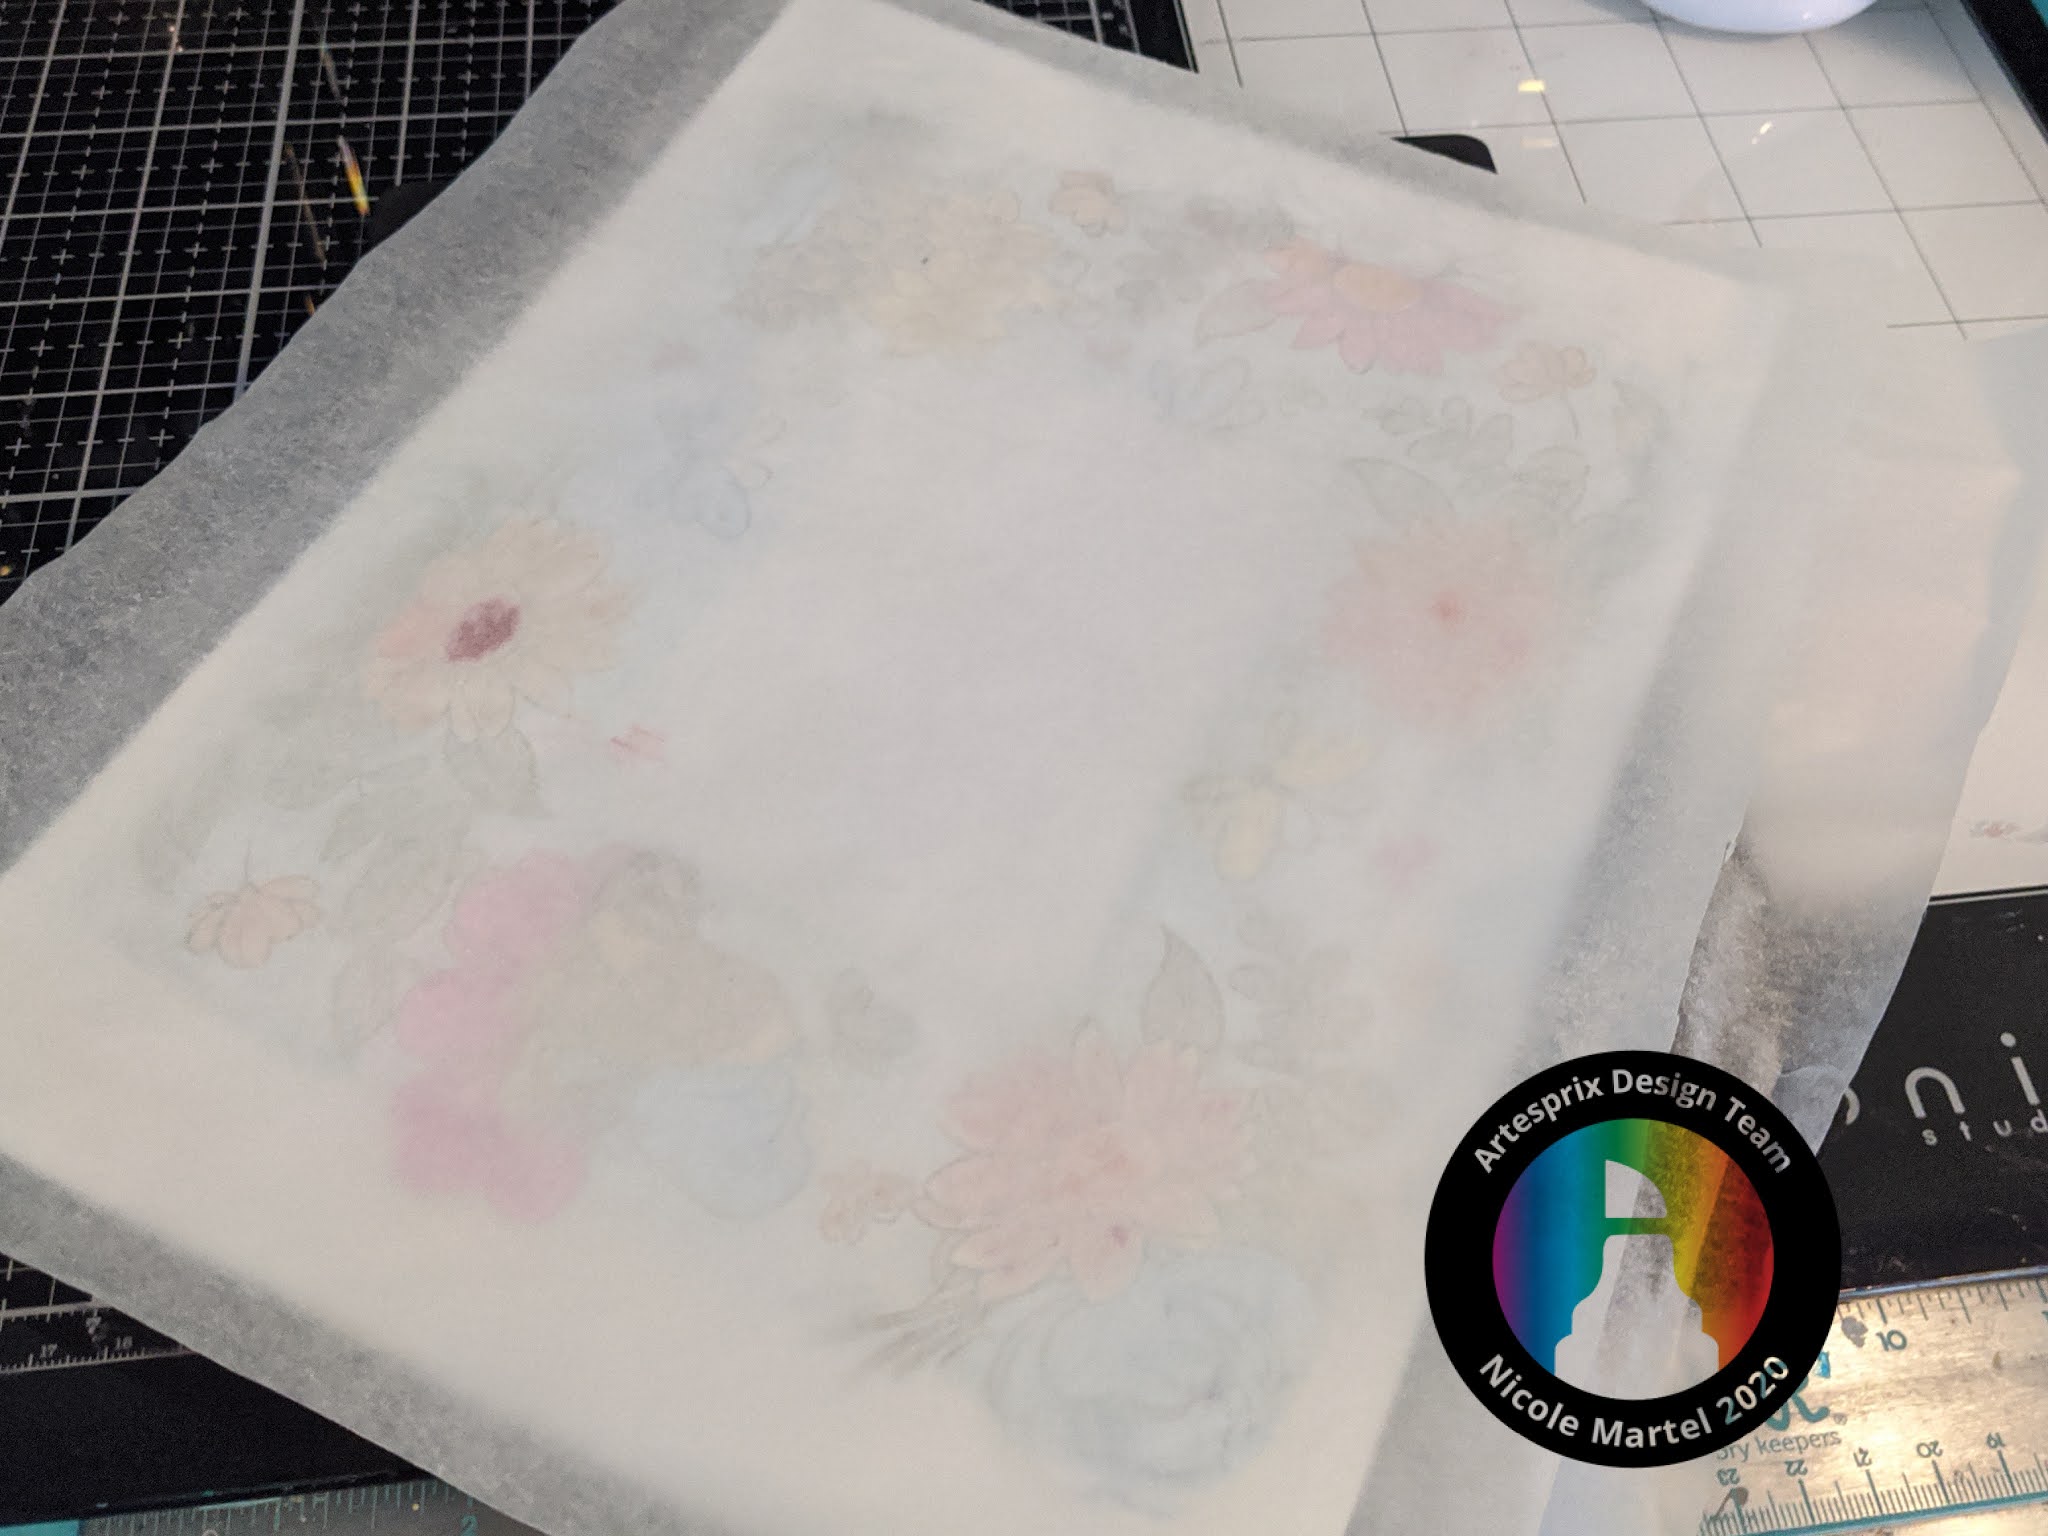
Use the heat tape to secure image in place over the paper and then cut two pieces of Artesprix Protective paper and create (as Artesprix likes to call it) a "sublimation sandwich," which means you place your project facing the top between two sheets of protective paper. (This is a photo from after I removed it from the heat press... I forgot to take a picture of Sublimation Sandwich.)

Step 5:

Set your heat press to 400 degrees Fahrenheit and timer for 30 seconds. Make sure you place your project in your heat source facing up. After your timer has completed, make sure to let your project cool down before touching it.

Step 6:

Gently remove the protective paper from the Picture Frame to reveal your unique vivid design! Assemble picture frame as desired, vertically or horizontally. Place protective mylar film in picture frame before assembling.

Stop by the Artesprix website to see all the cool things you can make using blanks and Sublimation Markers! I have so much fun playing with these products and I know you will too! Thanks so much for visiting today!


Saturday, August 22, 2020

FUN MIXED MEDIA LAYOUT

Happy weekend everybody! Before I go on my 3-4 mile walk, I wanted to share this layout I created the other day. I was working on another project and had left over mixed media that I did not want to waste...so I made this layout!

Disclaimer: "The Crafter's Workshop provided me with product to create this layout. The opinions I share are solely my own."

I used white watercolor paper from The Crafter's Workshop and their Cerulean Blue ColorSparx to create the splashes in the background. I love their ColorSparx because you can get different shades of color depending on how much ColorSparx used... The more water added, the lighter the color. The more powder with less water, the darker the colors will be. I always test the colors on a scrap piece of paper before applying them to the layout!


To create the background, I used a tiny brush and tapped the ColorSparx all over the layout. Watercolor paper is better than cardstock when using this technique...the watercolor paper holds the colors so much better and the paper does not get bulky. 

I used the Juniper Mist with a blending tool and the TCW872 6X6 Heart Fern stencil to create the heart in the center of the layout.


Then I used the Platinum Modeling Paste with a palette knife to add the title at the top of the layout using the TCW921s 6x6 Word Stems Stencil. Before applying the Platinum Modeling Paste, I taped the ends of the stencil down using washi tape so it would not move. I love this modeling paste. It's soooo pretty.


I carefully peeled the stencil off the layout to avoid smudging the stencil and modeling paste.


Here is how everything looks before adding the embellishments. Super pretty!


I used embellishments from Citrus Twist to embellish the layout. Lots of pretty embellishments from a variety of kits...


I used a stamp to stamp the "just the right mix of chaos and love" sentiment all over the layout. This is available at Citrus Twist Kit's Website.


Thank you so much for visiting today! If you're looking for some of these wonderful mixed media products, click here!


Tuesday, August 18, 2020

CAT NAP

Good morning! I'm so excited to share my first layout I created for The Crafter's Workshop. A few months ago, I was working on the computer until I heard a strange noise... I looked over and saw Toby's head peeking out from the side of the shelf. He's soooo funny. I'm not sure why he likes to hide behind my books, but he does this all the time.


To begin this layout, I used a few different inks and a blending brush to create the different patterns using the TCW743 Crazy Waves Stencil. I love this stencil! As you can see, I did not use this stencil to create waves. In fact, I flipped it sideways to create a few columns of fun patterns in different colors. If using one brush, make sure to clean the brush with a wipe before applying the other colors so that the colors do not become muddy.


*Disclaimer: The Crafter's Workshop provided me with some product to create this project. The opinions I share are solely my own.


This is super simple to do for those creators who want to create something fun, with less mess. Simply Cover white cardstock with the stencil and tape down the edges with washi tape so that the stencil does not move while you are blending the different color inks over the stencil with a blending brush. I like to use a few different colors when using this technique because you can really see all the pretty details better.


Once I was satisfied with my background, I cut 3 2x6 strips and 1 2x5 inch strip.


I adhered the strips from the littlest strip on the far left-side of the layout and staggered the other strips so they were approximately a 1/2 inch higher than the next strip.


Next, I created a collage of photos using PicMonkey and printed them on photo paper. Each photo is 2x2. They fit nicely within the columns.


I used scissors to cut a few border strips to adhere along both sides of the layout.


After I was satisfied with the placement of the papers and border strips, I embellished the layout using lots of cute die cuts!


Thank you for stopping by today. Stop by The Crafter's Workshop Blog for inspiration on how you can use stencils on your next project!


Thursday, August 06, 2020

FUN ESCAPE


Hi all! Have you seen the new collections from Fancy Pants Designs? They are adorable and the patterns and colors are so fresh! Check them out. For this layout, I used the Just Plane Fun collection. I really like the patterns and color scheme of this collection.


I cut the rainbow patterned paper in pieces to create my own track...since this layout is about me walking in the park.


I used a few tags to frame the photos together. Then I added a few die cuts using foam squares for added dimension.


I cut the clock from a piece of patterned paper and mounted it to the top of the tag. Then I added a few puffy dots and journaling.


The clean and simple look really suits this collection and the photos. And the photos blend nicely with the patterns and color scheme.


What do you think? Check out the full collection on Fancy Pant's Designs and Foundation Decor's Website. There are two other new collections as well!


Wednesday, August 05, 2020

TOTALLY AWESOME

Hi everyone! I created a 12x12 layout for a change... I know, right!! It's funny because I started this hobby over 20 years ago scrapbooking 12x12 and somewhere along the way, I decided to create 8 1/2x11 because it seemed easier. But, I didn't have any problems creating this cute layout!


Every night, Edward and I chat... we just talk about whatever he wants to talk about. I think he does this to stall bedtime...but I'll take it because during the day, all he wants to do is play on his computer with his friends. Check out his hair... he's starting to look like a hippie. I love it... the hubs, not so much.


For this layout, I used Clique International's Bean Bag Boys Sampler Kit. It has some papers and foam stickers from Simple Stories along with some other awesome brands! I added a few embellishments from Pinkfresh Studio to fill in some of the white space. Loving these foam stickers soooo much and the color scheme. It's perfect for scrapbooking those totally awesome boys of ours!


Thank you for stopping by today! 


Tuesday, August 04, 2020

SHINE BRIGHT

Happy Friday!! We are living in a crazy world of uncertainty right now... It's hard to maintain a happy mood when I'm spending most of my days indoors away from people. In the meantime, I have created something to brighten my mood. This Globe from Foundation Decor was sooooo much fun to create and it was not that hard to make. I didn't plan on this turning out sooo pretty. Otherwise, I would have taken step-by-step photos.


*Disclaimer: The Crafter's Workshop and Foundation Decor provided me with some product to create this project. The opinions I share are solely my own.

To begin, I used  Modeling Paste and the Flower Frenzy Stencil to cover the globe very carefully so that I would not move the screen. To speed up the drying time, I used a heat gun. Once the molding paste was completely dry, I painted all over the molded flowers using turquoise paint. 

While the flowers were drying, I painted the green grass and heart. Then, I used the TCW743 Crazy Waves Stencil to add a few circles and other patterns onto the grass. I kept the brush as dry as possible with just a little drop of paint to keep the paint flat to avoid smudging. As the wood pieces were drying, I used my finger tips to smear a touch of red on the yellow petals. And then I used my finger tip to smear some white all over to break up the colors a bit.

Next, I used a very tiny paint brush to paint the flower petals. Once the flowers were dry,  I smeared a bit of white paint all over the globe to break up the colors a bit. I used my fingers with a tiny bit of red paint to smear onto the petals to break up the yellow. Then, I used a Super Thick Gel to glue the heart and grass wood pieces to the globe.  Then I glued the remaining embellishments.


All of the colors and textures makes me so happy! It's so pretty.


Isn't this gorgeous? I think I need to visit Foundation Decor to grab a few more wood pieces to alter! What do you think? 

Thanks so much for visiting today!