Thursday, January 27, 2022

RAINBOW COLOR BOOK MARKERS/STUDIO FORTY

Hi everyone! I have three mixed media book markers to share with you...and I hope these make you as happy as they make me. The rainbow colors are delightful!


To begin, I went through my stamps and selected the stamps that inspires me at the moment! I had no real plan on what I was going to do here... Then, I used my Sizzix machine to create three book markers using metal dies and white cardstock.


Next, I selected inks in a variety of pretty colors! Then, I used a blending brush to color over the book markers.


Next, I used the Moments stamp set to stamp the flower and greenery onto the book marker.


I applied the green ink over the white cardstock and then stamped the jar on top so that I could cut the image out using scissors.


To complete the book marker, I mounted the jar onto the book marker using foam squares, added a few gems and stamped the "You Make Life Sweet" sentiment from the Treasures Stamp set at the top.


For the next Book Marker, I decided to play with the Herbal Stories Stamp Set. I love this set!


I like to look through the clear stamps over my projects to get an idea of how it will look. It's a great way to make sure everything lines up properly. I was careful to squeeze the stems together so that the vase would cover them nicely with no  images sticking out from the sides.


And here is the third book marker I made with a few other stamps from Studio Forty. The sentiment is from the Warm and Cozy Stamp set. Another one of my favorite stamps! I colored in the images using alcohol markers to make the image pop a bit.


Aren't these fun!? Do they make you happy just looking at them? They Make me happy and I'll be adding these into a few books here and there for my friends who love to read as much as I do.


Thank you so much for visiting today!


Sunday, January 23, 2022

LET IT SNOW SEQUIN PILLOWCASE/ARTESPRIX

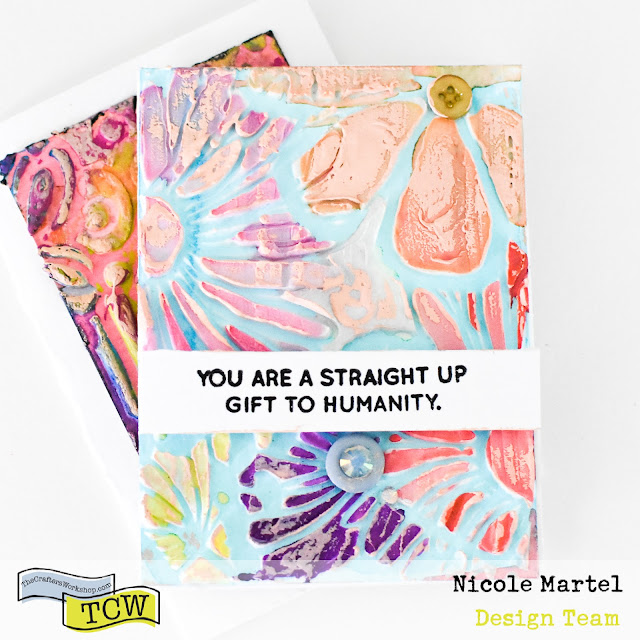
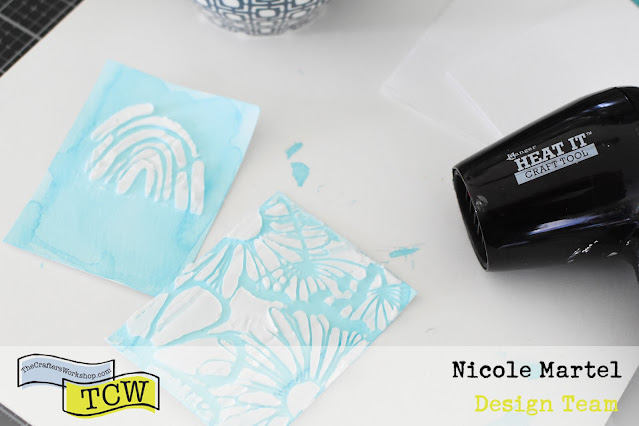
Good morning friends! Who’s ready for some snow?! I have been waiting…it’s been awhile since we got any decent snow up here in Maryland. To bring on the snow vibes…I altered a Sequin Pillow for winter.  Who loves sparkly, pretty things?! If you do, you’re in for a real treat. This month’s blank is a Sequin Pillow Case. Do yourself a favor now...go on Amazon and purchase 2 or 3 16x16 pillows to stuff these beauties because once you try it, you’ll want to make a few more! This is my third pillowcase and I think this may be my favorite! I almost didn’t pay attention to the back color… Initially, I grabbed the purple, but then I saw the white and it was a no brainer… If I’m going to make a winter themed pillow case, it should be white! Right? 


What are Artesprix Sublimation Markers?


Artesprix Sublimation Markers have the capability to transfer your drawings from a plain copy paper to any Polyester blank  with a unique process called, “Sublimation.” Once the blank goes through the heat press, your image is permanent! It will not wash off. So cool, right!? 


Materials:


Artesprix Sequin Pillowcase

Artesprix Sublimation Markers

Artesprix Protective Paper

Artesprix Heat Tape

Heat Press or Heat Source

The Crafter’s Workshop Stencils (Let it Snow, Snowy Cabin, Snowflakes).


Step by Step Tutorial:


Step 1. To begin, I taped two 8x11 sheets of copy paper side by side using heat tape. Then, I placed the Snowy Cabin stencil at the bottom using washi tape to hold down the stencil. 


Step 2. Next, I used my sublimation markers to color in the cabin, trees and snowdrift.


Step 3. Then, I used the Snowflake stencil and blue sublimation markers to create the snowflakes across the top of the paper.


Step 4. To create the text, I flipped the “Let it Snow” stencil backwards to create a mirror text and then colored in the alphas using the green sublimation marker. 


Step 5. Using heat tape, I taped down the Sequin Pillow Case with the design (face-down) to the sequin side of the Sequin Pillow Case. Be sure to secure all sides of the image using heat tape to avoid slipping because if it’s not secured, you may get a ghost image. 


Tip: Make sure your sequins are all lined up correctly so no silver appears! That way the image transfers properly! You can easily smooth them down using your fingernail. :)


Step 6. Now, you are ready to create a “Sublimation Sandwich”, from bottom to top:

 Artesprix Protective Paper

Project

 Artesprix Protective Paper


Don’t forget to set your Artesprix heat press timer for 60 seconds at 400 degrees. Place “Sublimation Sandwich” in the heat press. After pressing, allow the item to cool before handling. It is very hot! Also, make sure the knob is tight. You want as much pressure possible so that the heat press is hot enough to really make the images and colors pop.


I’m not gonna lie…when I pulled this off the heat press, I said out loud, “ohhhhhh!” I love this so freaking much! Doesn’t this pillowcase scream winter snowland! 

I hope you were inspired to give this fabulous product a try! If you like this pillowcase, click here to check out my pillowcase I created for summer! Don’t wait to grab your pillowcase. Grab it today because these gems tend to sell out fast! Click here  to start shopping through my affiliate link.

**This post may contain affiliate links. That means that I may receive compensation if you purchase through the links I have provided. The price you pay for the product or service is not higher, but I may get compensated.**


Saturday, January 22, 2022

MOXIE/CLIQUE INTERNATIONAL

Hello friends! I have a colorful layout to share with you today. I finally used my You are My Sunshine Sampler Kit from Clique International. This sampler kit is filled with lots of beautiful embellishments and papers from Bella Blvd. It's such a happy collection! 


You can probably tell... I love playing with embellishments! Especially stickers and die cuts! They are my favorite. I layered a few of the embellishments using foam squares to add dimension.


I love this photo...my son was in the back seat with his dog and I happened to hold my camera up to take a picture behind me...trying to catch them off guard and this is what I got! Now, if I was facing them...I would have gotten such a sweet photo!


Initially, I wasn't sure what to do with the left side of the layout. I knew it needed something... so I decided to add some journaling with the rainbow die cut and the doggie that I made using a stamp and die!


I really like the paper tearing techniques that I used on this layout. Super fun!! And of course more stamping. Stamps make great fillers for all paper crafting projects! 


There are a few of these kits left. Grab them before they are gone. Click here to see the entire kit! Thank you so much for visiting today!


Wednesday, January 19, 2022

LOVE/BRUTUS MONROE

Hello! I couldn't wait to scrapbook these adorable pictures of Edward and Moxie. These two...they just melt my heart. Can you see the love? This dog is so spoiled and LOVED.


To begin, I matted the 71/2x10 honeycomb patterned paper to the center of the cloud printed paper that is 8 1/2x11. Next, I used the Heart Petals Metal Die to create the heart by running it through my Sizzix machine. 


I used my finger to smear on the Glitter Glaze all over the heart to add some shimmer! If you're not a fan of glitter...I promise you, once this glaze is dry, the glitter isn't coming off...unless you rub really hard. And it looks so pretty!!


The Heart Petals die comes with the "Love" sentiment and an "XO". I used my Sizzix to create the die cut for my layout. There's another piece to create the shadow... It looks so great! And don't forget...you can always use those scraps for your layout. I used the leftover to create a fun back drop at the top of the layout. I love when I'm creating something and an idea pops in my head and it totally works! Those are the best moments. Wouldn't you agree? My crafty friends understand... my other friends, not so much. LOL


I glued the love die across the photo to create some layers using foam squares.


The little doggie from the Life is Sweet stamp set was stamped onto white cardstock and then I colored it in using alcohol markers and fussy cut him out using scissors. Isn't he the cutest? :) I love him. :)


I used a ruler and pen to journal my story at the bottom and then added a few stars etc. to fill in the white space. 


What do you think? Isn't this layout adorable? This layout truly made me smile when I was finished... I just love the overall design and color scheme... Every now and then, I surprise myself. I don't always like what I make, but I LOVE this. 


Thank you so much for visiting today! Click here to shop at Brutus Monroe through my affiliate link. The price you pay will not be higher, I may receive compensation for your purchase! 

**This post may contain affiliate links. That means that I may receive compensation if you purchase through the links I have provided. The price you pay for the product or service is not higher, but I may get compensated.**


Tuesday, January 18, 2022

MIXED MEDIA CARD/THE CRAFTER'S WORKSHOP

Hi everyone. I'm back with another mixed media card I created. I'm not normally a card maker, but sometimes, I do make them and when I get an idea...I just run with it! Who would have thought that watercolors and acrylic paint looks very cool together!? I'm going to show you...


To begin, I cut a piece of watercolor paper to measure 3x4. Next, I mixed the Cerulean Blue watercolor powder from the TCW9057 ColorSparx Set with water and painted the front of the card to create a light blue background. I used a heat gun to dry it and then repeated the process once more to get a vibrant background.


Then I taped the TCW948 Framed Flowers stencil over the watercolor so it would stay in place. Then, I used used a palette knife to pull the Light and Fluffy Modeling Paste through the stencil. To prevent streaks, simply work from the top, down... in one fluid motion.


 I used a heat gun to speed up the drying process.


Once the Light and Fluffy Modeling Paste was completely dry, I colored in the flowers with a small paintbrush using a few pretty ColorSparx. I used Scarlet, Lime Green, Cerulean Blue, Orange, Orchid, and Marigold.


If you find that the watercolor is too runny on the watercolor paper, pick up the excess with the tip of a paper towel to remove the water. Repeat the process with each color.


After the card was completely dry, I glued down the buttons, gems. I stamped the sentiment onto white cardstock and then mounted it to the card with foam squares.


I felt that the card was missing something... a bit of color/texture...so I grabbed some acrylic paint and lightly smeared the acrylic paint all over the flowers using my finger. It's amazing how much texture the paint adds to the card. I'm super pleased!!


What do you think? Isn't this beautiful? I'm seriously trying to refrain from locking myself up in my room all day to play with more cards. HAHAHA...Maybe later.


Thank you for visiting today!