Tuesday, July 19, 2022

MIXED MEDIA CARDS/THE CRAFTER'S WORKSHOP

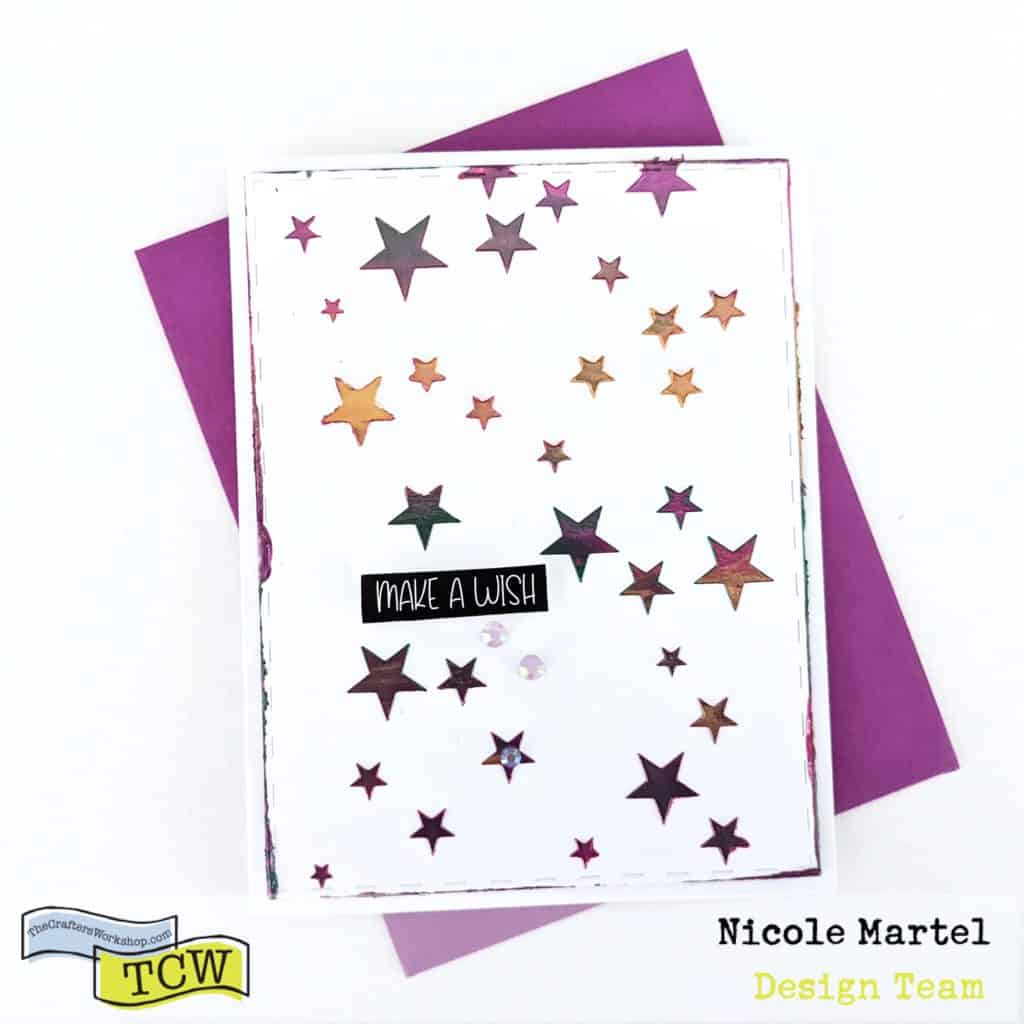
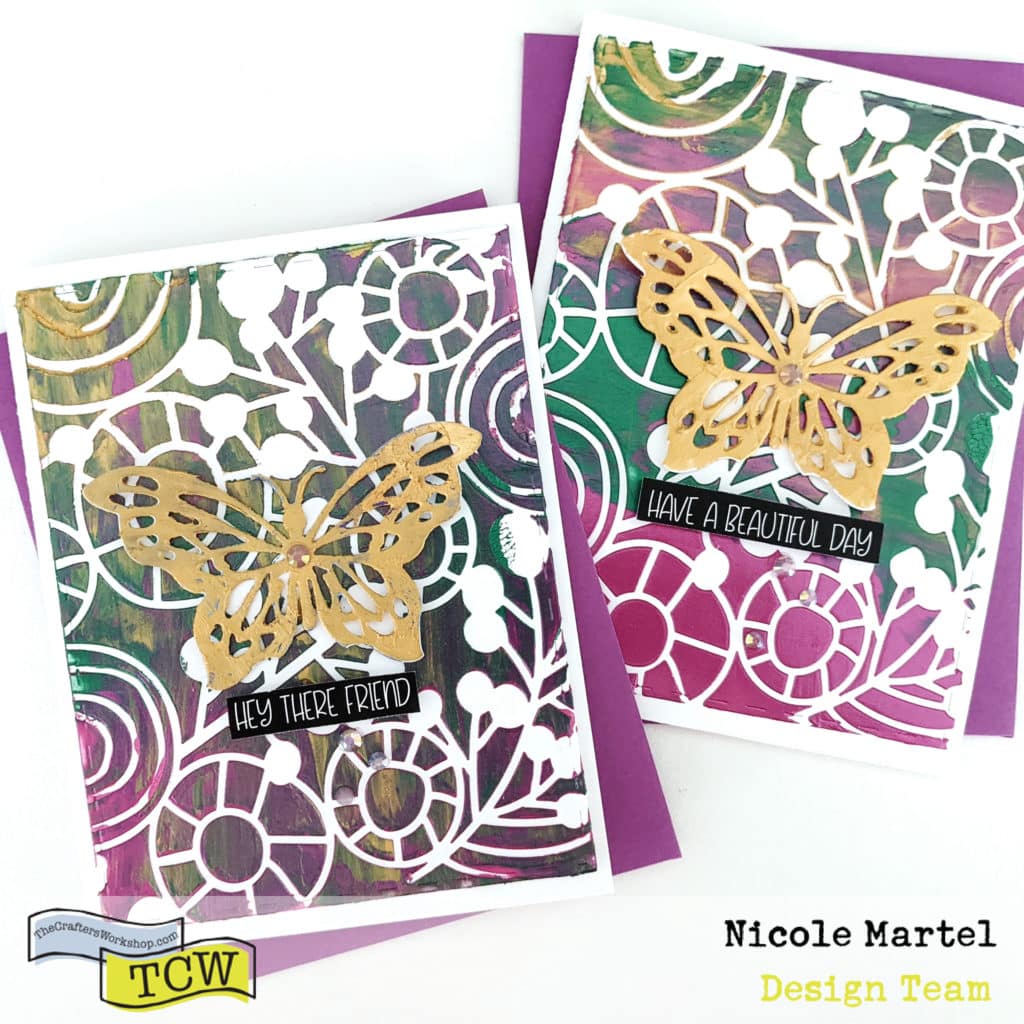
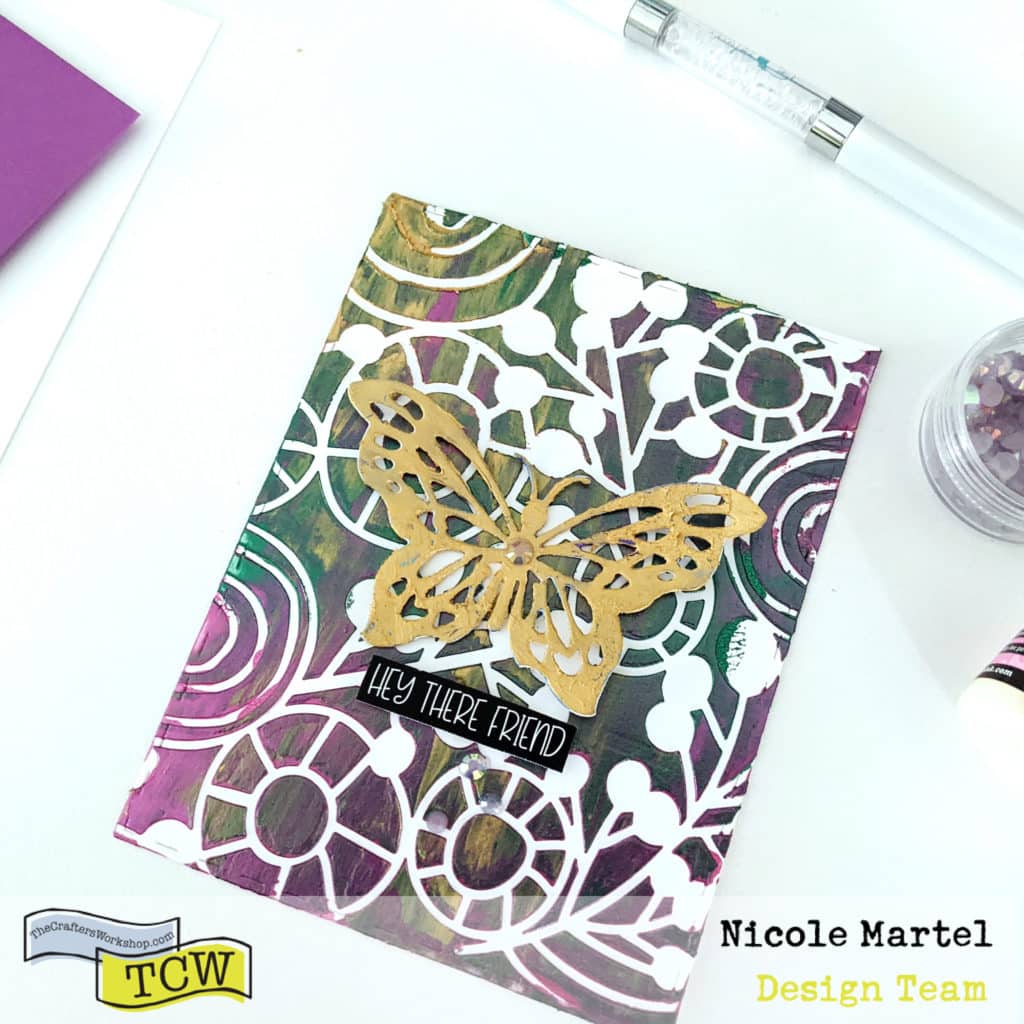
Hi everyone. I'm back with two more pretty cards using stencil butters and the TCW959 Rainbow Branch Circle stencil. I was curious to see how this stencil would look for a card... I love all of the different shapes on this stencil and this stencil looks so pretty with the stencil butter!

This image has an empty alt attribute; its file name is PXL_20220613_222020379-1024x1024.jpg

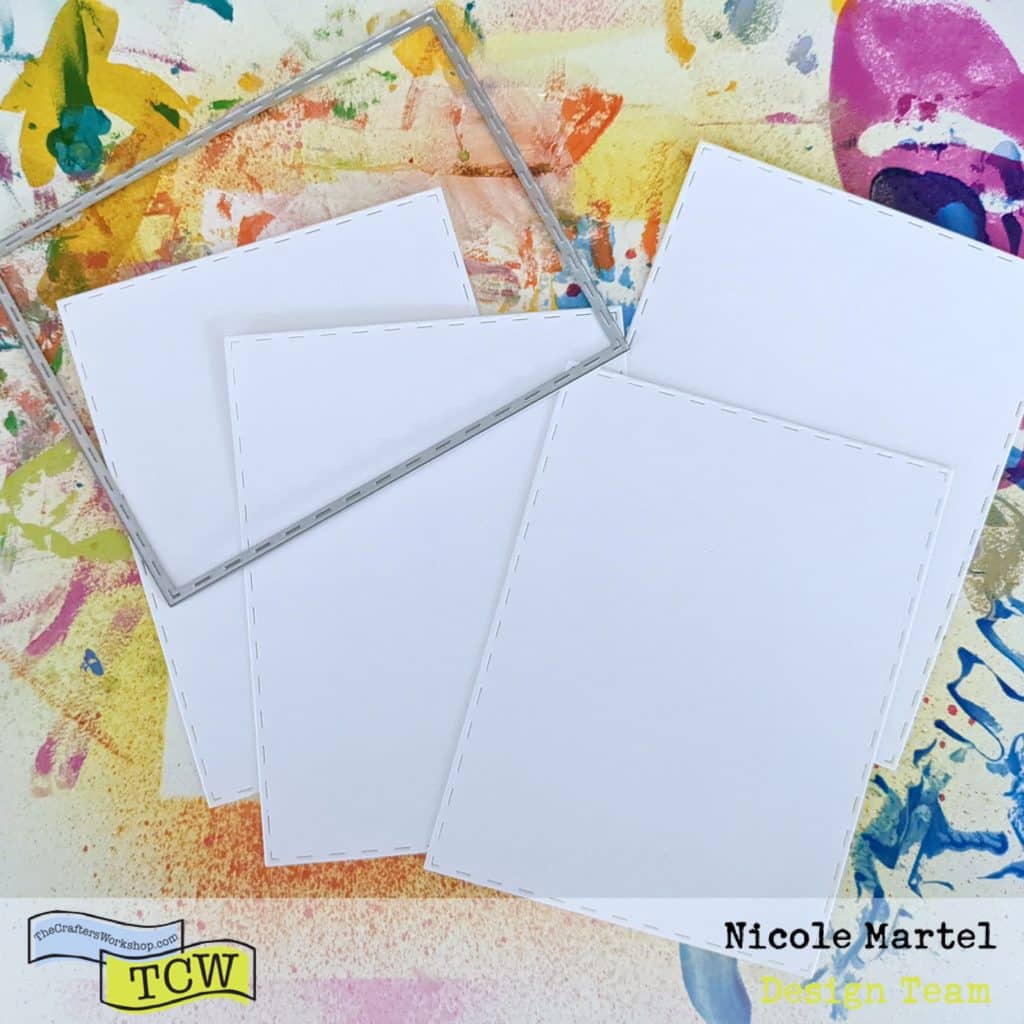
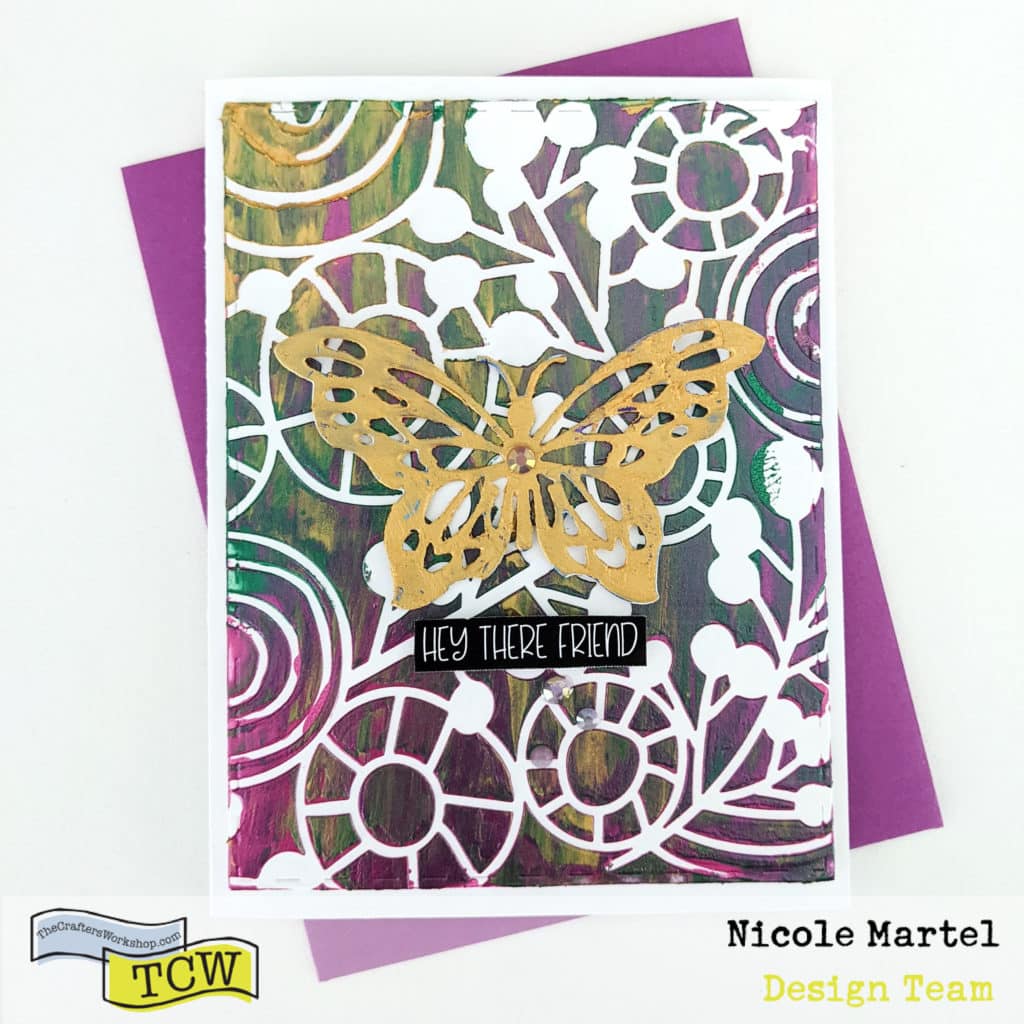
To begin, I Sizzix to cut two A2 frames using metal frame dies.

This image has an empty alt attribute; its file name is PXL_20220613_195850527-1-1024x1024.jpeg

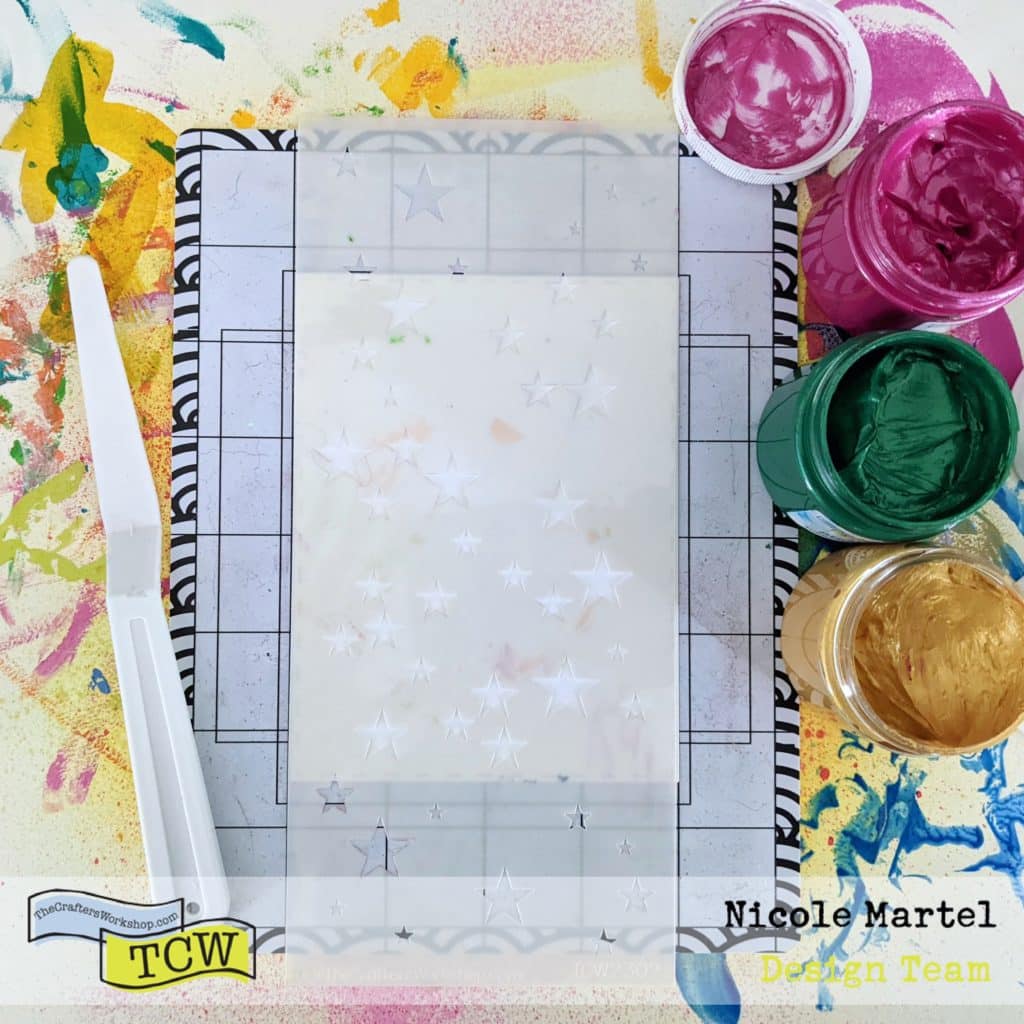
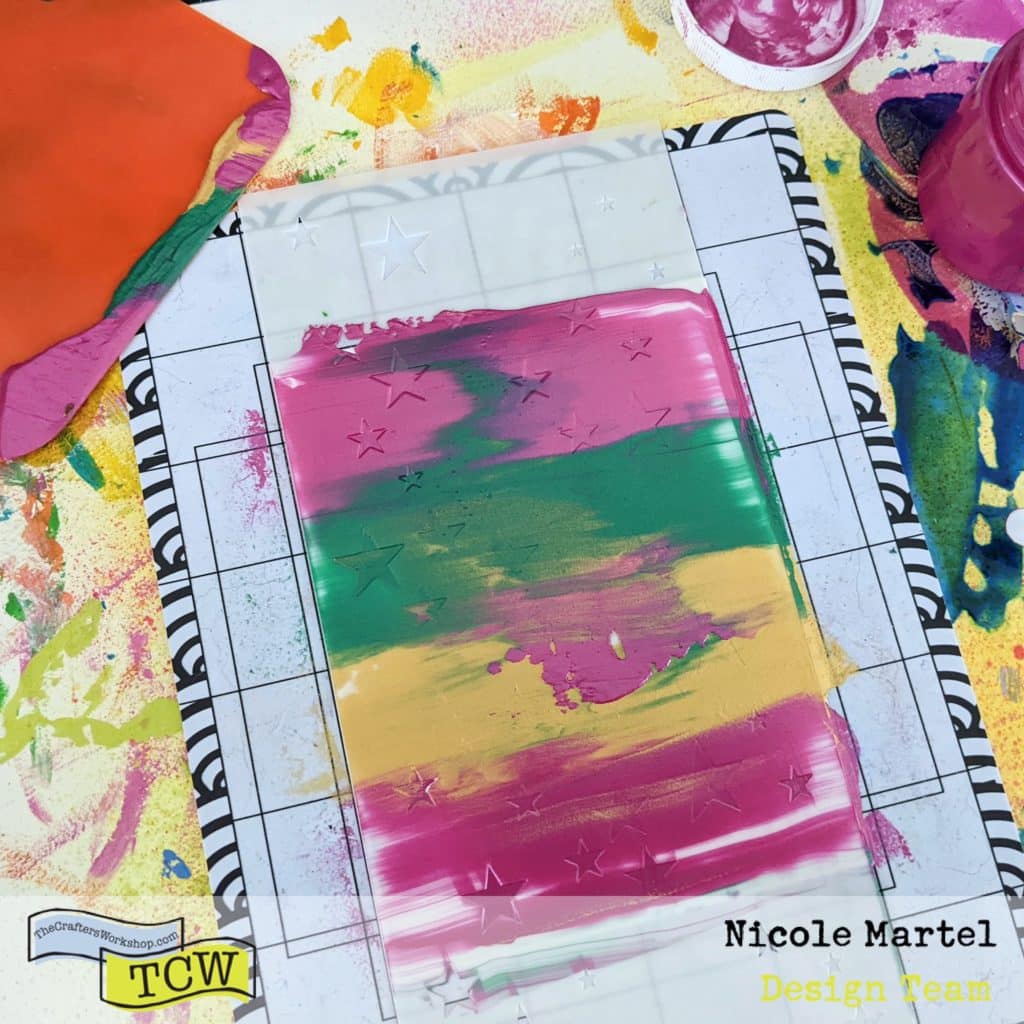
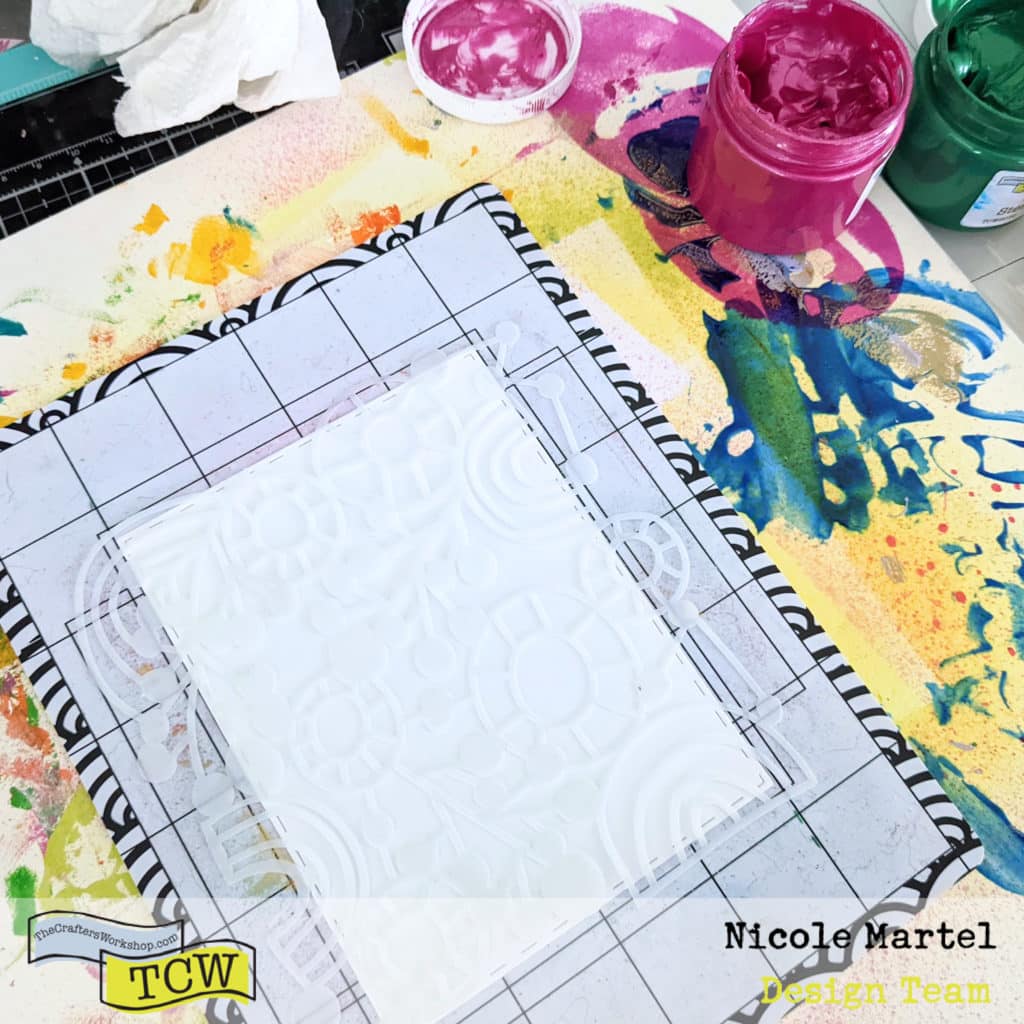
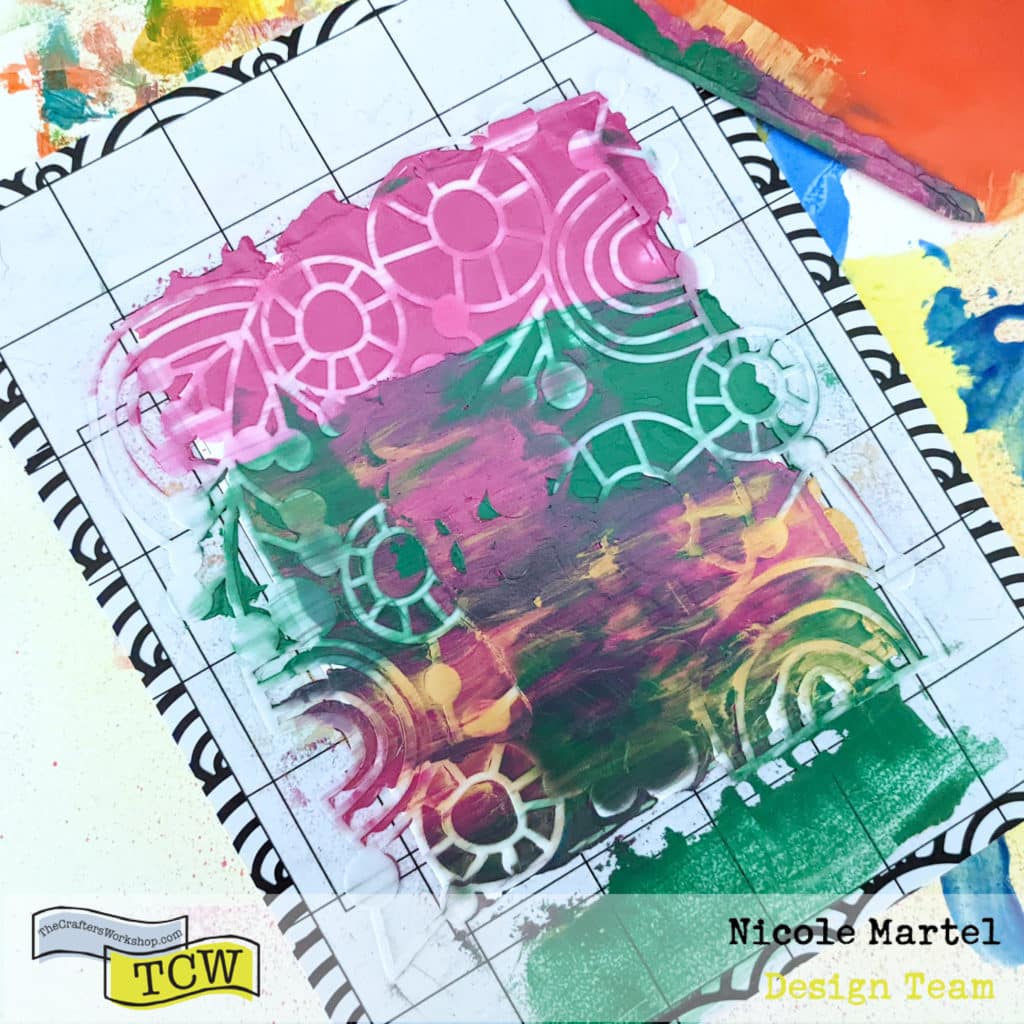
Then, I placed the card onto a sticky mat and then covered the card panel using the TCW959 Rainbow Branch Circle stencil. I love the sticky mat because it holds the stencil down so that I can achieve a crisp image! These mats are awesome and if you don't have one, you may want to grab one. Click here to shop at Brutus Monroe through my affiliate link. The product number for the mat is BRU7920. The price you pay is not higher, I may get compensated for promoting their product.

This image has an empty alt attribute; its file name is PXL_20220613_201138678-1024x1024.jpg

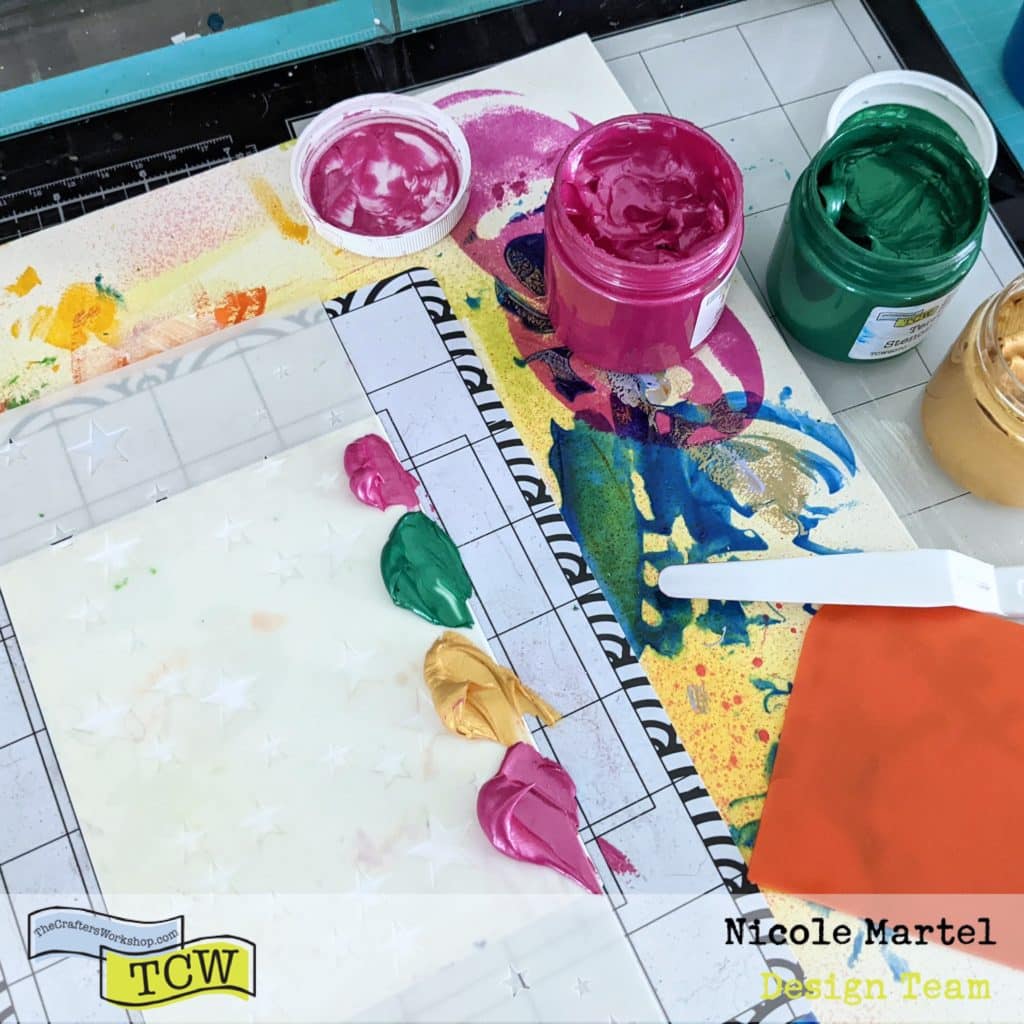
Next, I used a palette knife to add a dab of stencil butter down the edge of the card.

This image has an empty alt attribute; its file name is PXL_20220613_201230161-1024x1024.jpg

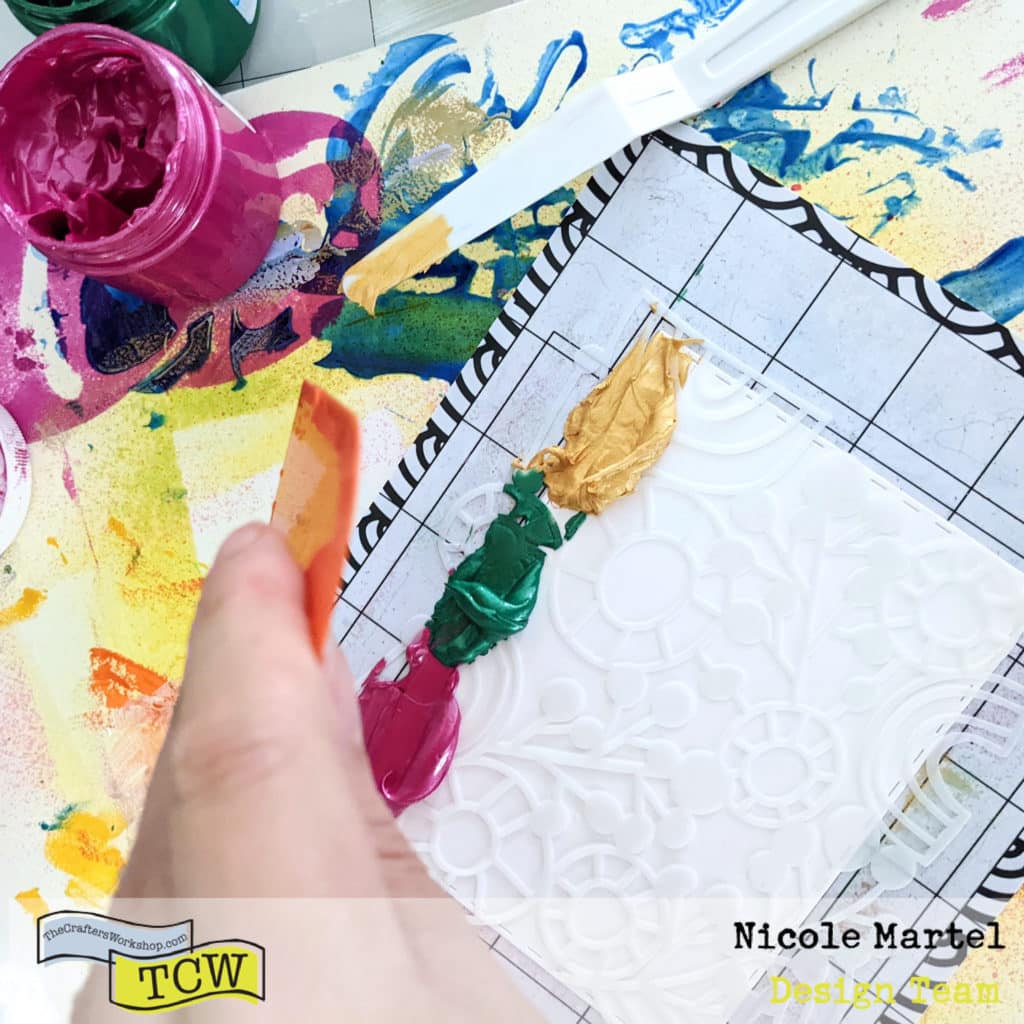
After that, I used a wide scraper tool to smear the stencil butter across the stencil. You can use a regular palette knife, too. I scraped the excess stencil butter all over the stencil to mix the colors up a little bit to add depth.

This image has an empty alt attribute; its file name is PXL_20220613_201311022-1024x1024.jpg

Once I was satisfied with the blending of the stencil butters, I carefully lifted the stencil from the bottom up to avoid smearing the stencil butter.

This image has an empty alt attribute; its file name is PXL_20220613_201324345-1024x1024.jpg

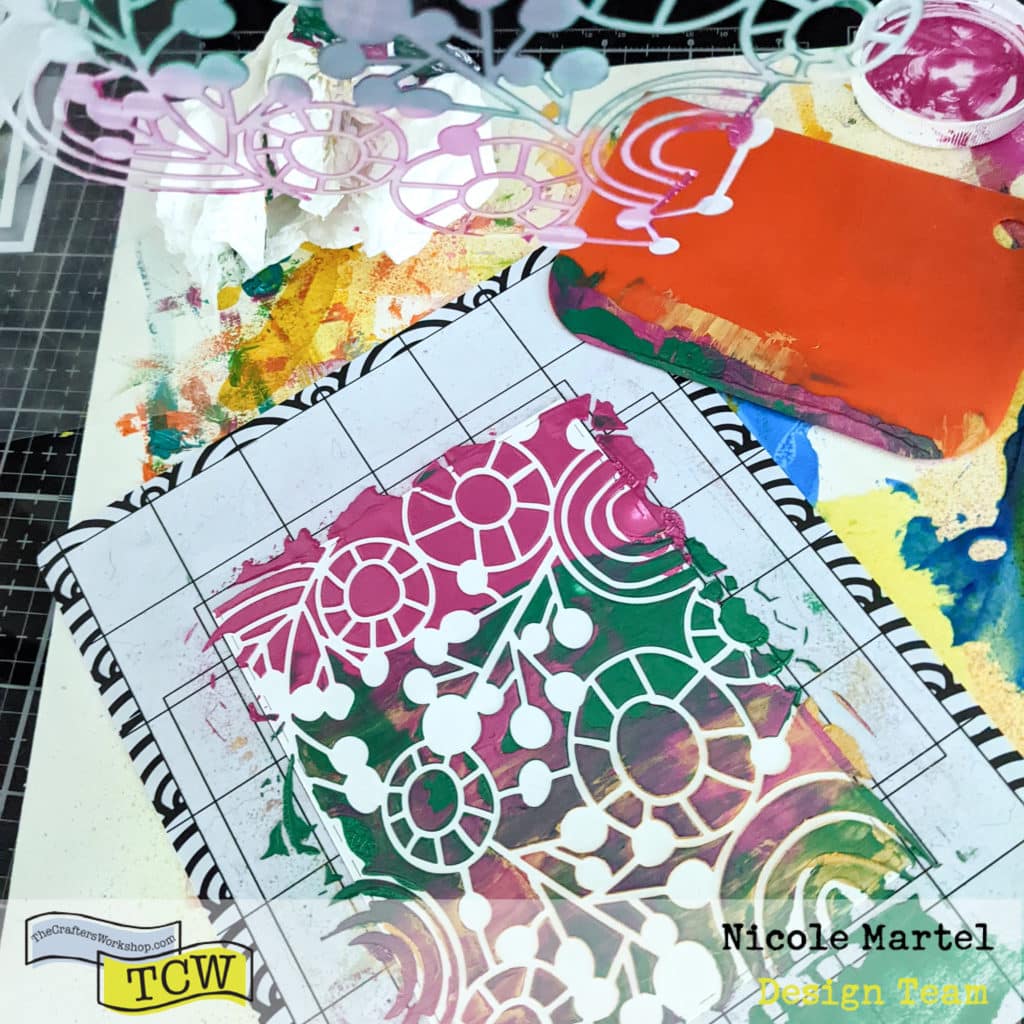
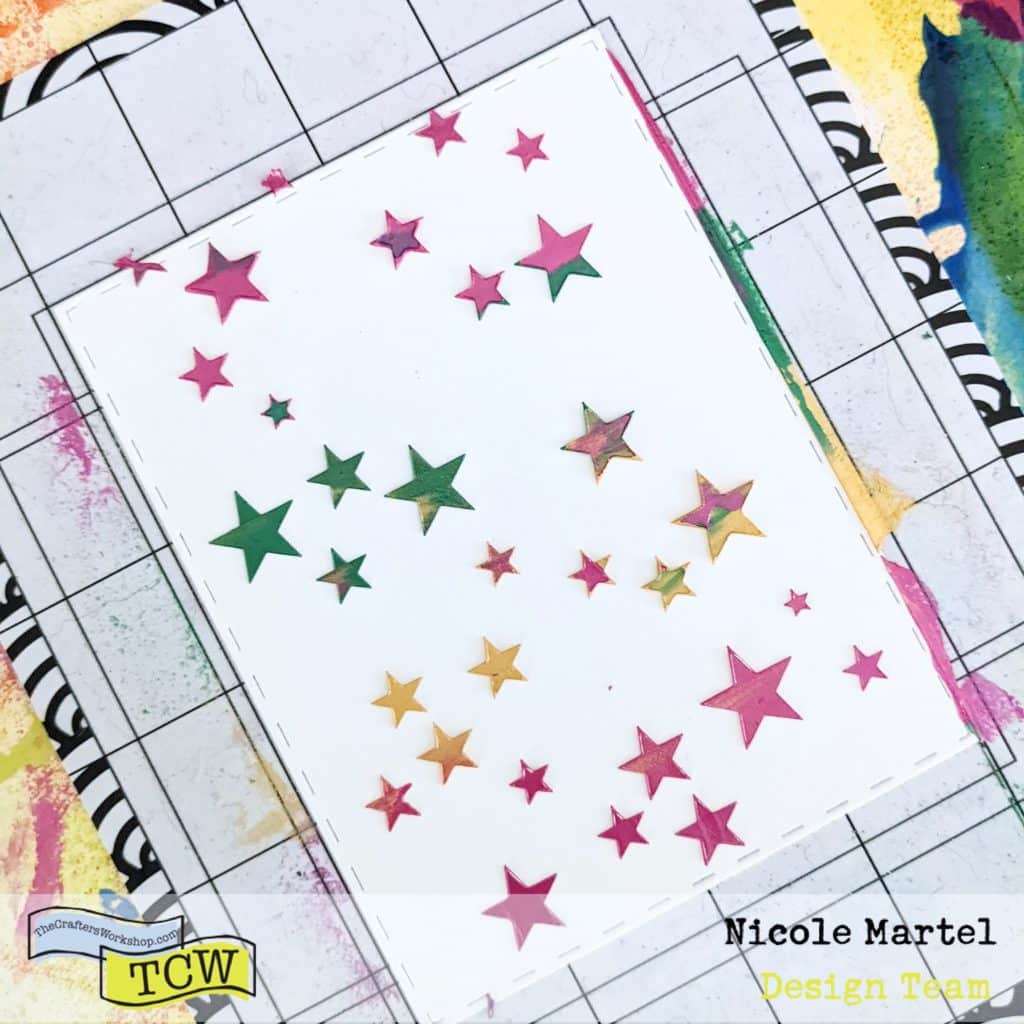
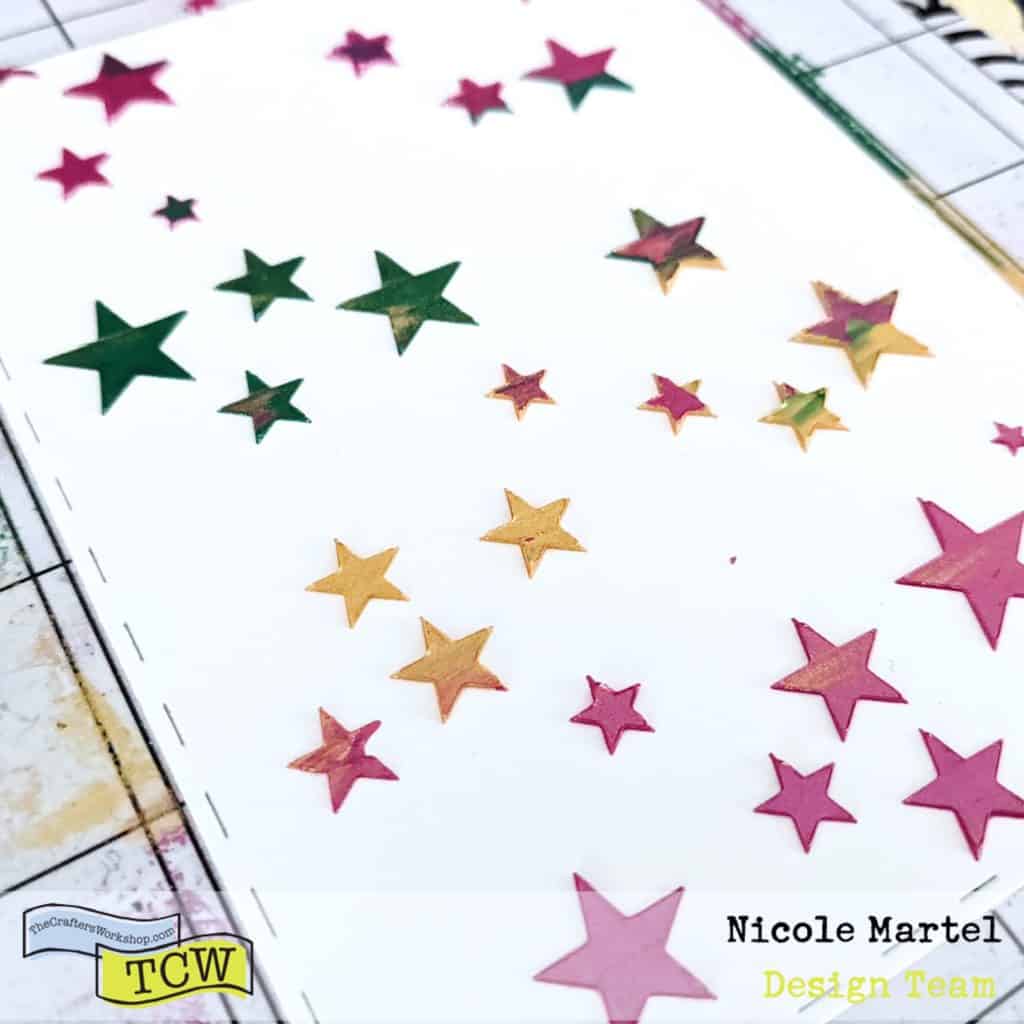
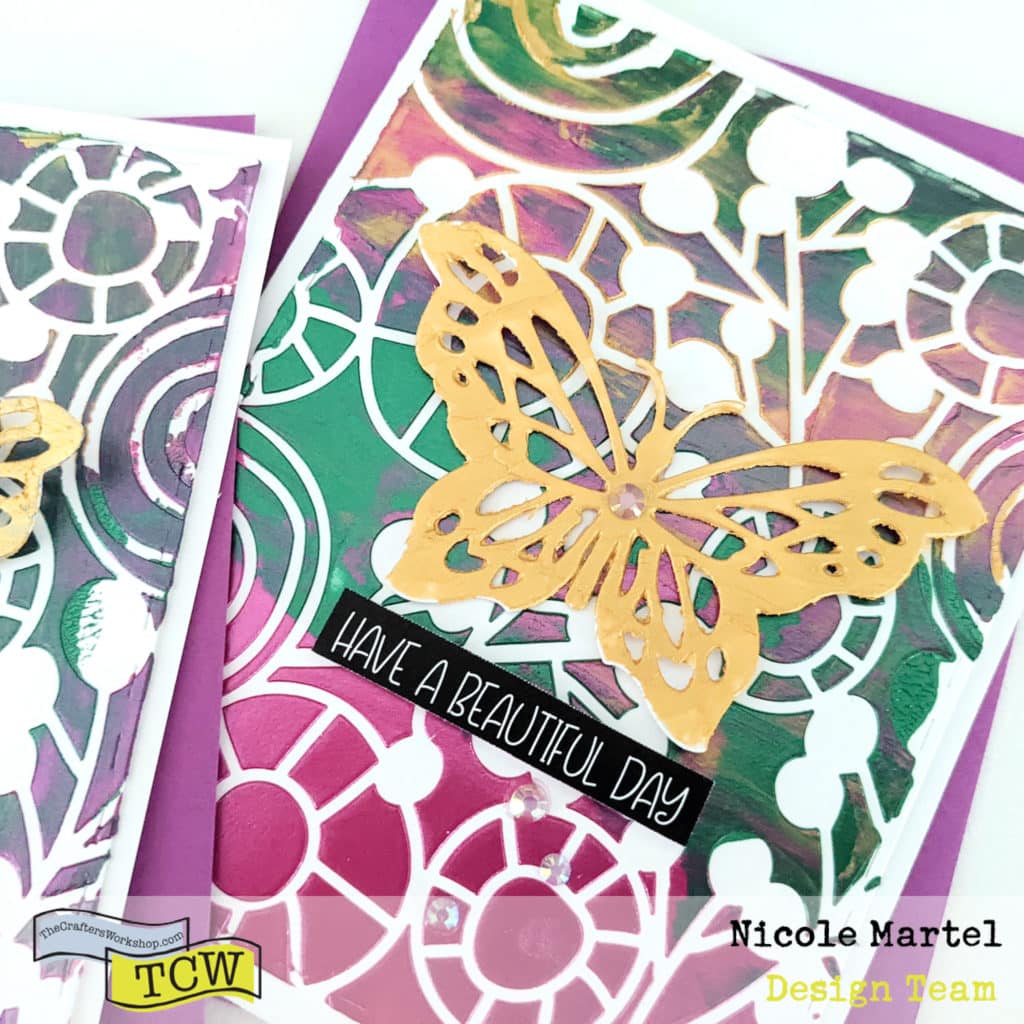
Ah, I just love all of the patterns and colors here. Super pretty! I carefully lifted the card panel from the sticky mat and placed it aside to dry.

This image has an empty alt attribute; its file name is PXL_20220613_210535821-1024x1024.jpg

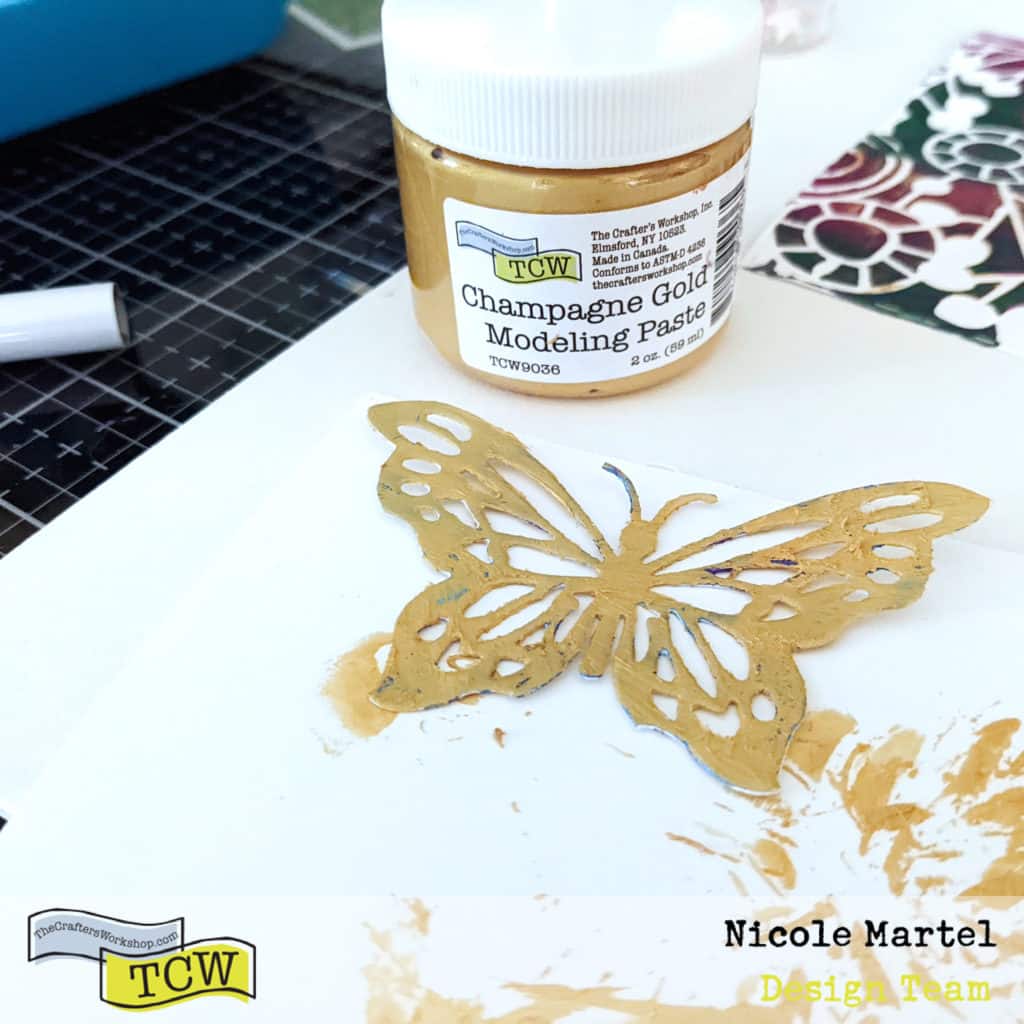
While the card panel was drying, I used my Sizzix to cut a butterfly using a metal die and then used my fingers to cover the die using the Champagne Gold Modeling Paste.

This image has an empty alt attribute; its file name is PXL_20220613_211447602-1024x1024.jpg

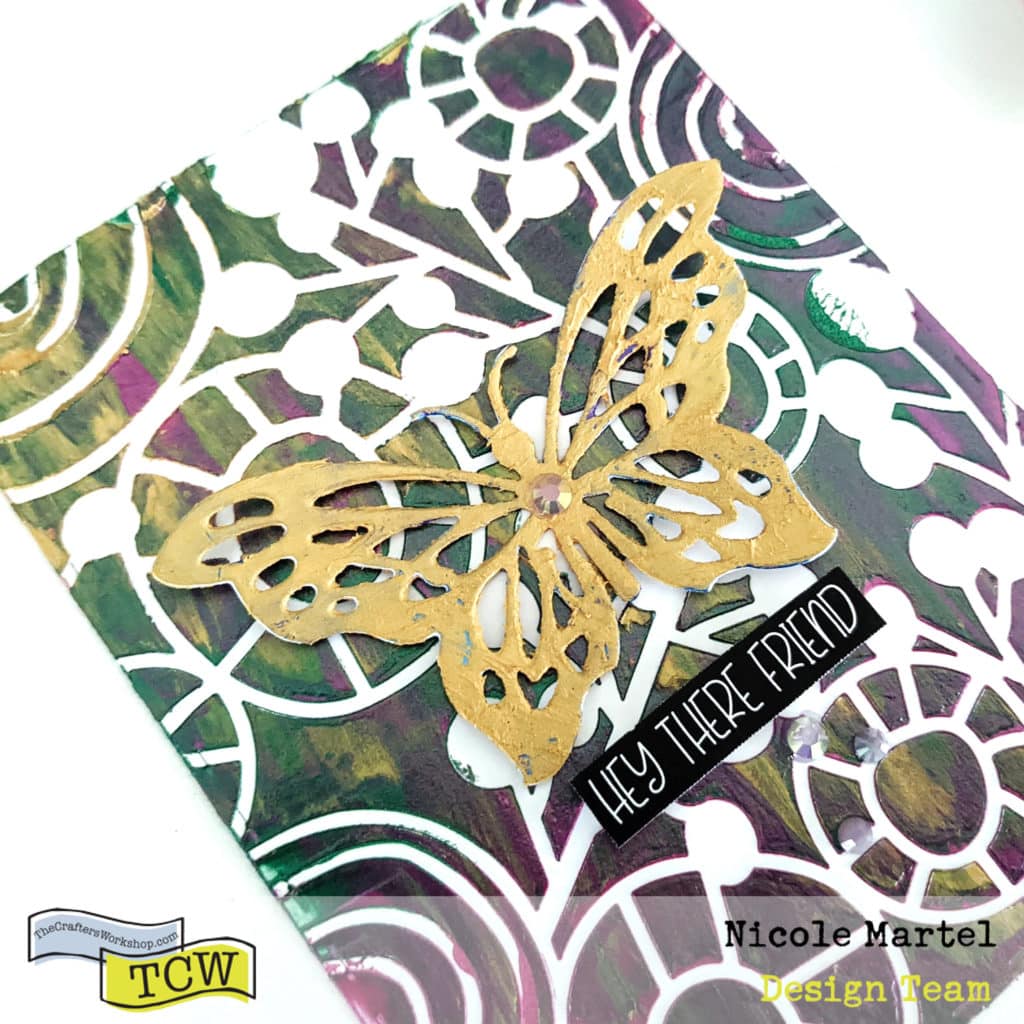
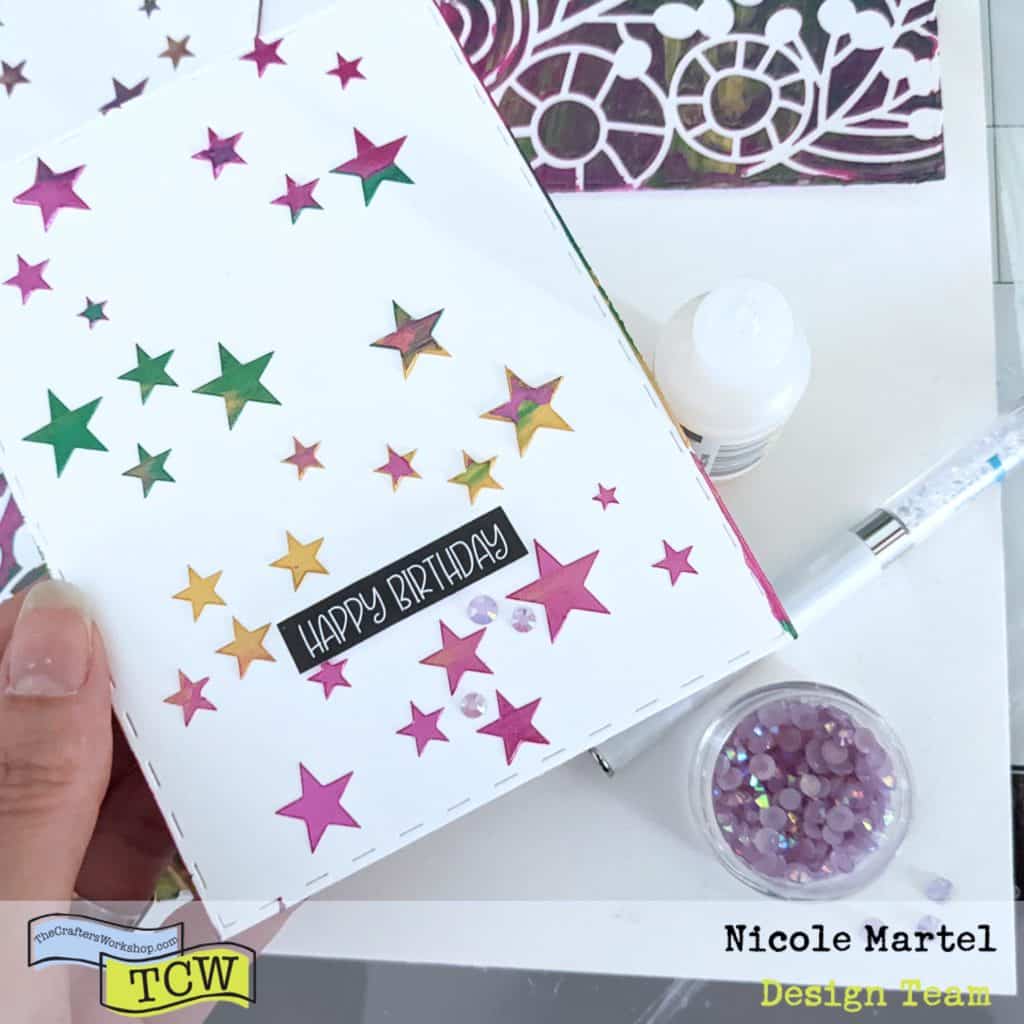
I used a matte gel to glue the butterfly to the center of the card and then added the embellishments.

I can't wait to send these cards to a few special people in my life. They will surely bring a smile to their faces. Thank you for visiting today!

Monday, July 18, 2022

HAPPY DAYS TRAVEL NOTEBOOK SPREADS/STUDIO FORTY

Good morning friends! I'm sharing a few travel notebook spreads I created using Studio Forty's Here and There collection.  I really like the colors of this collection. Not the normal color palette for summer, but I love it! This collection looks great with black and white photos and even color photos.


For those who have been following me awhile, I love playing with patterned papers, especially smaller prints. I have such a difficult time choosing which patterns to use because I just want to use them all. I limited myself to three patterns for both spreads. :)


I love placing patterns in fun, unique ways to make my projects pop. For this layout, I tilted two patterns on top of each other and cut it into a triangle shape.


I used a variety of die cuts, chipboard, clear stickers, and sticker dots to embellish this spread. And you'll notice a small amount of stamping within the tag.


For the second spread, I used more triangles. :) But in a different direction and I mixed up the patterns a little bit. I wanted to make sure both sides matched a little bit since they were going to be side by side in my travel notebook. 

I used large scissors to cut off the excess paper.

More stickers and sticker dots. The little block was cut from a patterned paper from the collection. And do you know...the chipboard circle embellishments fit right inside the circle!


Products Used: Studio Forty Here and There Patterned Paper, Chipboard, Journaling Cards, Clear Stickers, and Stamp, Journal Stories Collection Patterned Paper.

Thank you for visiting today!

Saturday, July 16, 2022

YOU ARE MY SUNSHINE POCKET CARD/BRUTUS MONROE

Good morning friends. What do you think about the new products this month?! I love it all!! My favorite is the BRU8187 Seashell Pocket Envelope Dies. Super fun!! 

To begin, I colored white cardstock with a variety of inks. Then, I ran the dies through the Sizzix machine. I ran the seashell pocket through the Sizzix using white cardstock.

Next, I folded the ends to create the pocket and glued the flaps down, using clips to hold it in place as it dries.

I cut the seashell panel from the inked piece of cardstock. I didn't take pictures, but you'll notice some shimmer... I actually took a random stencil and used Rainbow Embossing Powder to add some shimmer... before cutting it. It adds so much sparkle!!

To complete the card, I glued down the seashells at the bottom and added the sentiment using foam squares. 

Next, I glued a few purple gems and adhered it to the A2 Size card base.

Here is a close-up of the seashells. SO pretty! I used my finger to smear some Alabaster Glitter Glaze over the shells for a bit more shimmer.

What do you think? As you can see, this would make a cute birthday card...and you can add a gift card in the front pocket!

Thank you for visiting today! Grab these products before they sell out through my Brutus Monroe affiliate link. The price you pay is not higher, I may get compensated for promoting their product. Click here to shop at Brutus Monroe through my affiliate link.

Saturday, July 09, 2022

MAY MEMORY PLANNER SPREAD

Hi everyone. It's been raining buckets here in Maryland all day, but that's OK because it gave me a reason to create all day! I made 9 cards today and I love them all, which is weird because I don't really consider myself a carmaker... but I've been taking classes at The Stamp Market and Brutus Monroe and I'm loving it! I actually enjoy making cards. I especially love learning new techniques that I can incorporate in my layouts... I'll share them another day. In the meantime, I'm sharing my May Memory Planner spread. I'm finally getting caught up, here.


You may have noticed I've been creating less layouts lately and that's because I really enjoy this way of documenting my life! I get to use photos I normally wouldn't use on a layout... and it's actually fun because I don't stress about it...I just slap down the photos, add some journaling and stickers etc. Super simple!


I used alcohol markers to color in the flower on the tag and next to it, the "YAY, YAY, YAY" sentiment is actually a printable I printed on vellum sticker paper. It's such a great way to make your products last and it can save you money!


When I'm creating in my memory planner, I like to go through my stash of die cuts and actually use them! I used a good amount on these two layouts. Have you tried this way of memory keeping? What are your thoughts? 

Thanks so much for visiting today!


Tuesday, July 05, 2022

MIXED MEDIA BIRTHDAY CARDS/THE CRAFTER'S WORKSHOP

Hi everyone! I'm excited to share how I created these pretty mixed media cards using the TCW2302 Star Sparkle Slimline stencil and stencil butters. They are super simple and fun to make!

To begin, I used my Sizzix to cut out two card panels using metal dies.

Next, I placed the card panel onto a sticky mat from Brutus Monroe and then placed the stencil over the card. These mats are awesome and if you don't have one, you may want to grab one. Click here to shop at Brutus Monroe through my affiliate link. The product number for the mat is BRU7920. The price you pay is not higher, I may get compensated for promoting their product.

Then, I used a palette knife to add a dab of stencil butter down the stencil. I used Champagne GoldFuchsia, and Terre Verte

After that I used the palette knife to spread the stencil butter across the card. I blended the colors together a little bit.

And now the fun part...carefully lifting the stencil to reveal the gorgeous shimmery stars! I waited until the stencil butter was completely dry before adding a few embellishments with foam squares and glue. Then I adhered the card panel to an A2 card base.

What do you think? I just love how pretty these look with the stencil butter! I honestly cannot wait to make a few more!

I hope I inspired you today! Thank you so much for visiting!


Sunday, July 03, 2022

HAPPY 4TH OF JULY TIER TRAY/THE CRAFTER'S WORKSHOP

Good morning friends! Happy 4th to all of my American friends! I have a few pieces I decorated for my tier tray this month and I’m going to share with you how fun it and easy it is to make with stencil butter!

I started with a few wooden pieces from a tier tray kit I bought awhile ago.

I decided to use the Ocean Blue Stencil Butter and the Crimson stencil butter to finger paint the pieces.


I decorated the American Flag pieces using “Light and Fluffy” for the white and the Crimson and Ocean Blue stencil butter for the other pieces. The main piece for the flag was coated in White Gesso. I glued the pieces down using Gel Medium.

I coated the star using crimson stencil butter and then used the TCW2302 Star Sparkle Slimline stencil to create the stars.

What do you think? Super cute, right!? 

Thank you for visiting today. Hope you have a safe and fun weekend!