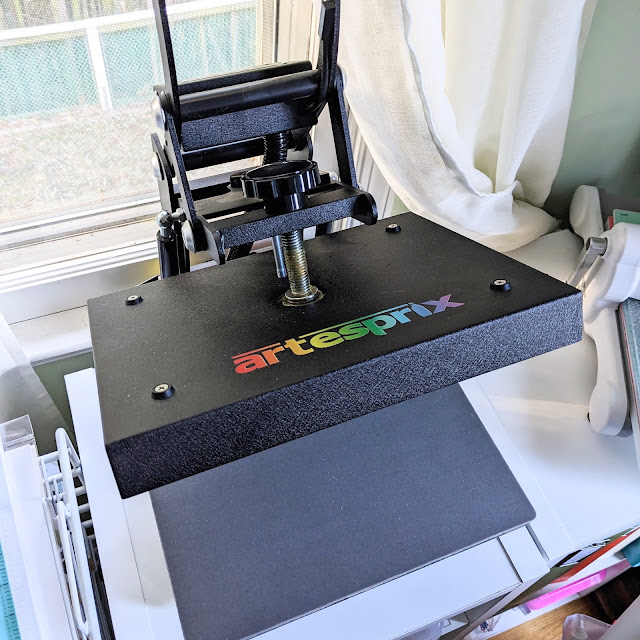
Good morning, friends! I have a fun project/tutorial to share with you today using Artesprix's blank of the month for February and it's a good one!! Ah, I can't tell you how excited I was to receive two of these to play with!! You are going to want a few, too... For this project, I'm using The Stamp Market's Tiled Heart stencil with a few blending brushes.
What are Artesprix Sublimation Markers/Ink Pads?
Artesprix Sublimation Markers and Ink Pads have the capability to transfer your drawings from a plain copy paper to any Polyester blank with a unique process called, “Sublimation.” Once the blank goes through the heat press, your image is permanent! It will not wash off. So cool, right!?
Materials:
Artesprix Sequin Pouch
Artesprix Sublimation Ink Pads
Artesprix Protective Paper
Blending Brushes
Artesprix Heat Tape
Heat Press or Heat Source
The Stamp Market Tiled Heart Stencil
Step by Step Tutorial:
Step 1. To begin, I used a pencil to trace around the Sequin Pouch onto regular copy paper so that I could see how much space I had to work with.
Step 2. Next, I used my blending brushes to pull the sublimation ink through the stencil being careful not to let the stencil slip.
I used Red, Orange, and Pink Ink for the hearts.
Step 3. Sometimes, the brush slips under the stencil causing smudges... to prevent these smudges/steaks from transferring to your blank, simply cover them with tiny pieces of heat tape!
Step 4. Using heat tape, I taped down the Sequin Pouch with the design (face-down) to the sequin side of the Sequin Pouch. Be sure to secure all sides of the image using heat tape to avoid slipping because if it’s not secured, you may get a ghost image.
Tip: Make sure your sequins are all lined up correctly so no silver appears! That way the image transfers properly! You can easily smooth them down using your fingernail. :)
Step 5. Now, you are ready to create a “Sublimation Sandwich”, from bottom to top:
Artesprix Protective Paper, Project, Artesprix Protective Paper
Don’t forget to set your Artesprix heat press timer for 120 seconds at 360 degrees. Place “Sublimation Sandwich” in the heat press. After pressing, allow the item to cool before handling. It is very hot! Also, make sure the knob is tight. You want as much pressure possible so that the heat press is hot enough to really make the images and colors pop.
Step 6: Carefully, peel part of the paper away from the corner to ensure that the ink transferred properly.
What do you think? Isn't this so pretty?? I love the color combo, too. Grab yours today because I have a feeling it will sell out FAST! I would love it if you used my affiliate link, here. The price you pay will not be higher, however, I may receive a small compensation for sharing! Thank you so much for visiting today! -Nic


No comments:
Post a Comment