Thursday, March 24, 2022

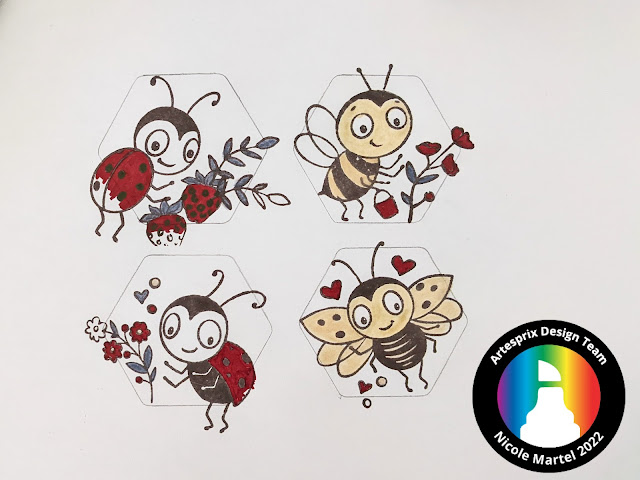
LADYBUG MAGNETS CREATED USING ARTESPRIX SUBLIMATION MARKERS AND MAGNETS

Good morning. Nicole here! I'm excited to share these adorable Metal Magnets I created using Artesprix’s Sublimation Markers and the Lovely Lady stamps from Brutus Monroe! These Metal Magnets make great great gifts and I happen to have a friend who loves ladybugs. I can’t wait to give these to her! She is always giving me thoughtful gifts here and there...so glad I can give her something that I made.


What are Artesprix Sublimation Markers?

Magic Ink that transfers their beautiful colors from plain copy paper to a polyester product with a heat source. Iron-on-Ink Markers are the way to personalize sublimation, which is specially formulated inks that transfer only when activated with heat.


Materials:

Artesprix Sublimation Markers
Brutus Monroe 
Stamps (Lovely Ladybugs) Plain Copy Paper
Acrylic Block
Artesprix Metal Magnets
Artesprix Sublimation Ink Pad
Artesprix Protective Paper
Artesprix Heat Tape
Pencil
Project Mat
Heat Press

Step-by-Step Tutorial:

page1image44386560 page1image44386944 page1image44387520 page1image44386176 page1image44385408 page1image44385984 page1image44388096 page1image44387136 page1image44387328

Step 1: Trace your Metal Magnets onto a plain piece of copy paper using a pencil. That way you know how much space you have to work with.


Tip: Set your heat press at 400 degrees fahrenheit for 75 seconds before you start working on your magnets. That way, the heat press will be hot enough to sublimate your images when you are finished. :)

Step 2: Stamp images within the traced area using the Sublimation Ink Pad and Acrylic Block.


Step 3: Next, color in the adorable Ladybugs using sublimation markers.


Step 4: Using heat tape, tape down the metal magnets (white side faced down) onto the images.


Step 5: Place a piece of Protective Paper at the top and bottom of your Decorative Metal Panel. Place your "Sublimation Sandwich" inside the heat press for 75 seconds at 400 degrees Fahrenheit.


Step 6: Carefully, take a peek at the project using gloves. Then place the Metal Magnets onto the Project Mat to cool down.


Step 7: Once the project has cooled down, remove the protective paper and heat tape and then adhere the adhesive magnets to the back of the metal magnets.


Step 9: Enjoy your new metal magnets! 


If you love this, check out Alison’s metal magnets, here. Click here to shop for Artesprix's products using my affiliate link! Click here to shop at Brutus Monroe through my affiliate link. Thanks so much for stopping by today!

**This post may contain affiliate links. That means that I may receive compensation if you purchase through the links I have provided. The price you pay for the product or service is not higher, but I may get compensated.**


Tuesday, March 22, 2022

SENDING YOU A LOVE BUG HUG/BRUTUS MONROE

Hello friends! I'm really excited for this month's Lovely Ladybugs stamp set. My good friend, Jen loves ladybugs and I plan on making a few cards and other fun things using this stamp set all month long! Seriously, this is the cutest stamp set!!

To begin, I cut a piece of Aqua Pigment Watercolor Paper to measure 3x4. Then, I sprayed some Cherry Chroma Mist onto an acrylic blog and moved the ink around a bit. Next, I pressed the Aqua Pigment Watercolor Paper into the ink to create a colorful background for the card.

Next, I stamped the ladybug onto alcohol marker paper using the Raven Ink. 

Then, I colored him in using alcohol markers. :)

Then, I carefully cut him out using scissors. His antlers and legs were tricky, but I managed!

I used my Misti to stamp the sentiment onto the front of the card.

To complete the card, I mounted the 3x4 base onto a 3x4. Next, I mounted the ladybug onto the card using foam squares and then I added a few hearts and the ribbon.

Isn't that Ladybug the cutest!? I can't wait to make more projects with this adorable stamp set! Click here to shop at Brutus Monroe through my affiliate link. The price you pay will not be higher, I may receive compensation for your purchase! Thank you for visiting today!

Nicole

Monday, March 21, 2022

MIXED MEDIA TAGS/STUDIO FORTY

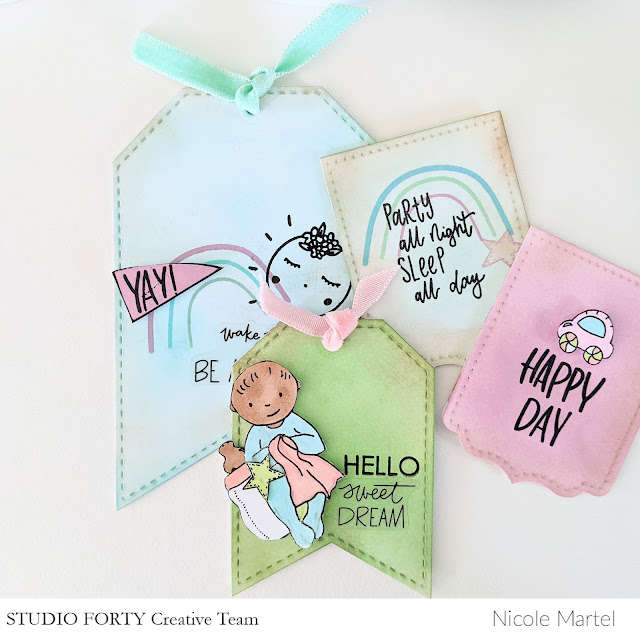
Hi friends! My sister just had her baby and I'm super excited! I started making some adorable tags for a tag mini book that I plan on making once I get the chance to meet the little darling! These tags were a lot of fun and not that complicated to make.


I decided to go with a spring color palette for these tags! I think these colors look so pretty together.

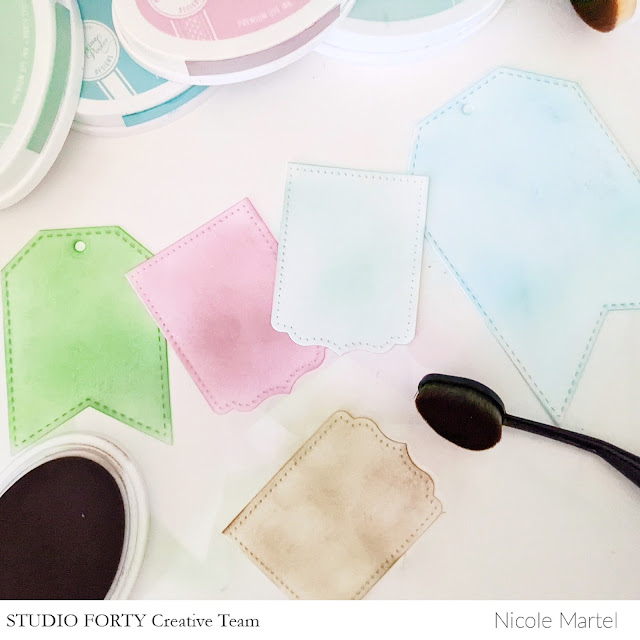
Next, I used a variety of inks and a blending brush to add a bit of color to each tag.

If you're new to stamping...do yourself a favor and invest in a Misti. It makes stamping a breeze and you'll get a great impression each time!


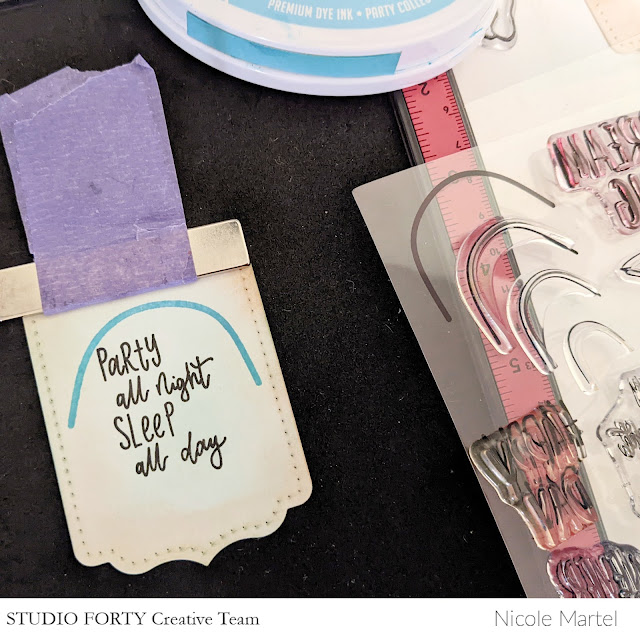
I used the Misti to hold the tags in place and stamped all of the images onto the tags. Super fun! Initially, I only planned on making two tags, but I wasn't having too much fun...so I made a few more.


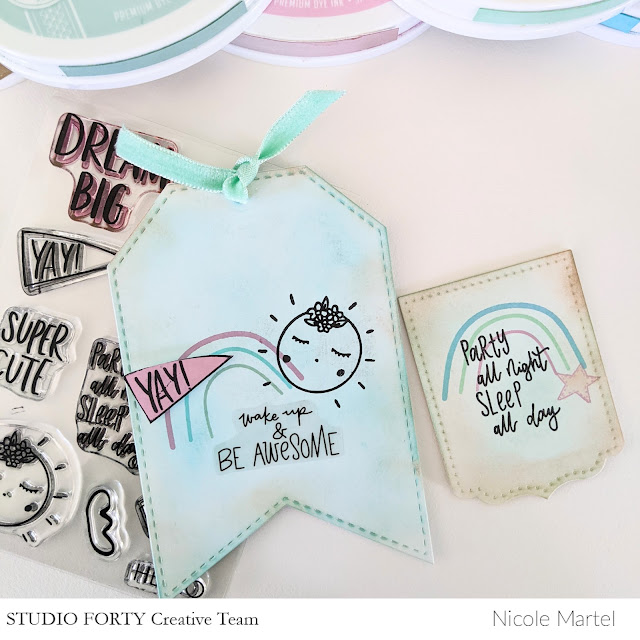
I used a clear sticker from the Everyday Story Collection as the sentiment for this tag. It's so inspiring! The stamped images are from the Sweet Pea stamp set and Never Grow Up. Here are the tags I created following this technique!

I added a touch of brown ink around the tags to distress them a bit.


Aren't these darling!? If you're in need of some cute stamps to create baby tags/cards or layouts, they are still available in the shop. Grab them today!


Thank you so much for stopping by today! I hope you have a fantastic week!

Monday, March 14, 2022

SNAILED IT BOOKMARKER/BRUTUS MONROE

Good morning friends! I'm so excited to share this bookmarked with you today! The adorable Snail in the Snailed it stamp set caught my eye the minute I saw him. I had to make something pretty with him! 


To begin, I used my Sizzix to create the bookmarked using a metal die. Then, I stamped the mushroom using the Tiny Miracles Stamp Set and then the "Snailed it!" sentiment from the Snailed it stamp set.


Next, I stamped the snail onto the Aqua Pigment Watercolor Paper using embossing ink and used the heat gun with the Raven embossing powder to create my snail. Once I was done embossing, I used a variety of Aqua Pigments to color him. :) This part was so much fun.


He was a little too pink to my liking so I added a layer of Yellow Orange Aqua Pigment over top of the pink, making sure to dry the ink between colors. Isn't he the cutest?! I just love him so much.


I stamped some floral elements using embossing ink and then used the Raven Embossing Powder to make it pop. Once it was completely dry, I painted them with Aqua Pigments. If you do not have Aqua Pigments, you may want to give them a try...they are easy to work with and the colors are beautiful.


Be sure to check out the Instagram account for more inspiration throughout the month by the team!Click here to shop at Brutus Monroe through my affiliate link. The price you pay will not be higher, I may receive compensation for your purchase!Thank you so much for visiting today.


Tuesday, March 01, 2022

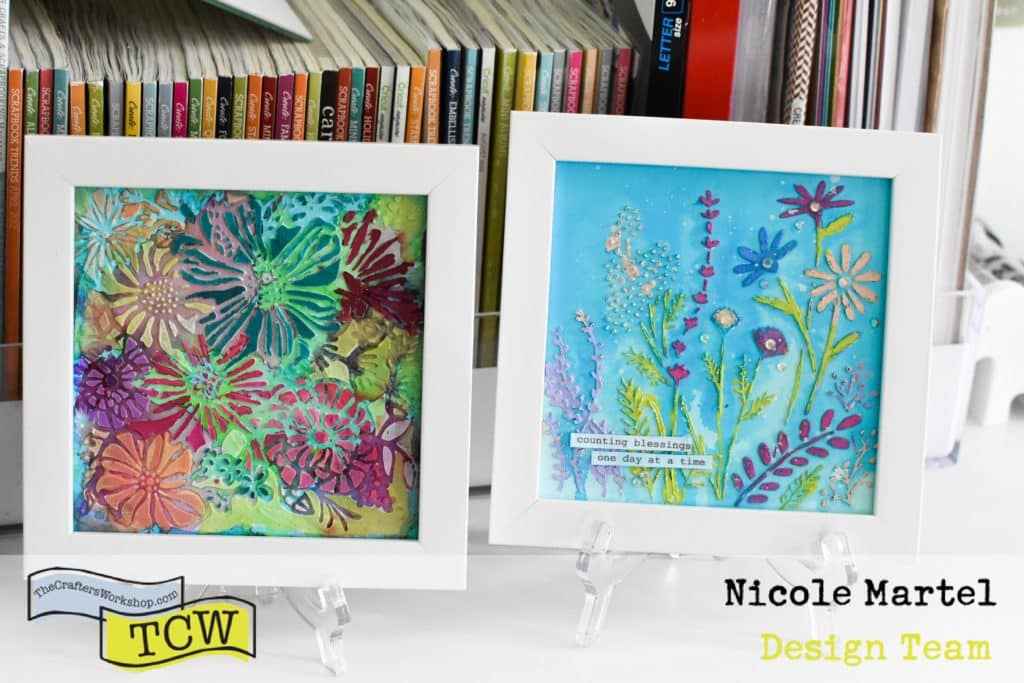
FLORAL WALL ART/THE CRAFTER'S WORKSHOP

Hello friends! I decided to pull out my ColorSparx and play! I wanted to create a pretty wall art piece for my craft room. This was super fun to make and not complicated at all!


Disclaimer: "The Crafter's Workshop provided me with product to create this project. The opinions I share are solely my own."

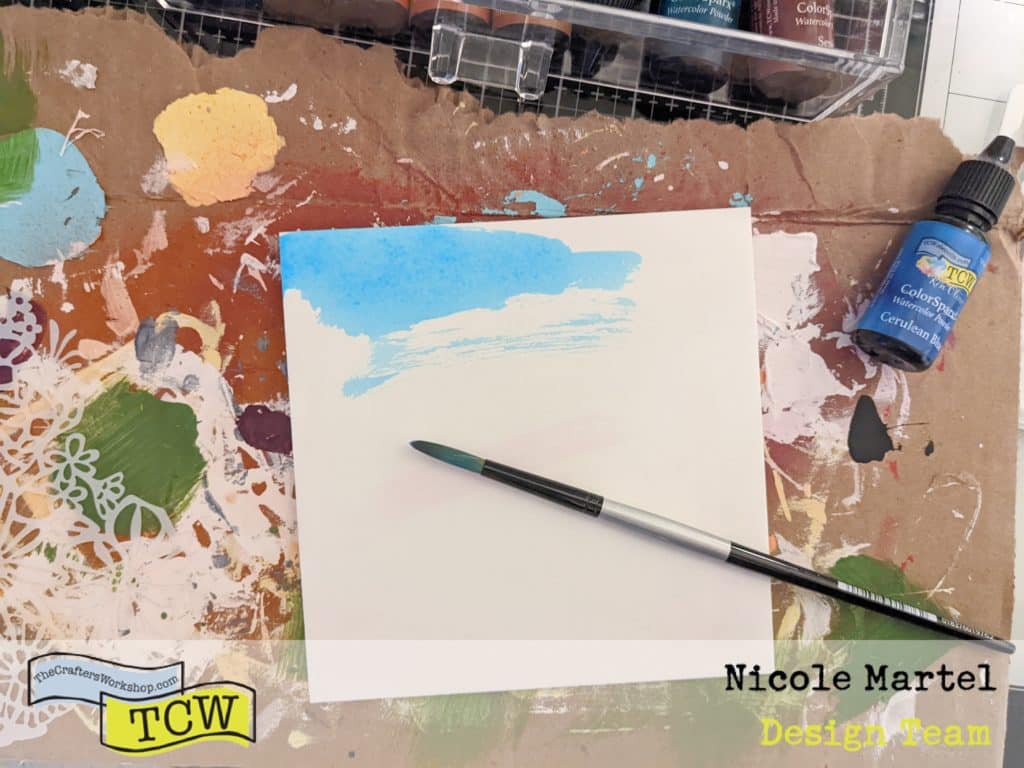
To begin, I mixed the Cerulean Blue ColorSparx with some water and painted the 6x6 Mixed Media Board.

This image has an empty alt attribute; its file name is PXL_20220115_220029613-1024x768.jpg

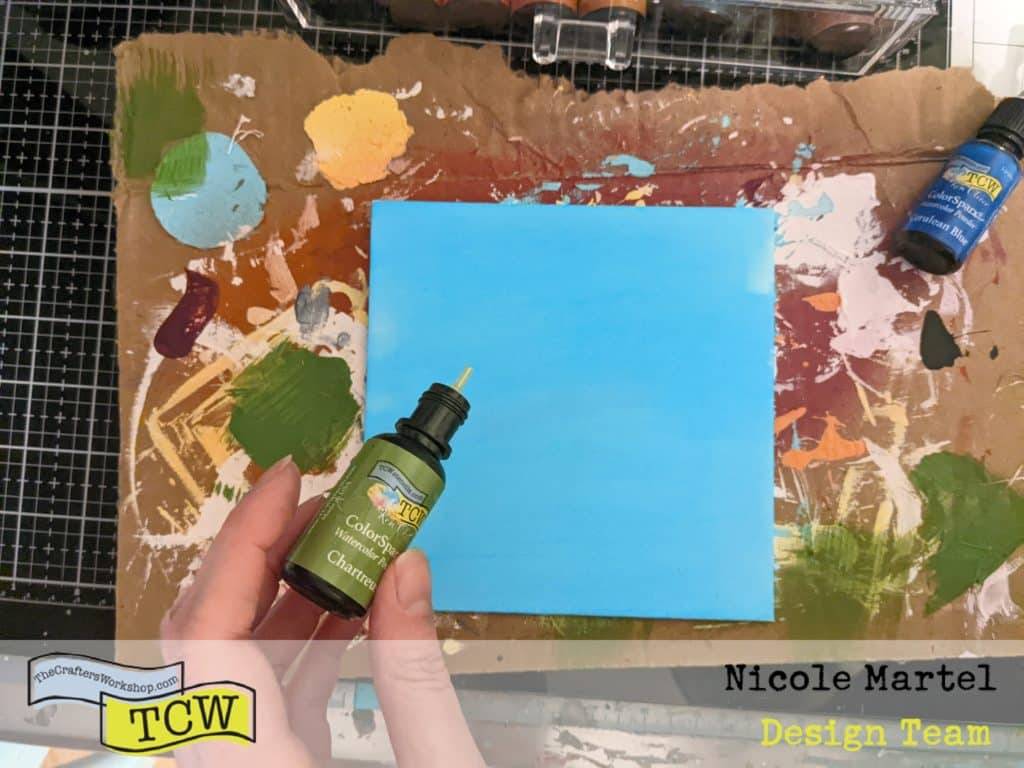
I used the heat gun to dry the watercolor. Then, I sprinkled some Chartreuse ColorSparx all over the board.

This image has an empty alt attribute; its file name is PXL_20220115_220423339-1024x768.jpg

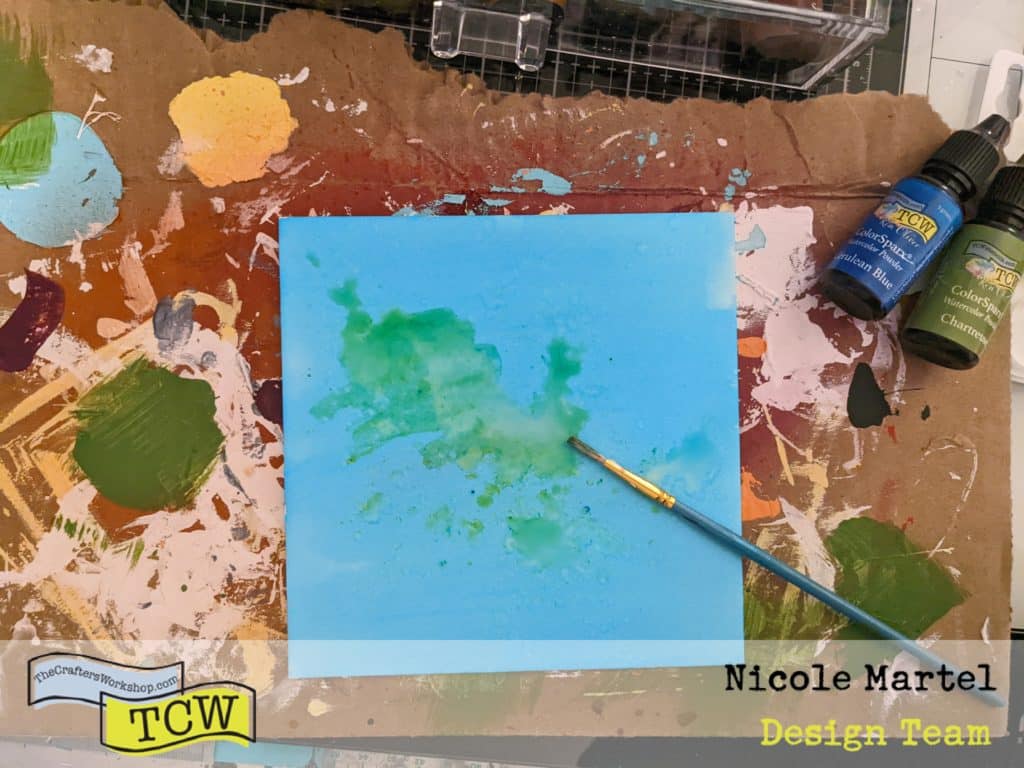
Then, I applied some water using a paint brush to work the green into the background.

This image has an empty alt attribute; its file name is PXL_20220115_220514829-1024x768.jpg

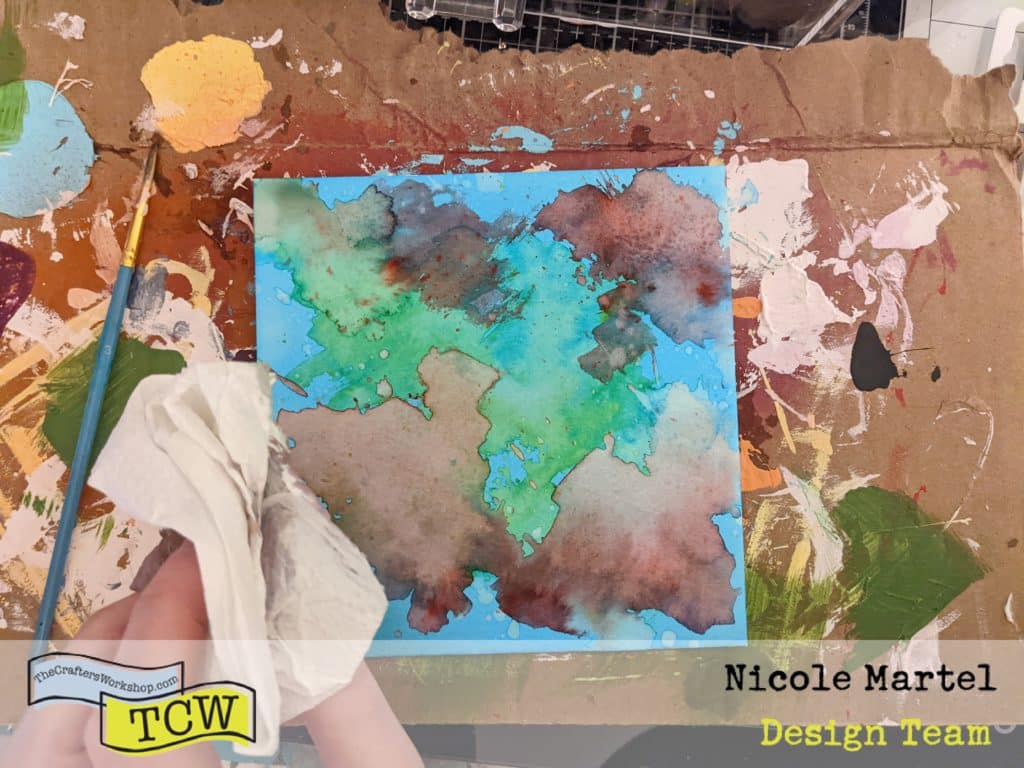
I repeated the same process using the Crimson ColorSparx. Once I was satisfied with the background, I used a paper towel to dab off the excess water. I know this doesn't look very pretty, but it will... once it's done. :)

This image has an empty alt attribute; its file name is PXL_20220115_220907188-1024x768.jpg

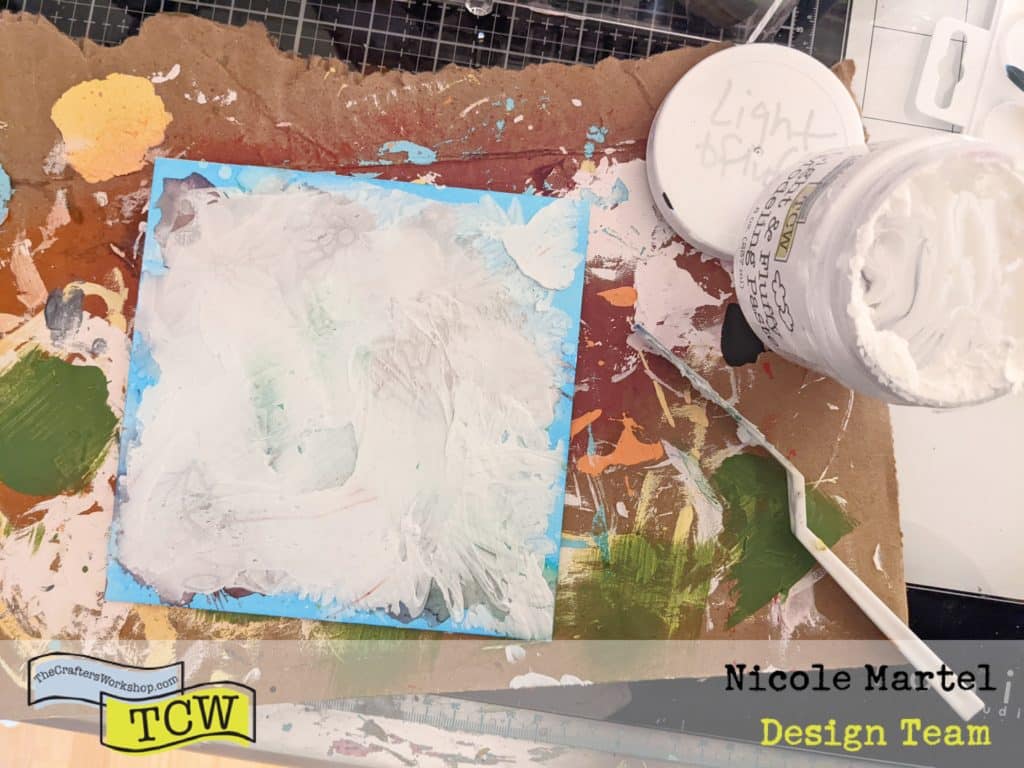
Next, I used Light and Fluffy Modeling Paste through the TCW962 Bouquet Bliss stencil. I was very careful not to smear the stencil by pulling the palette knife in one direction. I wanted the flowers to be perfect.

This image has an empty alt attribute; its file name is PXL_20220115_221330951-1024x768.jpg

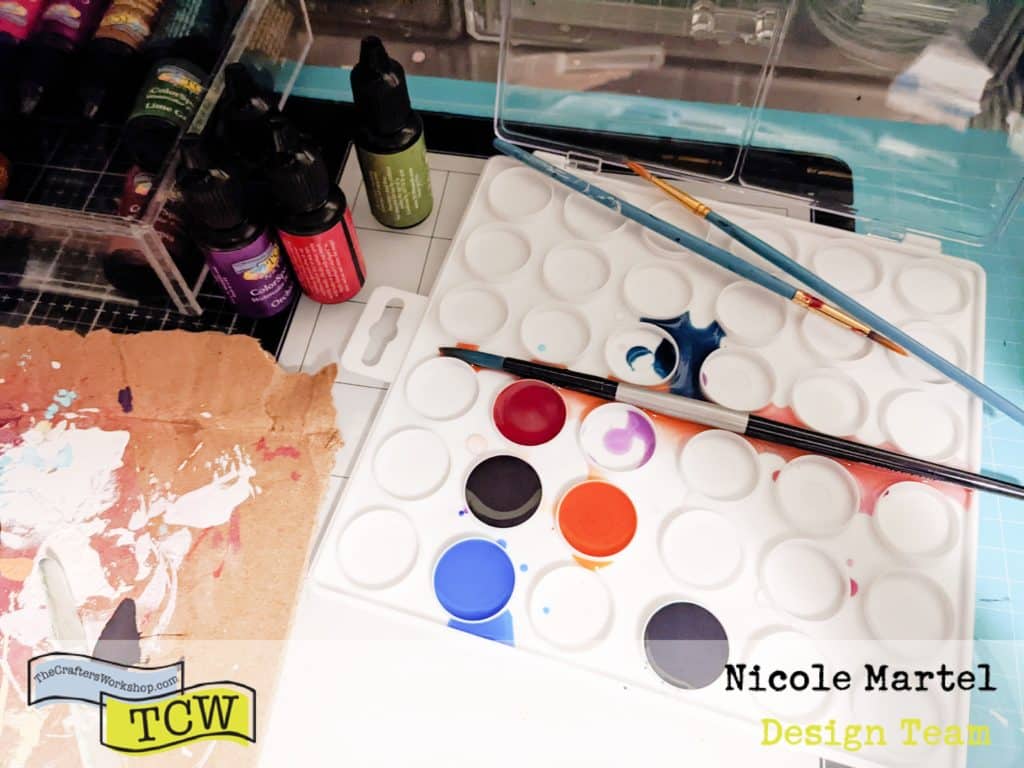
Finally, the fun part! I mixed my colors that I wanted to use on the tray. I added a few more colors as I was working on this piece. 

This image has an empty alt attribute; its file name is PXL_20220115_223354352-1024x768.jpg

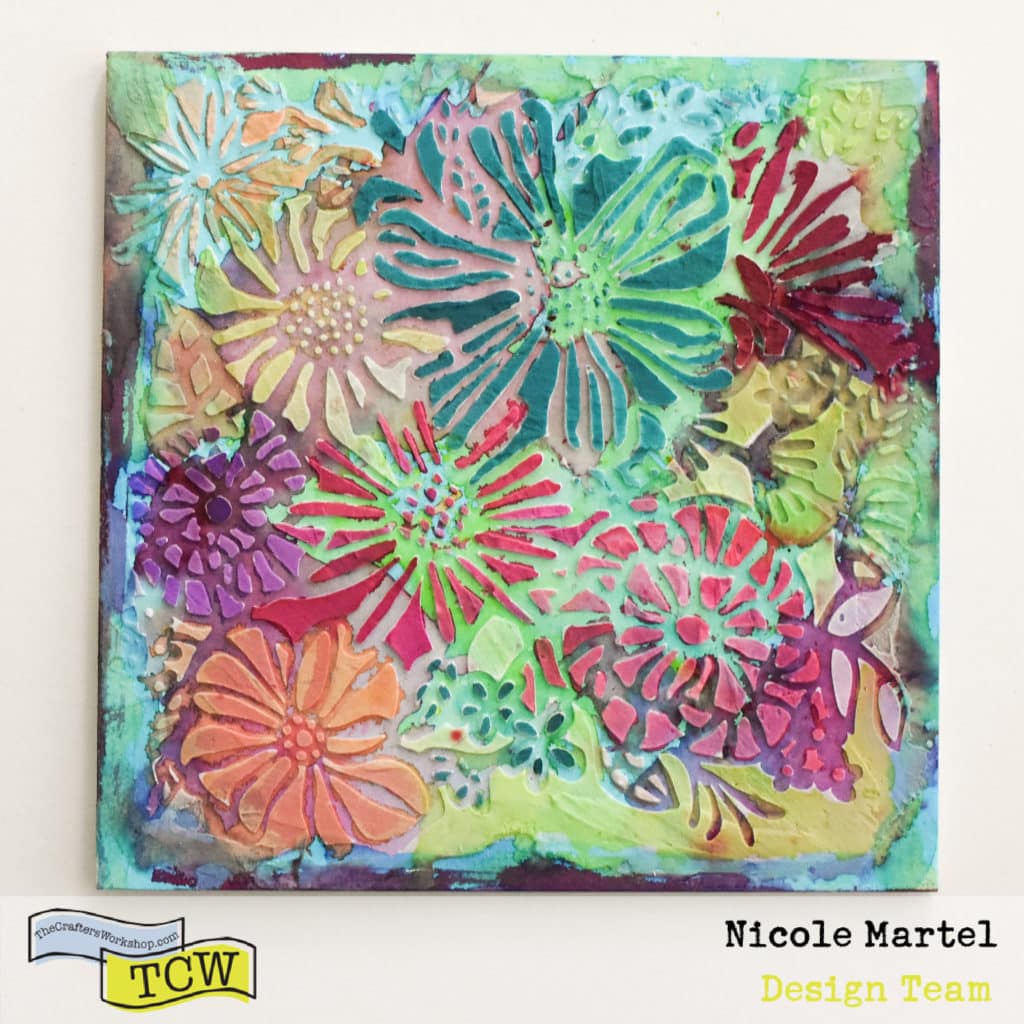
Once the Light and Fluffy Modeling Paste was completely dry, I painted the flowers using a paint brush. I didn't worry if I went outside the lines too much because this is a watercolor piece and it will look nice with the colors blending together a bit.

This image has an empty alt attribute; its file name is DSC_9071-1024x1024.jpg

I popped the Mixed Media Board inside a 6x6 frame to sit on my shelf. I absolutely love this piece. Initially, I was going to add a sentiment and gems, but I like it the way it is! It looks nice next to the other piece I shared in February!

This image has an empty alt attribute; its file name is DSC_9074-2-1-1024x683.jpg

Thank you for visiting today!