Hello, friends! I'm excited to share my latest art journal spread I created using Mintay Paper's Art Journal Essentials. When they first came out with this new collection, I was excited. The patterns are so interesting and unique! For this spread, I used the Ink Aura paper pad and the Art Journal Essential word stickers, definition stickers and the Vintage Ephemera pieces.
I was especially drawn to the gorgeous color palette of these papers! And those butterflies...ah, so pretty!
I added a few glitter drops to the center of the flowers to add some sparkle. The butterflies and the cluster of flowers I fussy cut were popped up with foam squares to add dimension.
I love the torn paper edges. It gives it a nice rustic feel with the stencil work I created using the stencil and polishing plaster.
The full tutorial is available through my YouTube channel!
Thank you so much for visiting today! Click here to shop for the Art Journal Essentials through my affiliate link.
Hello, friends. Happy Friday! Nicole here with a fun, whimsical art journal spread. I really need to play in my art journal more often because it makes me so happy...my mood instantly changes when I play with pretty stamps, stencils, and lots of color.
Before I begin, I always decide on a color theme...I chose to work with orange, reds, and greens for the base. The patterned paper pads make the process so much easier! I simple colored the pages using acrylic markers and then tore the paper and glued them to the pages.
Sometimes, I fussy cut images from the paper to glue down as well to tie both sides of the journal spread together.
I glued a variety of cute die cut elements at the bottom to create a fun, whimsical cluster of elements across the bottom of the page. Next, I glued the glitter drops down to add some shimmer.
This page has a nice collage feel to it. I just glued down everything that I wanted, randomly all over the place. It's not organized by any means, but it's totally fun!
One of my favorite things about playing in my journal is that it is very freeing to not think or worry about anything at all...just add color and glue down the things that make you smile...it's that simple. JUST HAVE FUN.
I hope you found this spread fun, and delightful to look at! I enjoyed playing, and I encourage you to try something different if you haven't given art journaling a try, yet. Start out small and work your way up to the larger size. I'm still working with a 4x4 size and it works for me. Click here, to see the full tutorial! Thanks for watching.
Good morning, friends! Nicole here with a fun art journaling spread I created using a variety of products by Art by Marlene. I just love how fun, funky, and vibrant her products are and I've been itching to play in my journal for a few weeks now. And then I saw that Jess and Rachel were playing in theirs...and that was just what I needed to jump in and play along side them.
I never really have any idea of what I'm going to do when it comes to creating in my art journal. I simply grab a stamp and some paper along with my duo acrylic markers and just start laying down color. Once the background is colored with markers or papers, I add shapes, journaling and whatever else inspires me.
The butterfly stamps were my inspiration for this spread. I picked up two sets a few months ago and have yet to use them...therefore, I designed this spread around the butterflies. I cut the postage stamp paper to create the border at the top and bottom of the first spread. The butterfly was stamped directly onto the page so that I could get the scattered polka dots... and then I filled in the area to add pink and blue dots between the black polka dots.
Next, I stamped the butterfly image on to patterned paper and fussy cut it and glued it to the page. Super simple, but by using patterned paper, I was able to add more color. Then, I added the stamped sentiment, string, and gems to complete the spread. I ended up tracing over the sentiment using the marker to make it more bolder since the stamped sentiment was a little light.
The second part of the spread was a bit of a challenge and it didn't necessarily go as planned... I added the paper and then stamped the circles across the top of the page. I used markers to color in the dots. After that, I stamped the butterfly onto the paper and it was not a clear image so I ended up stamping it on a piece of patterned paper and fussy cutting it out to glue over my mistake. I stamped a few images such as the heart and sentiment. After that, I added a few die cuts to fill in the white space along with gems, and doodling.
Have you played in an art journal yet? It doesn't have to be pretty or perfect! It's just a great way to decompress and just play... Thank you so much for visiting today! Click below to watch the full tutorial! A lot more went into this process than meets the eye...but in a fun way!
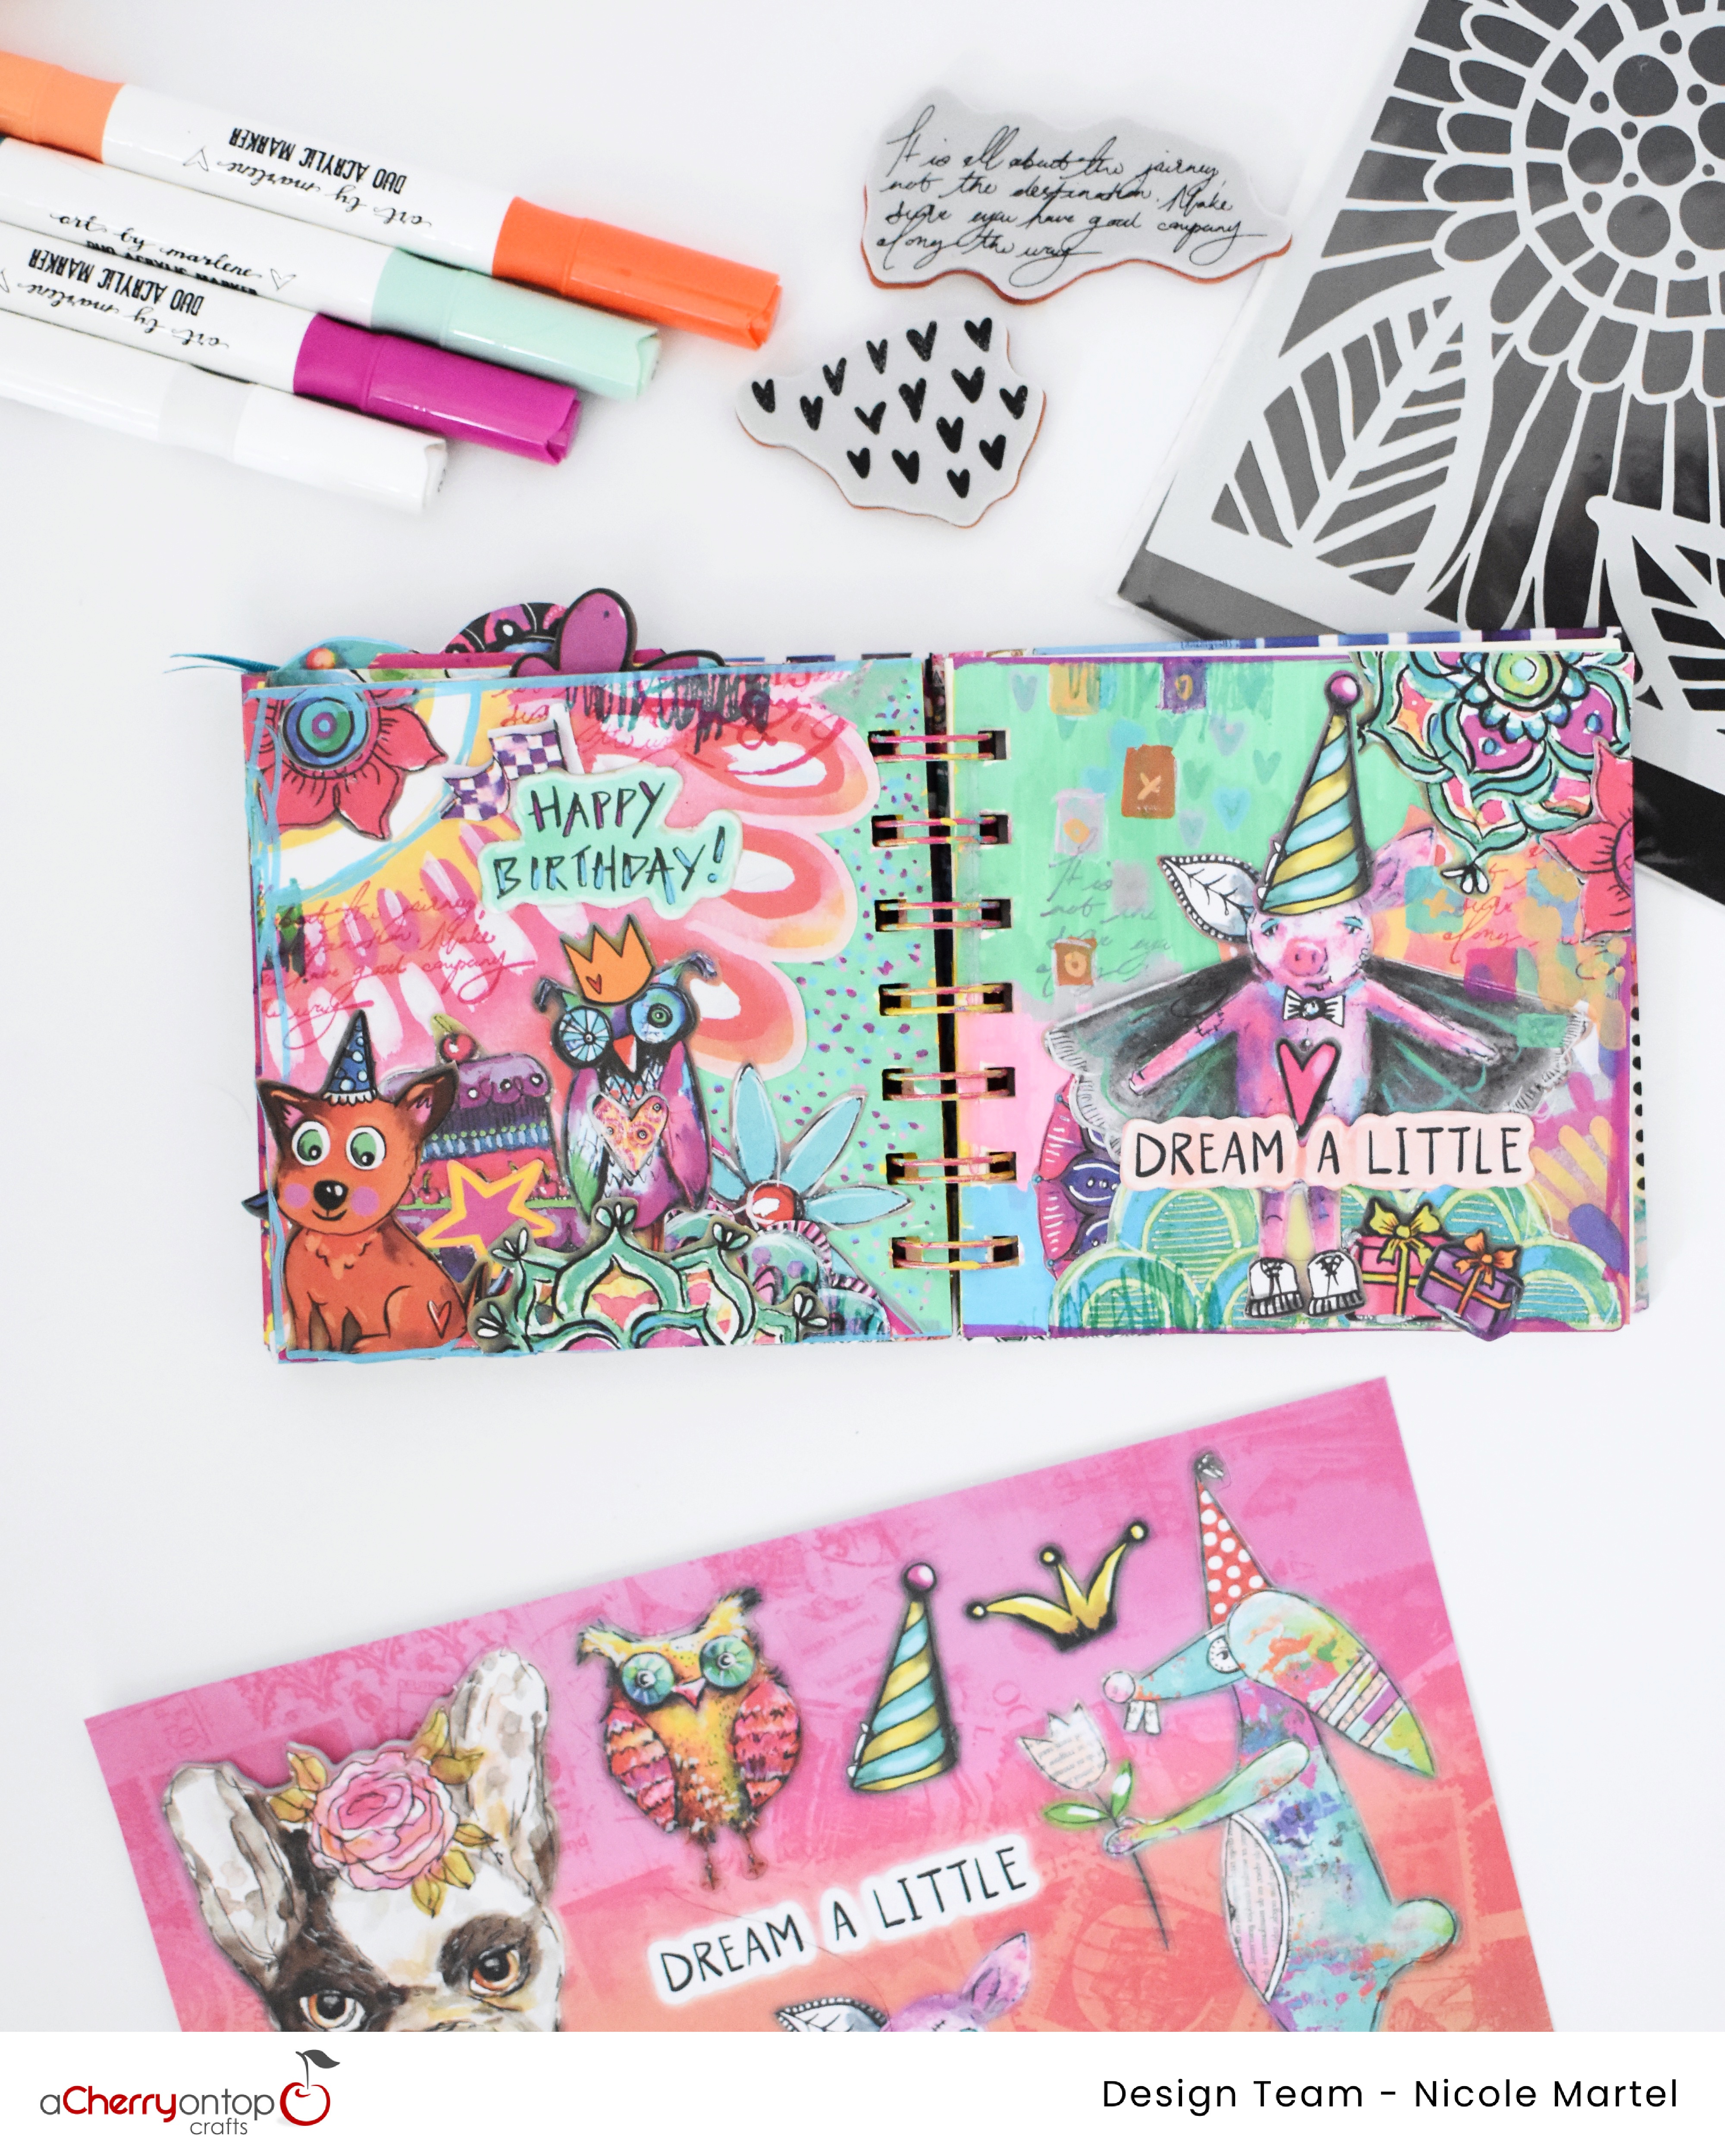
Good morning, friends! Nicole here with another mixed media art journal project. This past month, we celebrated my neice's third birthday. I came home and created this fun art journal spread using stamps and stencils to create a fun background. One thing I realized while creating this spread is that I definitely gravitate towards things that I like in real life... Such as pigs and animals in general, and Art by Marlene fits my personality! I love funky stuff...and I like playing with bright, colorful products. I think that's why I'm hooked on art journaling! It's freeing...
To begin, I used a pencil to draw marks on the plain art journal page to create a pattern for the background. Next, I colored in the triangles using the Duo Acrylic Markers. This markers are fantastic!!! I love them so much. Next, I cut the patterned paper from the Golden Collector's Book into a fun photo corner and glued it down in the journal.
After that, I moved the fun die cuts around to figure out the placement of all the magical elements. These fun die cuts come inside the Golden Collector's Book.
Once I was satisfied with the placement of the little guys, I glued everything down. I used the white marker to trace around some of the die cuts to make the images more defined so they don't get lost in the background.
I stamped some journaling scripts and hearts to the background. You do not need a block for the stamps. Simply, press the stamp into the ink pad and then press the stamp down on the page using your fingers to press down to ensure the images transfer to the paper. I probably should have done this before gluing down the elements...but to fix this issue, I covered the areas I didn't want to cover with scrap pieces of paper and it worked out. After that, I used the markers to create a variety of dots to fill in the white space.
I stamped the hearts down and then traced them using the markers to change the hearts to multi-colors. I used my fingers to dabb off the excess paint from the hearts to lighten them. Next, I used the stencil to create the little blocks with the markers. I used my finger tips to dabb off the excess to lighten the paint so it blended in the background. Since the acrylic markers are opaque, I used an alcohol marker to color the die cut sentiment pink.
I hope you found these pages delightful! I had so much fun playing in this journal! Click here to see all the products used and to shop through my affiliate link. Thank you for visiting today.
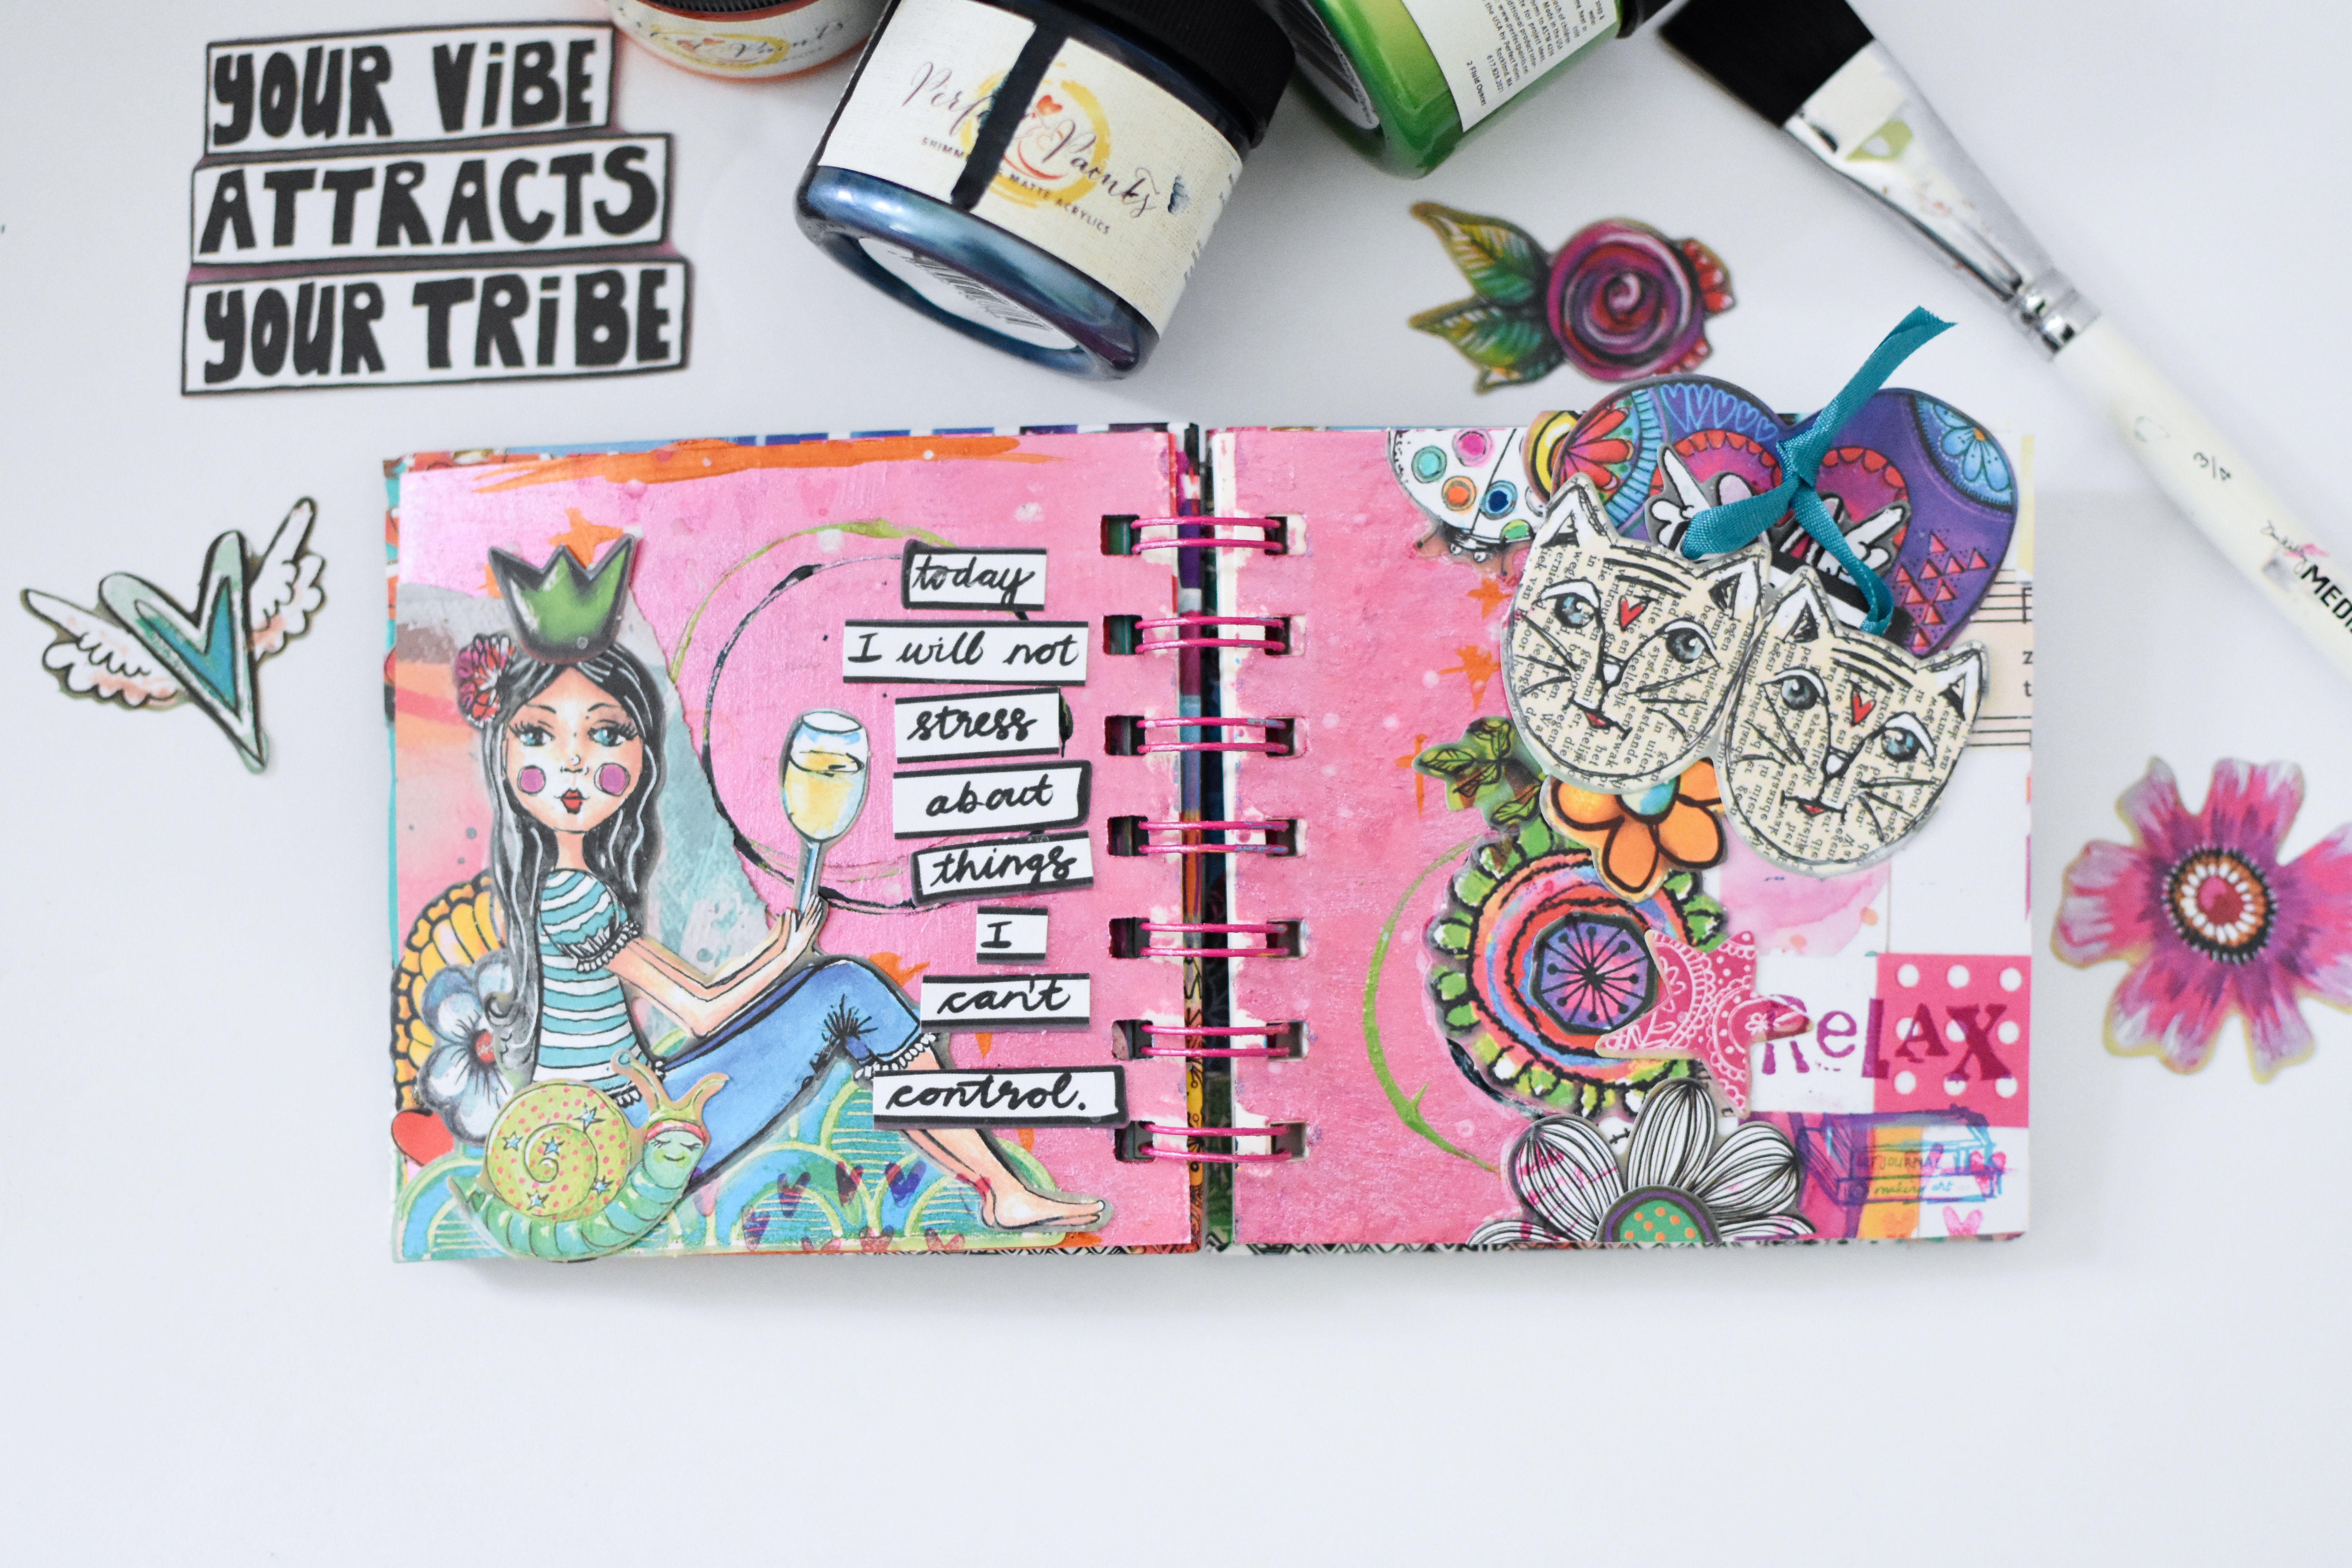
Good morning! Nicole here with another art journal spread I created with Shimmering Matte Acrylics and Polishing Plaster to create a beautiful, and vibrant background for my spread.
To begin, I used a paint brush to apply the Rain Slicker Shimmering Matte Acrylic to both spreads.
Next, I used a palette knife to pull the Mexican Turquoise Polishing Plaster through the stencil to create the designs in the background.
After that, I grabbed the Peony Shimmering Matte Acrylic and mixed it with a little bit of water and splashed it all over the spread using a paint brush.
I let this dry for about an hour before adding all the fun embellishments using glue.
I love how vibrant this spread is...with all the pretty little houses... Seriously, it makes me happy just looking at this spread. And I don't know about you, but seeing yellow always makes me happy! As long as I'm not wearing it...LOL.
I hope you found this spread delightful! Thank you for visiting today.
Good morning friends! I'm excited to share my very first few pages in my art journal. I've been wanting to give art journaling a try for a while now and thought, now is a good time to do it. This month, the design team is hosting a YouTube hop featuring projects with shapes... perfect for art journaling! Click here to see the videos!
I am using a variety of products from Art by Marlene to create these fun pages! Seriously, I cannot tell you how much I enjoyed playing with all the fun things...I played with acrylic markers, stamps, stencils, die cuts, and stickers...and oh, it was o much fun!
To begin, I used acrylic markers to color the paper. Next, I tore a piece of patterned paper and glued it onto the page. After that, stamped some images all over the page. Then, I glued down all the pretty die cuts and stickers. Super simple, and fun! Be sure to check out my process, here.
For this page, I used the acrylic markers to color the page and then I stamped the background stamp over the painted page to add florals in the background. Next, I glued down all the fun embellishments. Honestly, the hardest part of this process is choosing the colors for the background and stamp...
This is the inside of the book. I didn't like it being white so I thought I would create an entry page... Loving the purple, blues, and fuchsia together with the pop of black and white. Isn't this page so striking!?
I love that Art by Marlene's die cuts pop right out of the book...No need to cut them out!!
What do you think? Aren't these fun. I just love the vibrant colors, flowers, creatures and shapes on all of these pages. I can't wait to share more pages with you in the upcoming weeks. Thank you so much for visiting today and be sure to check out my process video, here.
Good morning, friends! Nicole here with a few art journaling spreads I created. I don't normally play in art journals, but I was looking for something different to do...so I thought I'd grab a few Shimmering Matte Acrylics and my art journal to see what would happen... I am using a variety of products from Art by Marlene for this spread. Her products are super fun and easy to work with.
And what happened was...I HAD SO MUCH FUN! Seriously, I can't wait to create a few more art journal spreads. It was Friday night, and I just wanted to play with paint. To begin, I grabbed four Shimmering Matte Acrylics in the colors of Spring Green, Cajun Pumpkin, Bohemian Blue, and Peony. Next, I painted both pages using the Peony Shimmering Matte Acrylics.
After the paint dried a bit, I used a cap to make circles using all the Shimmering Matte Acrylics.
After I finished making a few circles, I grabbed a small pointed paint brush to create some orange plus signs in the background.
I let this dry a bit before gluing down all the fun die cuts! Super simple techniques, but a great way to add color to your journaling spreads!
Are you a fan of playing in art journals? This is a first for me, and I think I'm hooked. Can't wait to share a few more creations with you in the upcoming months.
I managed to tuck a few hidden embellishments throughout the art journal...for fun.
What do you think? Think you're ready to give art journaling a try? You won't know if it's something you'll enjoy until you try it out for yourself.
I truly hope you find this project inspiring, and I hope I inspired you to try something different! Thank you so much for visiting today.
Good morning! I'm back with a fun tutorial. Today, I'm going to share how easy it is to make your very own art journal using the Pumpkin Patch digital collection from TandiArt. I had a lot of fun making this and the colors make me happy!
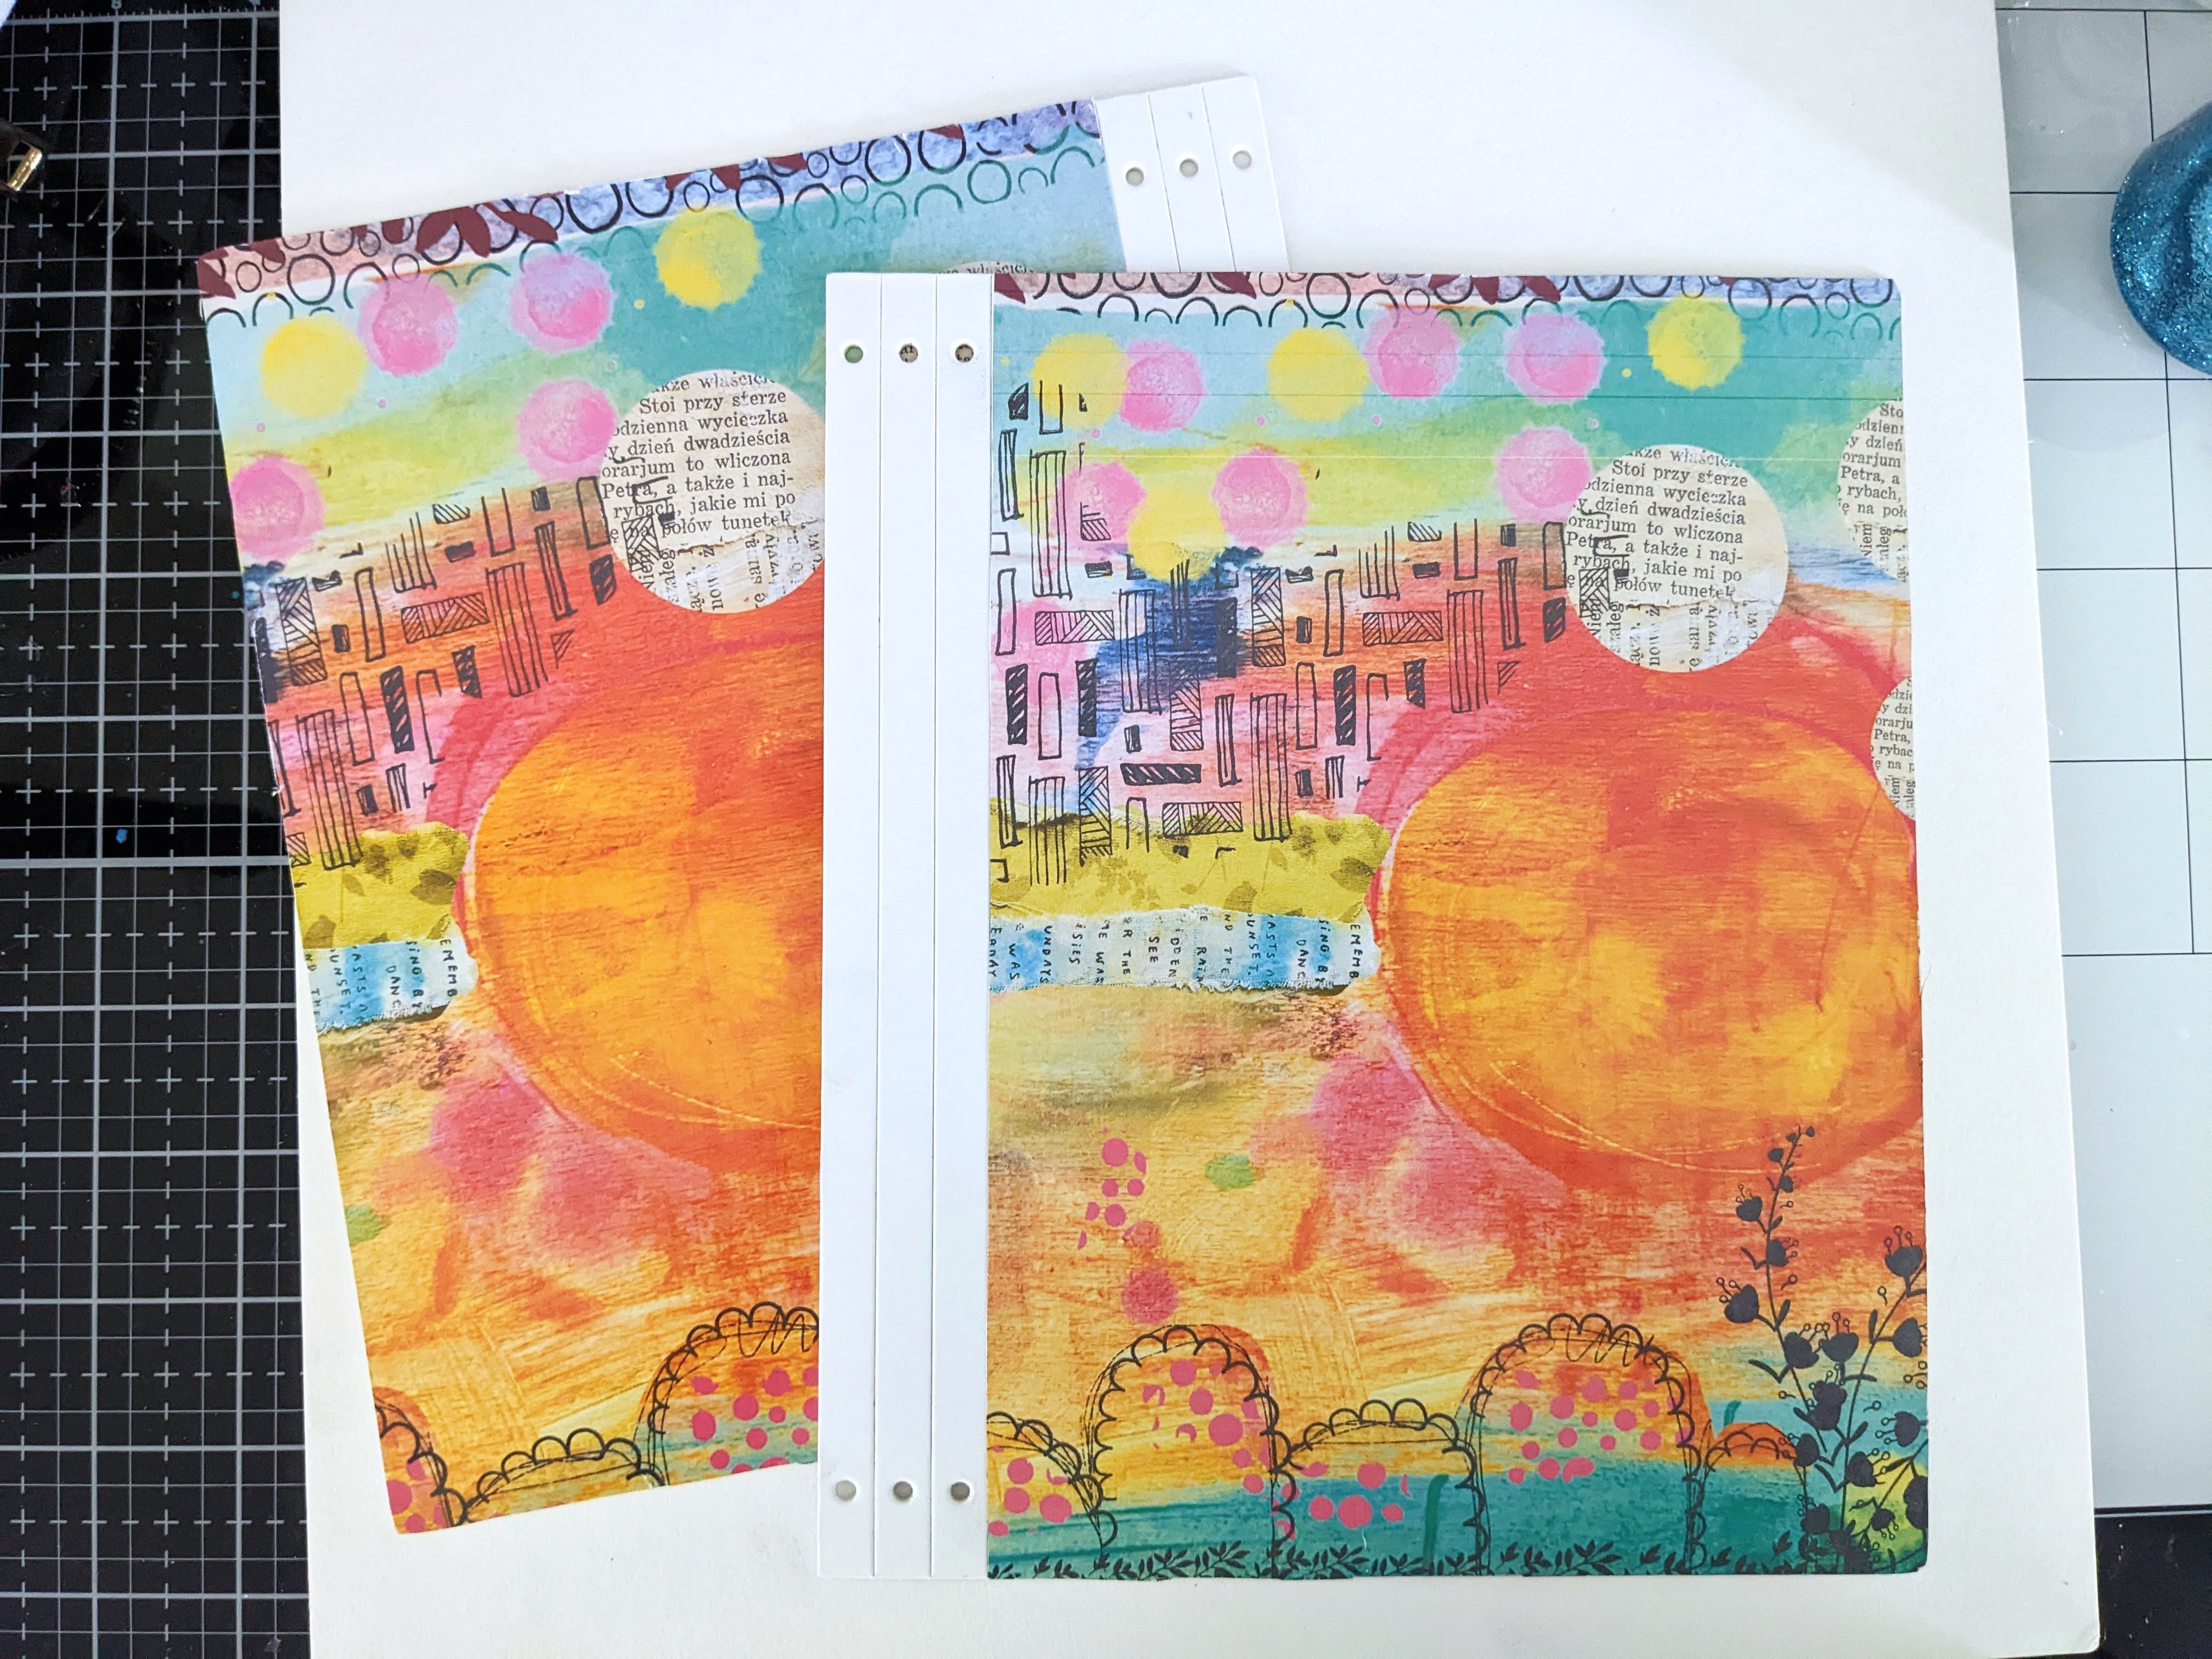
Next, I carefully covered the boards with the print. I used scissors to trim the excess from the edges.
Then, I used a blending brush and orange ink to color the spine of the book.
I selected a color that would look similar to The orange print.
Next, I used some elastic pink string to bind the book together along with strong tape to hold the two pieces together.
The Red Liner Tape is super strong and works well for this journal. I applied a generous amount of tape along the spine. Then, I added the other piece over it to hold them together.
Finally, I was ready to add the string so that I had something to hold the journals in place. Be careful when adding the string. Make sure the string is in a row...so it looks neat.
Once the string has been added, simple tie the pieces into a Knott and trim the excess. This journal holds A5 journals. I purchased them on Amazon!
I printed a few butterflies and added some embellishments to add dimension. Tandiart has stickers you can use instead of the digital prints, too. The colors are absolutely beautiful!
Isn't this o pretty!? I love the colors so much and the butterflies. Click here to check out Tandiart's digital products! Thank you for visiting today.
My name is Nicole Martel and I have been paper crafting for over 25 years. I absolutely love getting creative and playing with paper and stickers, along with everything else! This is my space where I share my paper crafts!