My nephew is getting so big and with Covid I haven't really seen him much this year!! But I do enjoy seeing pictures that my sister post of him. I especially enjoy scrapping them!! For this layout, I used Fancy Pants Design's Hometown Summer Collection. Yes...you can totally scrapbook a winter themed layout using a summer collection because as you can see...I just did! :)
Monday, March 29, 2021
HELLO ADVENTURE
Sunday, March 28, 2021
HAPPY BIRTHDAY MINI ALBUM
Good morning! I have a fun birthday mini album to share with you today using pictures from my grandmother's surprise birthday party to celebrate the BIG 80. I think I will give this to her the next time I see her! My family loves it when I create mini albums for them and it's been awhile since I've made one!
Friday, March 26, 2021
POKEMON SHIRT CREATED USING ARTESPRIX SUBLIMATION PRODUCTS
Hello! Nicole here with a fun t-shirt I created for my son, Edward! He is really into collecting Pokemon cards so I thought he would like to have a t-shirt with a few of his favorite characters!
What are Artesprix Sublimation Markers?
Artesprix Sublimation Markers have the capability to transfer your drawings from a plain copy paper to any Polyester Fabric or Polyester Coated Blank with a unique process called, "'Sublimation."
Materials:
Artesprix Youth T-shirt
Original and Pastel Artesprix Markers
Printed Design from your computer (I googled my image)
Lightbox
Plain Copy Paper
Heat Source - Artesprix Heat Press
Step by Step Tutorial:
Step 1. To begin, I searched for a Pokemon image on Google. Once I found the image I wanted to use, I saved the image. Then I printed the image out in color so I could see through the lightbox easily.
Step 2.
I placed flipped the printed image over and placed it on the lightbox. Using Sublimation Markers, I colored in the images. I used a Black Sublimation Marker to trace the images.
Step 3.
I used the Original Sublimation and Pastel Sublimation Markers to color in the images.
Tip: If you accidently color outside the lines and you do not want that to show on the shirt, simply cover the area with a small piece of Heat Tape! The Heat Tape will prevent the Sublimation Markers from transferring onto the blank.
Step 4.
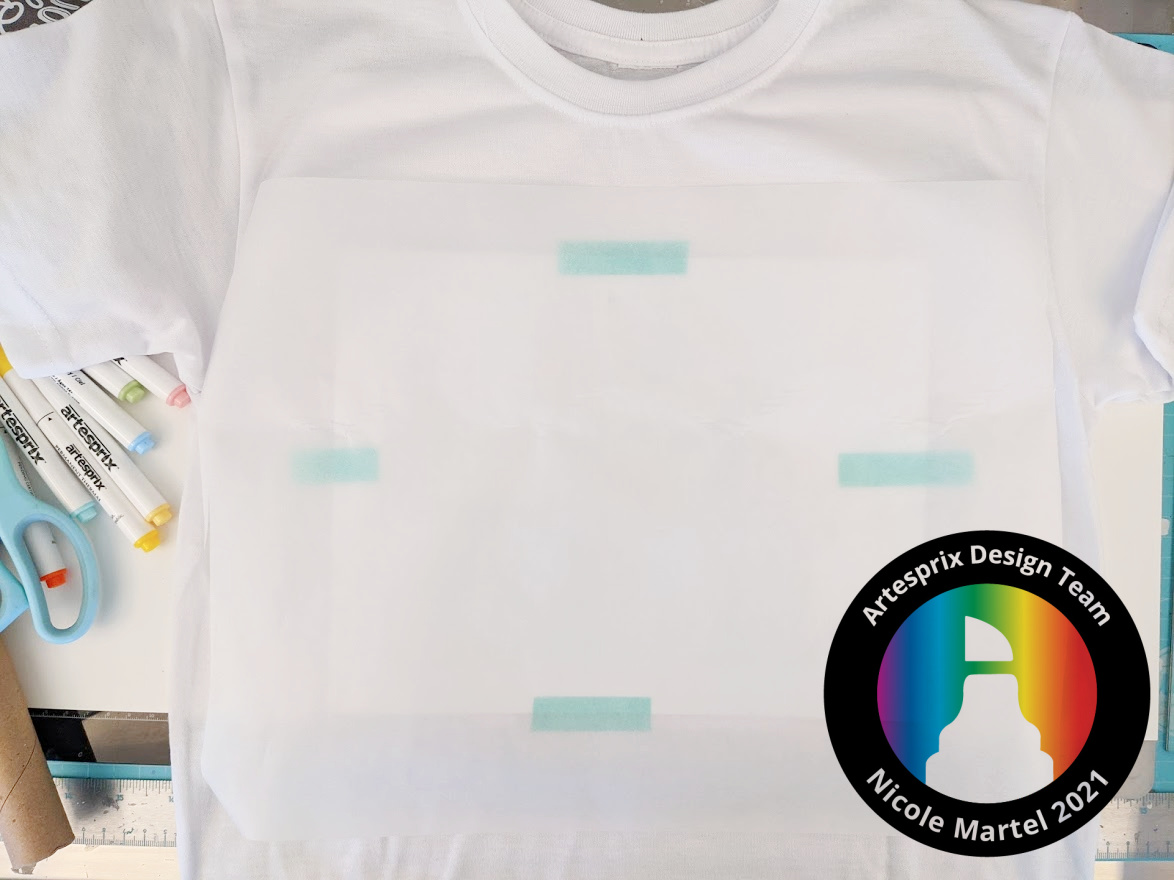
The 8x11 copy paper is the perfect size paper and it fits nicely on the center of the Youth T-shirt. I used a Tee Square It tool to determine where I wanted to tape down the image onto the shirt.
Step 5.
*Tip: Make sure there are not wrinkles on the shirt before placing the tshirt in the heat press. If there are wrinkles, you may end of with streaks!
Once I was satisfied with the placement of the art work, I secured the design (face-down) to one side of the Poly-T Shirt using heat tape. Be sure to secure all sides of the image using heat tape to avoid slipping because if it's not secured, you may get a ghost image.
Step 6.
Place the Artesrpix Protective Paper in-between your shirt to prevent your design from transferring through to the other side of your garment. Now, you are ready to create a "Sublimation Sandwich", from bottom to top:
Artesprix Protective Paper
Artesrpix Poly T Shirt with design secured (face-down) on top, with Artesprix Protective Paper inside
Artesprix Protective Paper
Don't forget to set your Artesprix heat press timer for 35 seconds at 370 degrees. Place "Sublimation Sandwich" in the heat press. After pressing, allow the item to cool before handling. Also, make sure the knob is tight. You want as much pressure possible so that the heat press is hot enough to really make the images and colors pop.
I always love seeing the full reveal. I just love it! When I showed Edward the shirt, he said, "cute!" But he was being a typical 11 year old...and would not cooperate for a photo shoot! But most importantly, he loves it!
If you have children, what are they into these days? We'd love to hear...maybe, we can provide you with some inspiration with those characters to help you get started!? Click here to my affiliate link to start shopping!
Thank you for visiting today!
Tuesday, March 23, 2021
HELLO TODAY
Good morning. I can finally share this pretty layout I created for Studio Forty! I created this layout back in September, but had to hold off on sharing it since it was picked up for publication by Creative Scrapbooker Magazine. :)
I cut the chevron from a scrap piece of paper to use as a geometric heart and popped it up using a foam square. I stamped the little speech bubble at the top right-side of the card and colored in the heart using a pink marker.
I used a black pen and a ruler to create the black border around the layout with some faux stitching at the corners.
To complete the layout, I added a few chipboard embellishments, and stickers. I cut out the balloons and flower from a journaling card. I stamped the camera in the journaling block and colored it in using markers. Notice the black roses...that is a clear sticker! I love how it looks on this layout at the bottom of the journaling card. Super pretty.
What do you think? It's so pretty, isn't it? I added a few strips of patterned paper at the top and bottom of the layout because the layout looked like it was missing something... I think it worked!
Thank you so much for visiting today! If you haven't checked out Studio Forty, do yourself a favor and check them out. Click here to grab some goodies! Save 10% on your purchase with coupon code: NICOLE10 . You will love them! And if you want to purchase in the US to save on shipping cost, click here to see if Clique International has some sampler kits left!
Tuesday, March 16, 2021
LUCKY MIXED MEDIA TIER TRAY
Hello everyone! I have a fun mixed media Tier Tray I created for St. Patrick's Day. This tier tray makes my heart happy! It's sitting on my coffee table and I just love it.
Click here to see the full tutorial on how this came together! The full tutorial is available on The Crafter's Workshop's blog.
To begin, I used the March Tier Tray Set from Foundation Decor. If you haven't checked this series out, do yourself a favor...check them out because they are soooo fun! And it's always fun playing with paint... who needs a reason to get messy? I don't... LOL
Here are some close ups of the final piece all put together... so fun!
Saturday, March 13, 2021
COME BACK/GUEST DESIGNER LAYOUT FOR ELLE'S STUDIO
Good morning!! Nicole here. I'm so excited to be guest designing for Elle's Studio this month! Before I begin, let me just say one thing... Happy Birthday Elle's Studio!
To begin, I placed two sheets of patterned paper onto white cardstock and then cut the excess patterned paper from the edges using scissors. This is such a simple way to create an interesting design in the background. Then, I placed a few Journaling cards across the middle of the layout. I love journaling cards because they make the best frames and mats for my photos. And of course...they are perfect for journaling.
I used the "good times together" wood veneer from the add-ons to create a sub-title within the matted photo. Then, I tucked a circle label beside the second matted photo and added some puffy stickers. They are soooo pretty! I added the heart die and star above the photo to fill in the white space and then used foam squares to pop up the "my favorite part of the day" die.
Thank you Elle and Meghan for having me this month! I can't wait to share my other project with you! Stay tuned.