Hello! Nicole here with another holiday project I created using the Frame! Just when I thought I had enough of gnomes, I went and bought some more stamps, but they are super cute and I couldn’t resist. You’ll see why, soon enough. By the end of this post, you’re going to want to make one of your own. Especially, if you’re a gnome lover, too!
What are Artesprix Sublimation Markers?
Magic Ink that transfers their beautiful colors from plain copy paper to a polyester product with a heat source. Iron-on-Ink Markers are the way to personalize sublimation, which is specially formulated inks that transfer only when activated with heat.
Materials:
Gnomie Botanical and Original Sublimation Markers
Blank Copy Paper
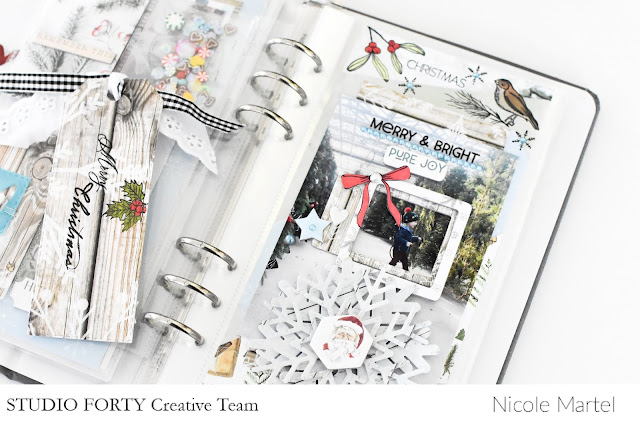
Frame
Trinity Stamps: Hanging Out, Gnome for the Holidays
Acrylic Stamp Block
Sublimation Ink Pad
Project Mat
Protective Paper
Heat Tape
Heat Source (Heat Press or Iron)
Step-by-Step Tutorial
Step 1: Trace your frame onto a plain piece of copy paper using a pencil. That way you know how much space you have to work with. The frame is a great size with lots of room to get creative. There’s room for lots of stamping. So fun!
Pro Tip: Set your heat press at 400 degrees Fahrenheit with a transfer time of 30 seconds before you start working on your frame. That way, the heat press will be hot enough to sublimate your images when you are finished.
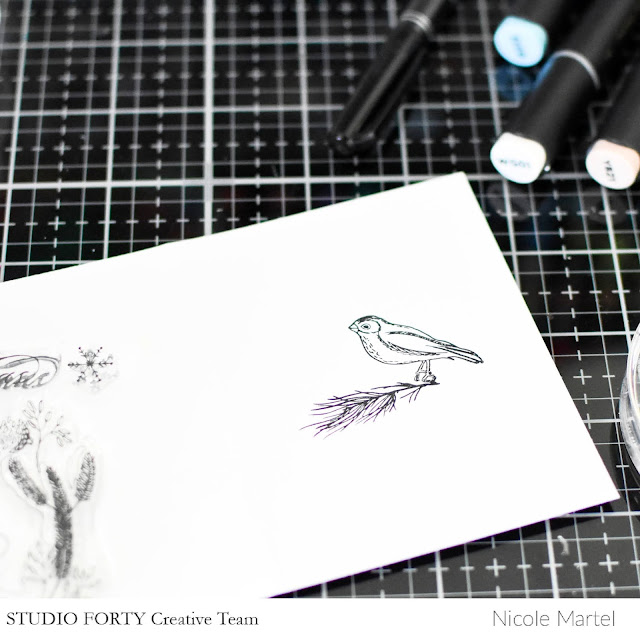
Step 2: Stamp images onto a sheet of copy paper using the Sublimation Ink Pad. Tip: Before you stamp on your main project copy paper, you may want to stamp your image on a scrap piece of paper a few times. Sometimes, the ink does not cling to stamps too well, which doesn’t always give you a crisp image. You can eliminate this issue just by stamping on a scrap piece of paper a few times… Trust me!
Step 3: Place clear film from the stamp set behind paper to trace a mirror image of the text against the window where there is a lot of light.
Step 4: Color in the images using your sublimation markers.
Step 5: Using heat tape, tape down the frame with the images faced-up.
Step 7: Place a piece of Protective Paper at the top and bottom of your frame.
Step 7: Place your "Sublimation Sandwich" inside the heat press for 30 seconds at 400 degrees Fahrenheit.
Step 8: Take a little peep test to make sure the colors are vibrant.
Step 9: Carefully, remove the frame from the heat press using gloves. Then place the frame onto the Project Mat to cool down. After a minute or two, remove the paper and heat tape to reveal your vivid designs!
Step 10: Assemble picture frame as desired, vertically. Place protective mylar film in the picture frame before assembling.
What do you think? Are you ready to make one of your own? I just love it so much! Thank you for visiting today! If you enjoyed this tutorial, check out my Wine Caddie post. It’s super cute! Looking to make your first purchase? Click here to shop for Artesprix products through my affiliate link! Click here to shop Trinity Stamps!
Stay Crafty! Nicole
**This post may contain affiliate links. That means that I may receive compensation if you purchase through the links I have provided. The price you pay for the product or service is not higher, but I may get compensated.**