Saturday, February 19, 2022

REMEMBER THESE MOMENTS MINI BOOK/STUDIO FORTY

Hello friends! This past November, we got a puppy... I wasn't quite ready for a dog, but it happened and we adore Moxie! I took some really cute pictures of Edward and Moxie the first few days of having him. Thank goodness I did because he is GROWING. LOL

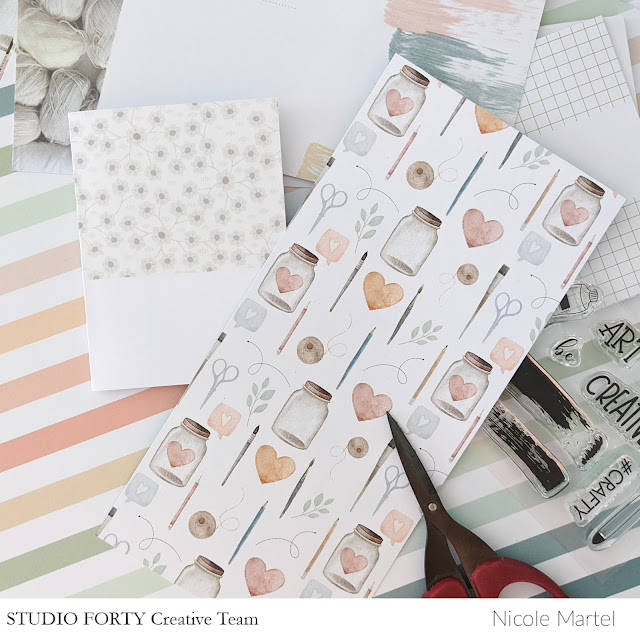
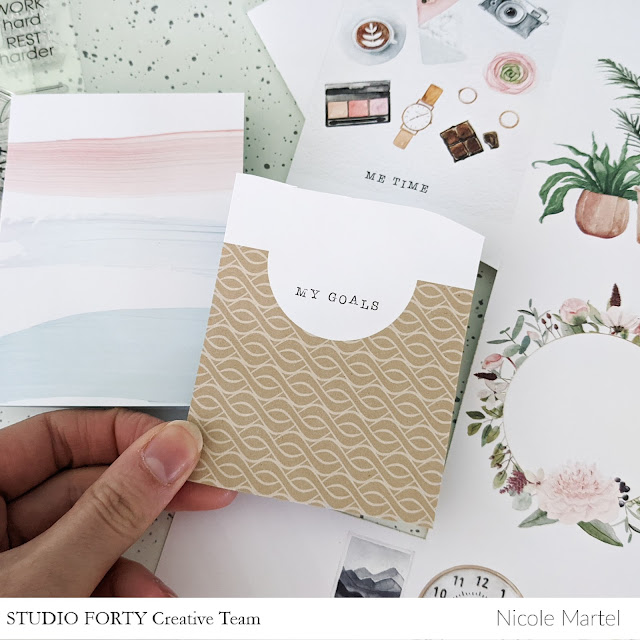
For this mini album, I used the Everyday Story Collection. I love the serene color palette of this collection and it was perfect for this mini.

Before I got started on this mini book, I printed a variety of photos and cropped them to measure 3 1/2x3 1/2.


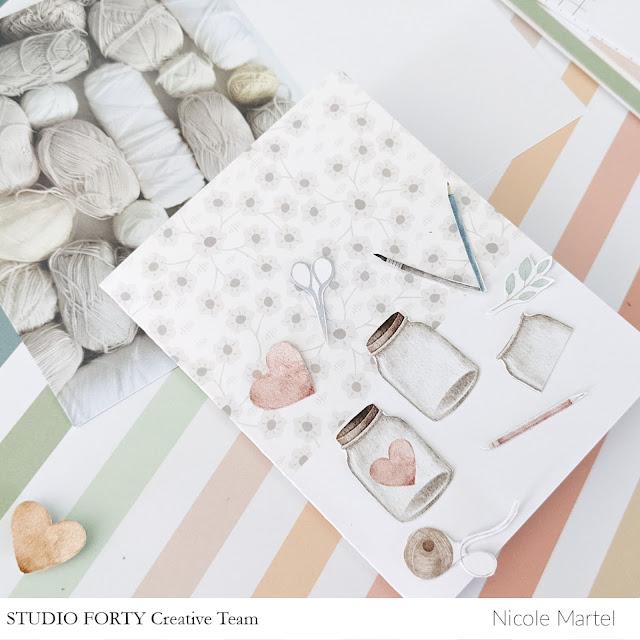
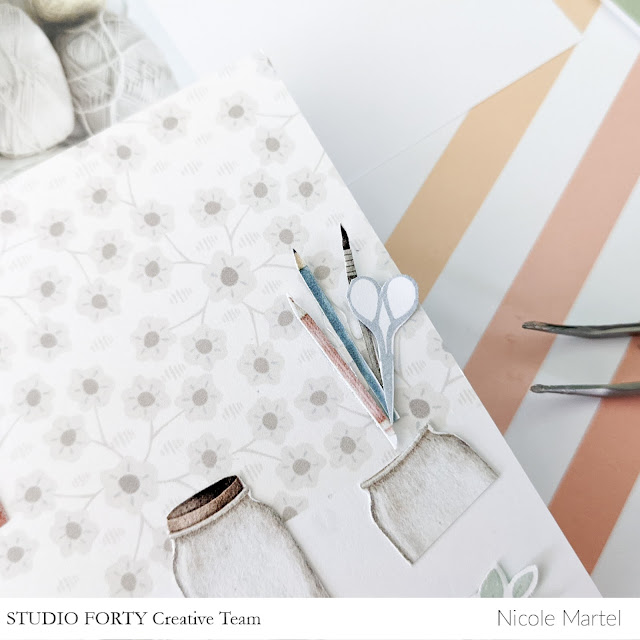
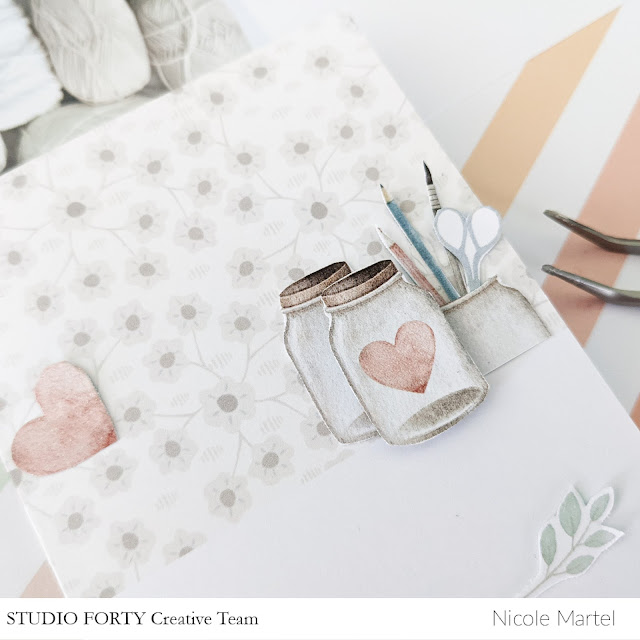
Then, I fussy cut the elements from patterned paper. This took some time...but it was so worth it in the end... Just wait until you see the little details of this adorable mini.


I cut a variety of patterned papers to measure 4x4 and pulled aside a few journaling cards to use inside the album. Next, I matted the photos onto the pages and punched holes through the pages using my Cinch.

I used the clear Everyday Story stickers and the stickers to decorate the first few pages. 

I punched the lace border using a metal die and then added a few pieces of die cuts that I fussy cut from the patterned paper and then added a few Sticker dots. Love these sticker dots!

I kept the album pretty simple, keeping the main focus on the photos with a few embellishments here and there.

I matted the sticker onto a piece of paper and then mounted it to the page using foam squares. Then, I added the camera at the corner using another foam square to add dimension. 

I used the arrow stamps from the On My Desk Stamp set to create a fun corner decorations. 

I added a few more pieces that I fussy cut in a nice little cluster and then matted the sticker for the right-side page.

I stamped "handmade" sentiment from the Crafty Stamp Set onto the back which is a journaling card from the Everyday Story Collection.

Did you notice how I glued down the heart, speech bubble and camera onto the journaling card to create this fun cover?! What do you think? It's super simple, but lovely. Thank you for visiting today. Don't forget to check out the Everyday Story Collection in the shop and use coupon code NICOLE10 to save 10% on your entire purchase!

Wednesday, February 09, 2022

VALENTINES DAY SUBLIMATION MINI BAG/ARTESPRIX

Hello everyone! I have a Valentine’s Day project to share with you!  You will not be able to resist this project… and by the time you see how fun this is to make, you’ll be making one, too! These little bags are perfect for some candy and gift cards! And they make great gifts. Come see how I created this adorable Valentine’s Day bag  using Artesprix’s sublimation markers!


Materials:


What are Artesprix Sublimation Markers?

Magic Ink that transfers their beautiful colors from plain copy paper to a polyester product with a heat source. Iron-on-Ink Markers are the way to personalize sublimation, which is specially formulated inks that transfer only when activated with heat.

Step-by-Step Tutorial:

Step 1. Place the mini bag onto a piece of plain copy paper and trace the outline using a pencil to determine the area that you have to work on. 


Step 2. Using your stamp and Sublimation Ink Pad, stamp your image onto the copy paper. 


Step 3. Color the images using Sublimation Markers.


Step 4. Place the film from the stamp behind project paper and trace the sentiment using a black fine tip sublimation marker against the window to create mirror text. 


Step 5.  Next, tape down the bag onto the paper using heat tape (image facing towards the bag). 


Step 8. Turn your heat press on and set the temperature to 400 degrees Fahrenheit and the timer for 50 seconds.

Step 9. Create your sublimation sandwich. Cut two pieces of Protective Paper to cover your project on the top and bottom. Place it inside the Heat Press (making sure the colored image is pointing face up towards the top of the heat press). The Heat Press will beep indicating that your project is finished!


Step 10. While wearing protective gloves, lift the handle and remove your mini bag. Place it on the Protective Project Mat and give it about 2 minutes to cool down. Gently remove a small piece to take a peek to make sure the colors are vivid. 


Step 7. Carefully, remove the protective paper to reveal your vivid design! Embellish as desired.


If you love this, check out the Heart Ornament I created by clicking here!  Click here to shop for Artesprix's products using my affiliate link! If you love this stamp set, click here to shop at Trinity Stamps! 

Thanks so much for stopping by today!

Nicole

**This post may contain affiliate links. That means that I may receive compensation if you purchase through the links I have provided. The price you pay for the product or service is not higher, but I may get compensated.**


Tuesday, February 08, 2022

EVERYDAY STORY CARDS/STUDIO FORTY

Good morning friends! I've been playing with the Everyday Story Collection and it's absolutely delightful. This collection is so beautiful with the soft colors and everyday elements. Today, I am sharing two cards featuring this collection with lots of fussy cutting! Grab your favorite patterned paper, stamps, and scissors and make a card of your own!

First, I selected the 4x6 floral journaling card and folded It in half to use as the base of the card.

Next, I fussy cut the elements from the patterned paper to use as die cuts for the card. These patterns are beautiful!


After I  finished fussy cutting the elements from the paper, I carefully glued them onto the card, using tweezers to make it easier to place the pieces down.

I used a few foam squares to pop one of the jars up to add dimension to the card.


To complete the card, I added some stamping at the bottom and the back of the card using the Clear Stamps from the Everyday Story Collection. The "hello Friday and Let's do this" sentiment is from the On My Desk Stamp set.


I love this collection so much that I created another card right after this... Seriously, though. This collection is wonderful. My second card includes lots of fussy cutting, too!

To begin, I cut a journaling card in half to use as the base of the card. Next, I cut the patterned paper to measure 3x4 to mount to the front of the card.

I cut the pocket from the patterned paper and cut the white space complete out to use as a pocket for the card. Then, I cut the "My Goals" sentiment into a banner to use at the top of the card. 

I fussy cut the elements and then mounted them onto the card. I stamped the "#crafty" sentiment onto the computer monitor using a dark gray ink. Then, I stamped the "art" sentiment on the notepad for fun. :) Isn't this super cute! I'm so pleased with these cards. I never considered myself a card maker...but this is new to me and I LOVE it.

Thank you so much for visiting today! Don't forget to stop by the shop to see the full Everyday Story Collection. Use code NICOLE10 to save yourself 10% on your purchase!