Hello all! I have a fun project to share with you today. It's a jute bag that I used vinyl and sublimation inks and stamps to create a one of a kind bag! I've become the neighborhood library since this pandemic started. I love to read and I have LOTS of books in every room. I thought it would be fun to create a bag to put a book in for my friendly book nerds!
This post contains affiliate links for the products used by today's poster. They may earn a small commissiion at no additional cost to you. We hope you enjoy Artesprix products!

If you're not familiar with Artesprix Sublimation Markers, you may be wondering how they work without having a sublimation printer or ink. The markers are designed to add your original art using a dye sublimation heat process. The markers hold the ink that you use to draw and design on plain copy paper. The heat process, whether it's a heat press or your own home iron, turns the ink into a a gaseous form that permeates the polyester or polymer blank and creates a lasting image; no fading here. Your image lives on forever!
How to Use Iron-on-Ink with Sublimation Vinyl
What you will need to create this jute bag:
- Artesprix Sublimation Markers
- Artesprix Sublimation Stamp Pad
- Puffy Stickers and Gems
- Jute Messenger Bag
- Easy Sublimation Heat Transfer Vinyl
- Siser Mask
- Plain Copy Paper
- Super Glue
- Heat Tape
- Protective Paper
- Sizzix Big Shot
- Artesprix Heat Press or Iron
- Trinity Stamp's Tall Tales Metal Dies
- Trinity Stamp's Tall Tales Stamp Set
Step-by-Step Instructions:
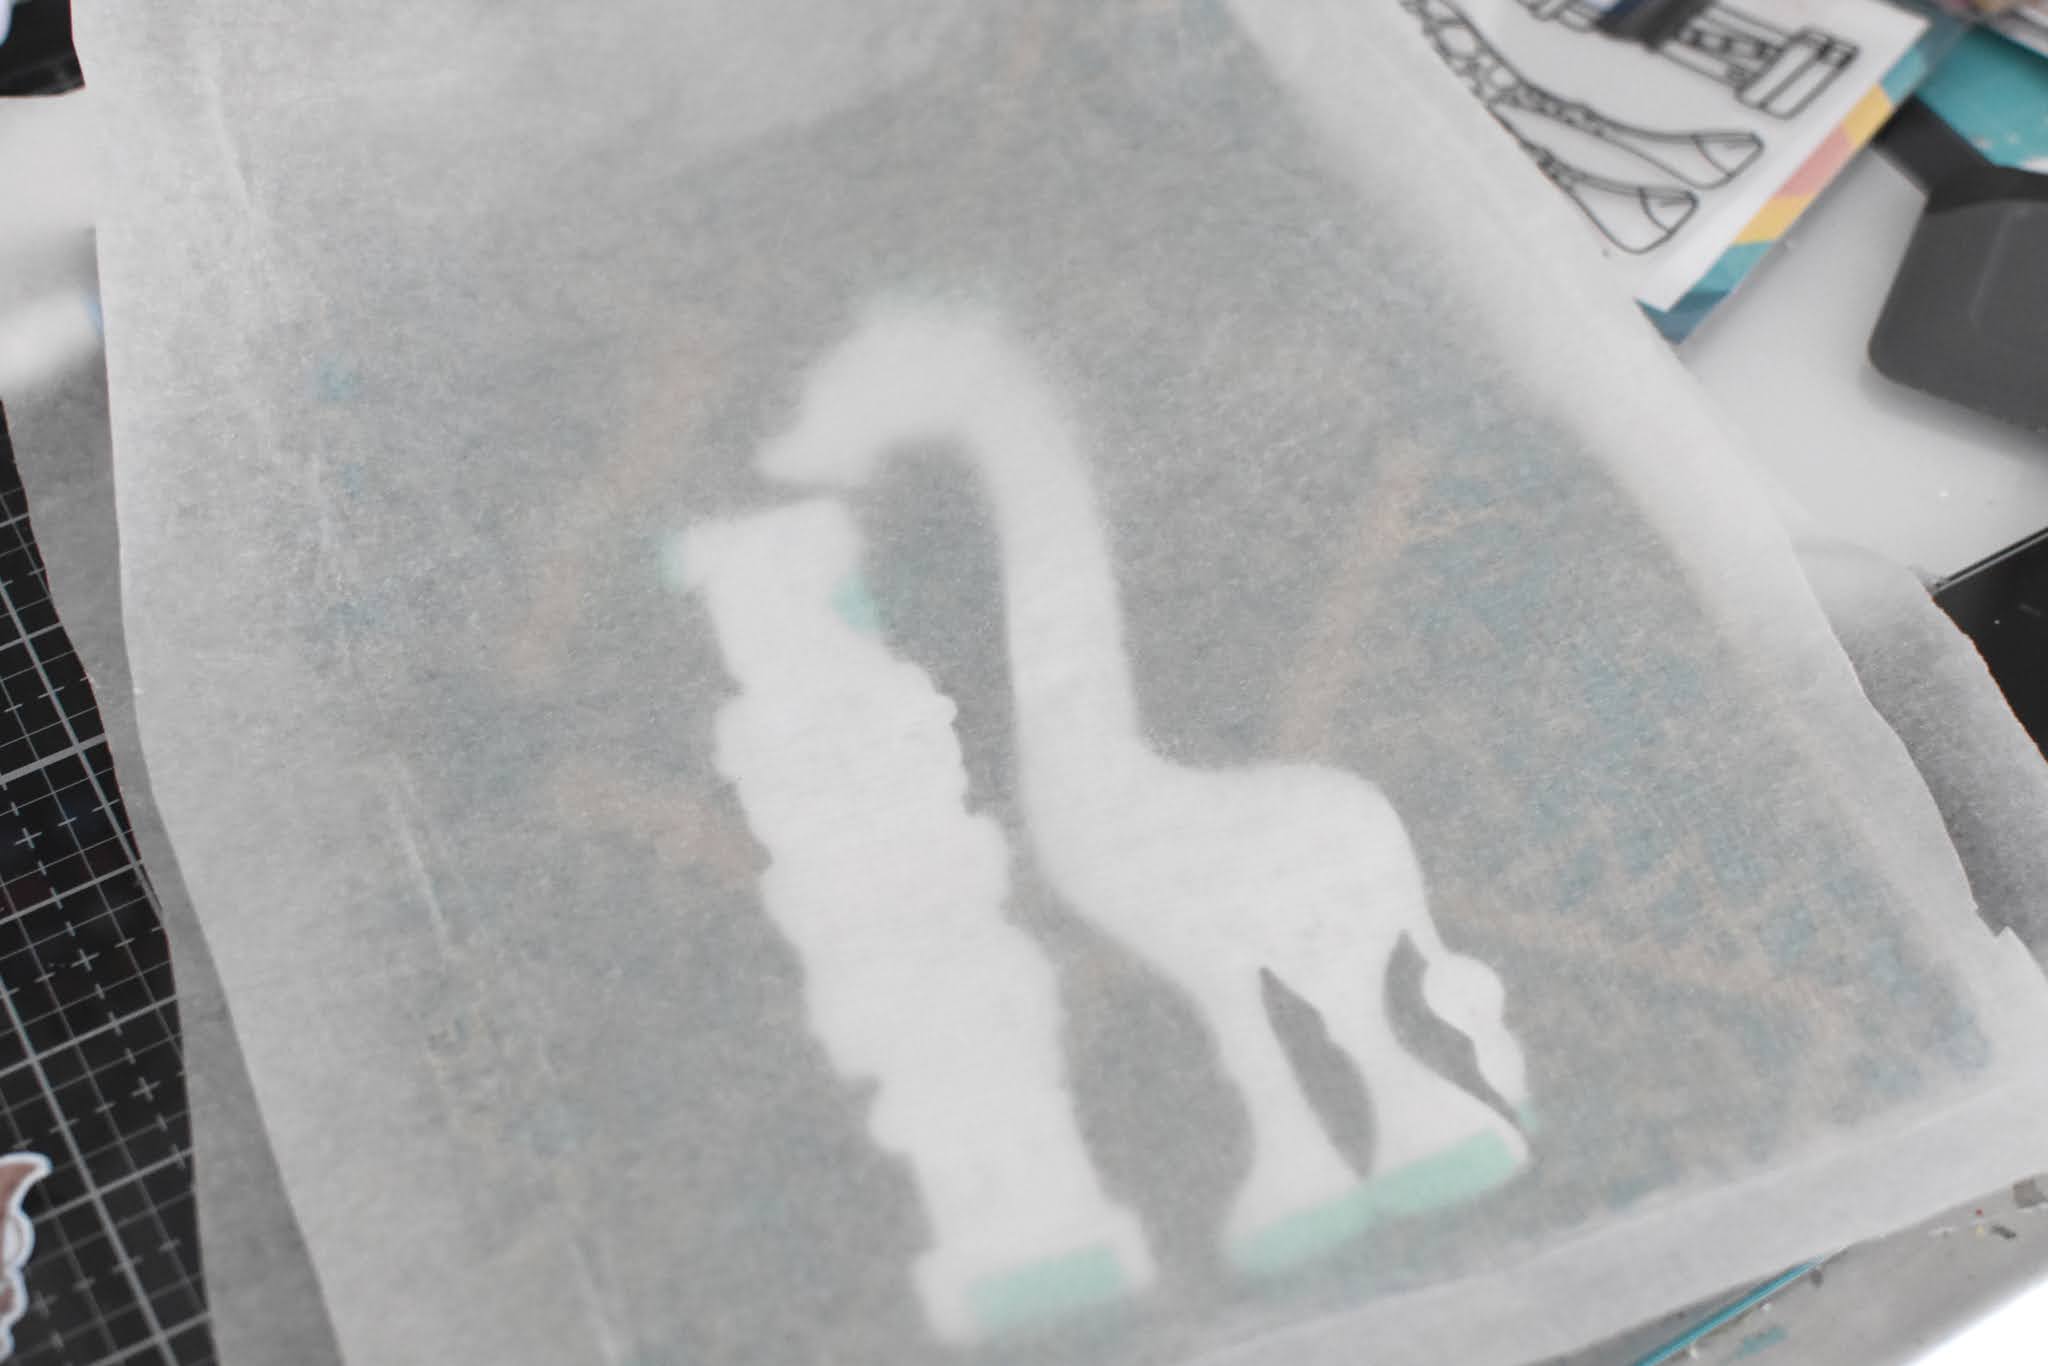
1. Prepare the jute messenger bag with the heat transfer vinyl. Using your Sizzix Die Cutting Machine and metal dies, cut out the giraffe and books using vinyl.


Step 2: Peel the back sticky film from the vinyl and place them onto the jute bag. Place a sheet of protective paper at the top and bottom of the jute bag and place the project in the heat press for 15 seconds at 310 degrees Fahrenheit.


Step 3: Remove project from heat press and set aside.


Step 4: Use the Sublimation Ink Pad and Clear stamps to stamp images onto copy paper. Cut them out using metal dies and color them in. You can use the Black fine tip sublimation marker to fix any areas that did not stamp all the way.*


Step 6: Place protective paper at the top and bottom of the bag.

Step 7: Heat project in the heat press, images facing up for 60 seconds at 400 degrees Fahrenheit.


Step 8: Remove the copy paper from the bag and embellish as desired using a strong glue!

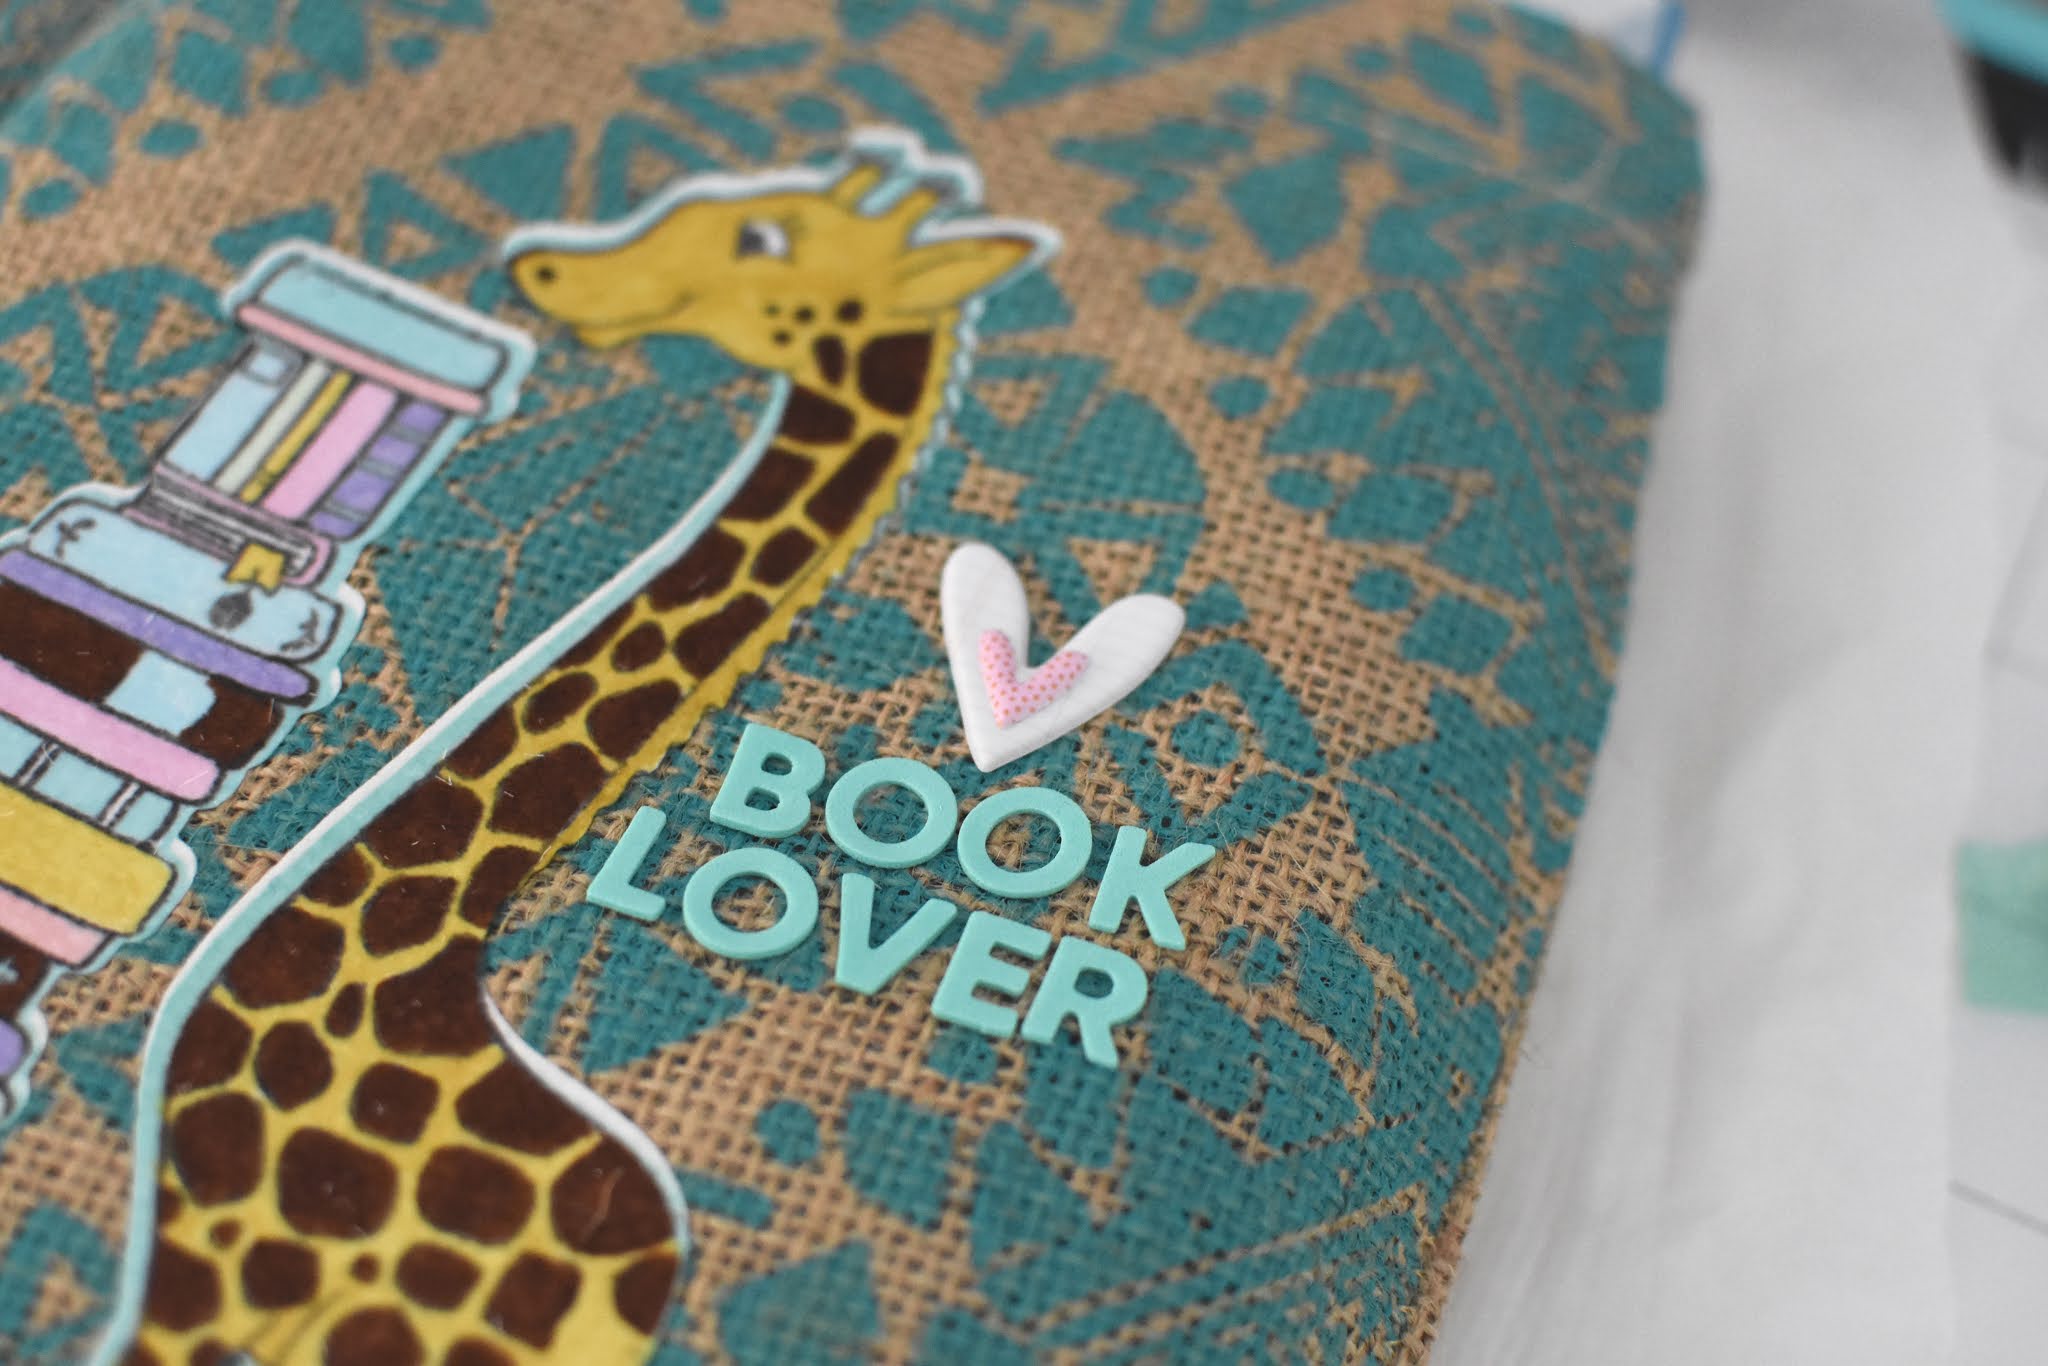

This was my first jute bag. I must admit...I was afraid to give this project a try. I did not want to end up ruining the bag, but I did it and I LOVE it!
Thank you so much for visiting today! Are you ready to try something new? These bags would make a great Christmas gift! Just sayin...


No comments:
Post a Comment