Tuesday, July 23, 2019

GUEST DESIGNER FOR PAIGE EVANS

Good morning, everyone. My name is Nicole Martel and I live in Maryland. You can find me on my blog at www.nicolemartel.blogspot.com or on Instagram as @nicolemartel1978. I am beyond thrilled to be guest designing for Paige this month! I feel guilty that my Silhouette Portrait has been sitting on my desk for awhile now, untouched... This year, I am working on changing that!

For my first layout, I used Paige's Horizon collection along with the Heart Confetti Background digital cut file.


I  set the Silhouette Portrait up so it would print the hearts on half of the white cardstock. I did not want a full page. Less work for me to pluck those tiny hearts out. :) Once I was satisfied with the placement of embellishments, I mounted them down and then I added a few puffy hearts within the hearts to make them stand out more.


For my next project, I created a mini album using photos from my sister's baby shower in June! She's having a baby boy and I couldn't be more excited!! I used pieces from the Heart Confetti Background and the Layered Butterfly to create this adorable mini album!


I used mostly tags for the album pages, but ran out so I had to get creative... I used the tags to trace around the patterned papers to create a template then punched a hole at the top using my hole punch.


I used a few of the butterflies throughout the mini. I LOVE butterflies so I had to use them. :) To decorate the mini, I used lots of stickers, puffy stickers and die cuts. I used several foam squares to pop them off the pages.


I used the cut and fold butterfly cut file to create a fun, whimsical layout! I love butterflies and I love how this looks. I splattered watercolor paint all over the butterflies across the page to add a bit of color. To complete the layout, I layered several embellishments from the Horizon collection. Love how bright and pretty this collection is! It's perfect for scrapbooking those special times with your friends and love ones. 


Initially, I was worried that the butterflies would leave me with enough space for the photo and embellishments, but it actually helped me create this fun design! I decided to work around the butterflies to make it work for me.


I used the circle stamp to create a border of half circles across the bottom of the page. I'm not sure why I felt the need to add some black, but I like it!


I used a few hearts from the first layout to create a card. To begin, I used the floral circle stamp from the Horizon stamps and stamped it on the hearts then layered them together using a foam square. I put those aside then stamped several circles on a 3"x4" card (white cardstock) to create a fun background. Then I covered the bottom corner using a variety of die cuts, trimming the edges so the flowers did not hang over the edges of the card. To complete the card, I mounted the layered heart to the center of the card.


I cut the "hello" sentiment from the Horizon tags to pull the card together. I think it adds a nice touch.


Thank you for visiting today! I hope I inspired you to use your digital cutting machine if you haven't done so in awhile. You just might surprise yourself! It's definitely a great way to kick your mojo up a notch!

Friday, July 19, 2019

LIFE IS A BEAUTIFUL RIDE

Good morning! Hope you had a fabulous week. Nicole here with a fun mixed media layout I created using some Colorations Color Sprays by Art Anthology and lots of  stamps from Precious Remembrance Stamp Shop. 


I was inspired by Pinkfresh Studio's challenge this month so I decided to play with their Out And About collection.


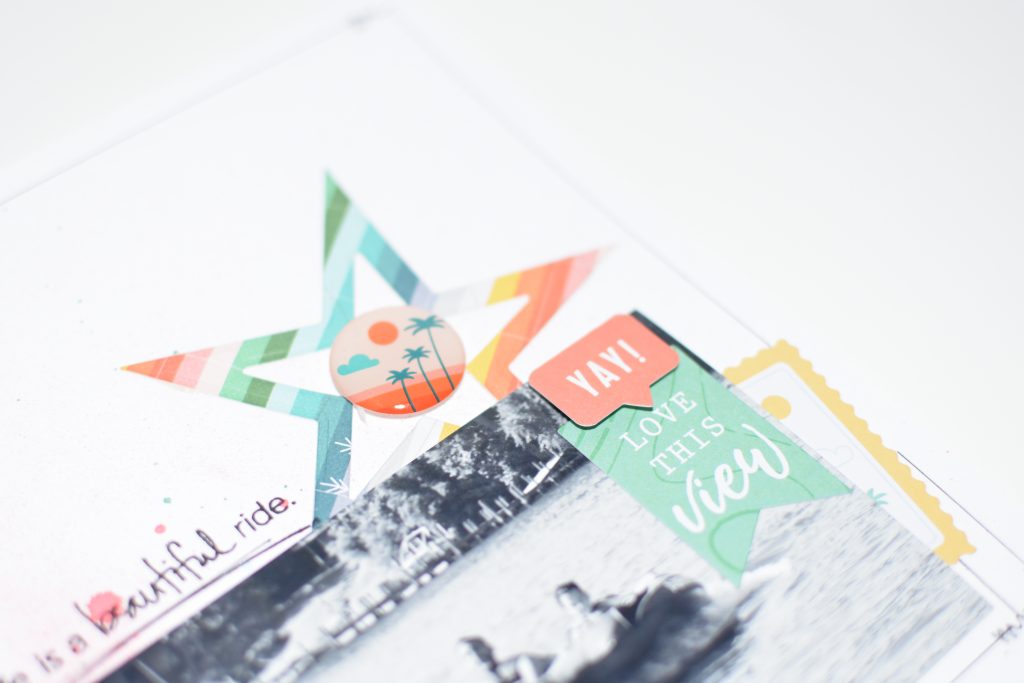
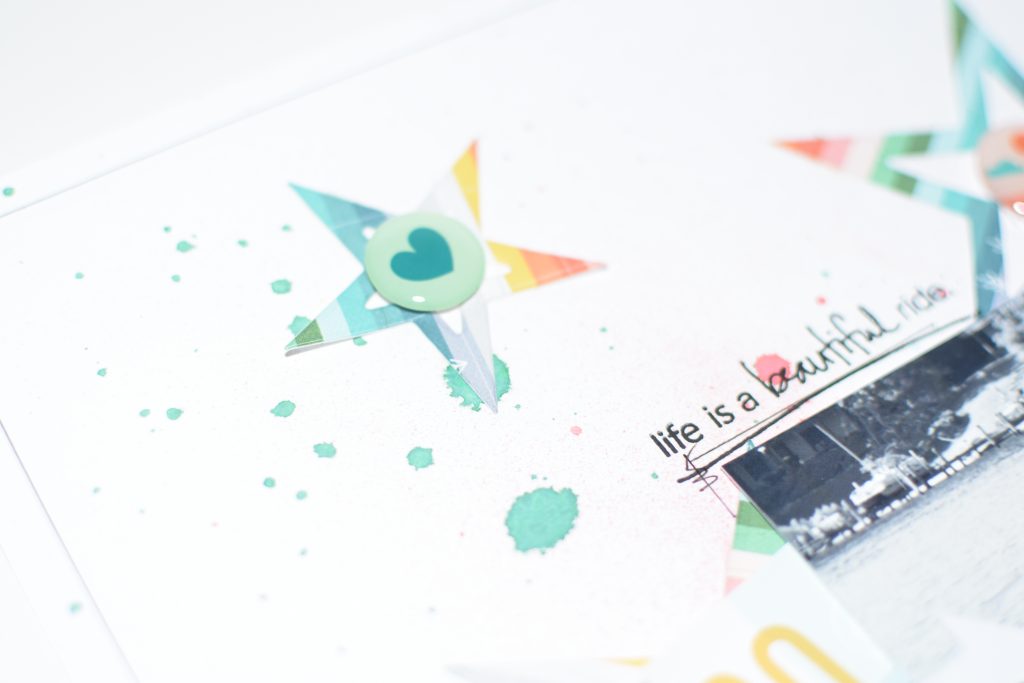
To begin, I sprayed the Colorations Spray onto white cardstock using SalmonPeacock Feathers and Sky spray. Once the spray ink was completely dry, I used my Big Shot Die Cutting Machine to punch out a variety of stars in different sizes to decorate the layout.


Once I was satisfied with the placement of the stars, I glued them down. Then I placed the photo down on the page and tucked a few die cuts and puffy stickers here and there. I used foam squares to pop up one of the enamel dots within the star to add dimension. I used the New Day StampSweet Pea and Little Things stamp sets on this layout.

DSC_3720

I used foam squares to pop the "yay" die cut off the page.

DSC_3722

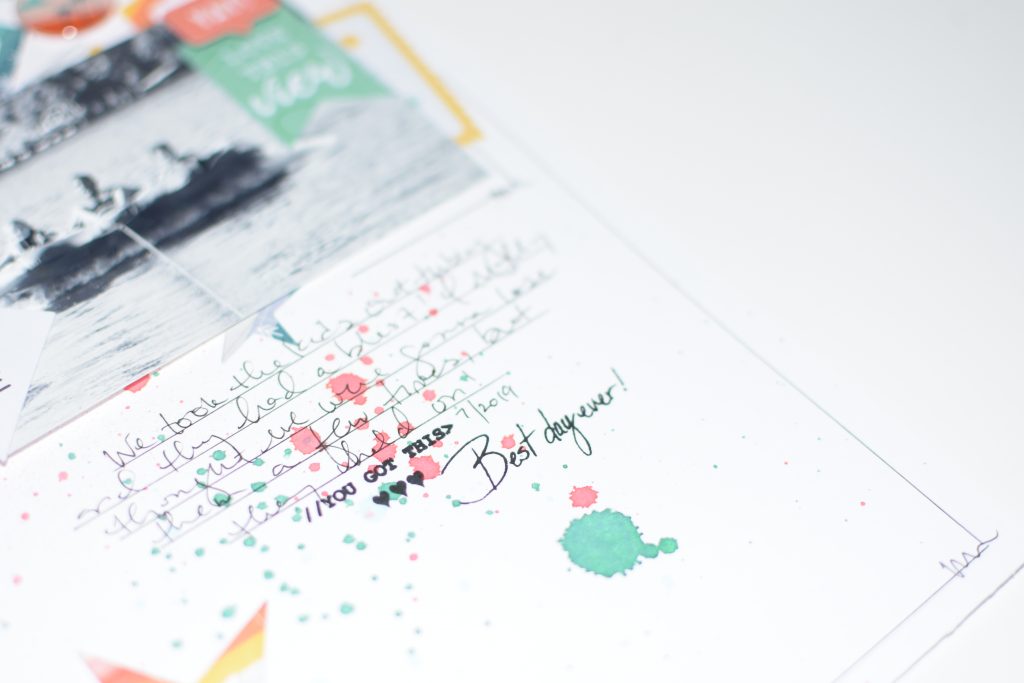
I used a ruler and pen to add my journaling at the bottom. Then I stamped a few additional sentiments/hearts. I love the tiny hearts!

DSC_3734


I really love how colorful this layout is. It's so bright and cheery, perfect for summer!
Thanks so much for visiting today!

Friday, July 05, 2019

LOVE

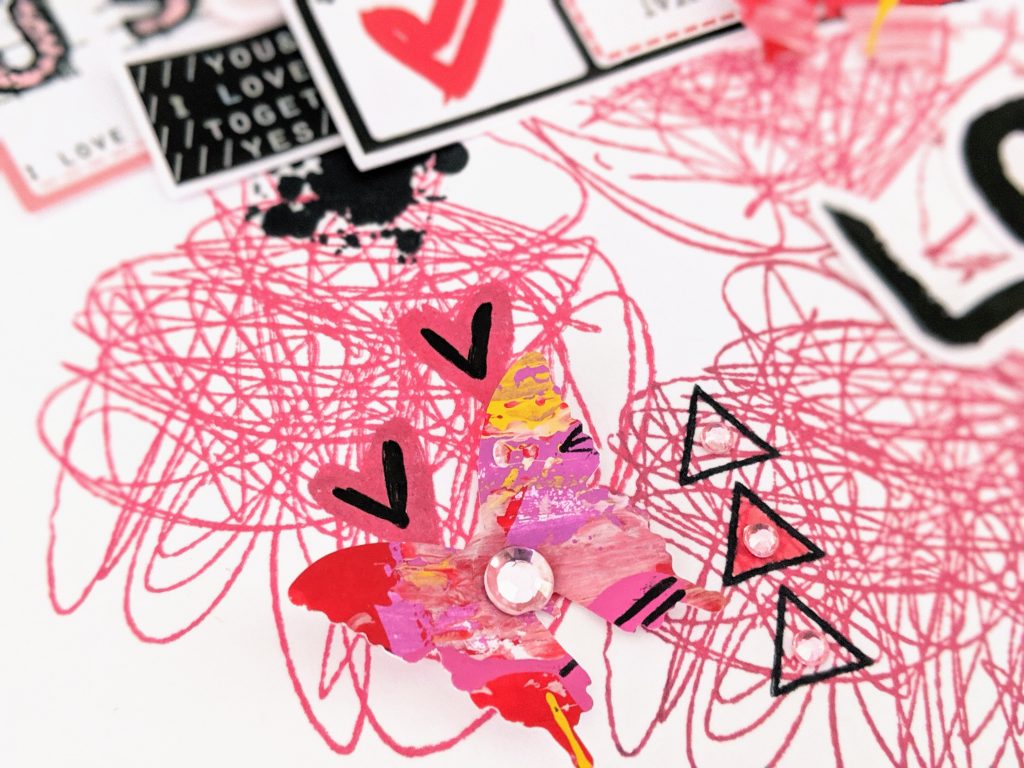
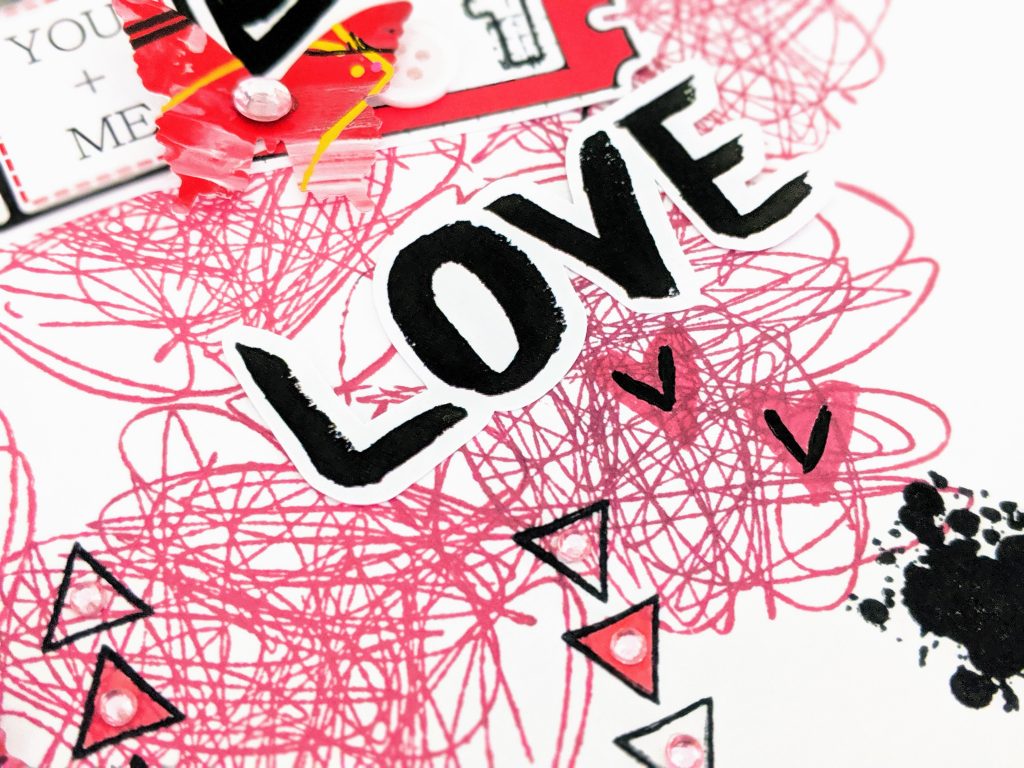
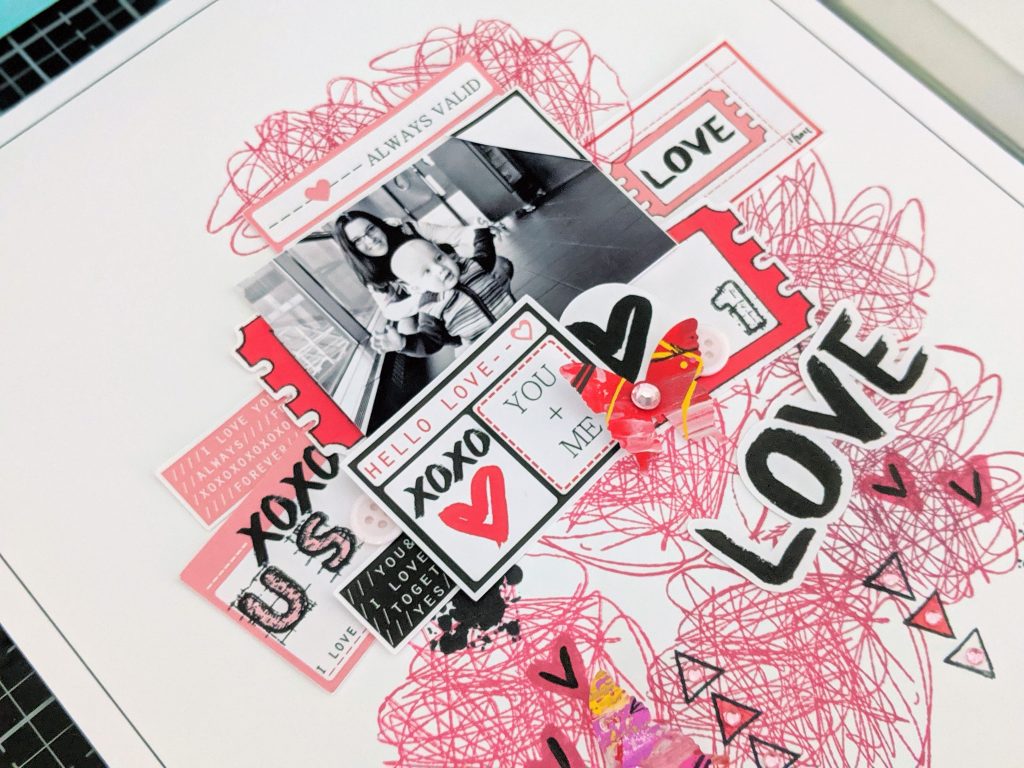
Hi everybody! I'm back with a fun mixed media layout I created using lots of pretty Bits and Pieces Love Coupons from the shop and the Happy Art Stamp Set and the Sketchy Alphabet Stamp Set.  I used the scribbles stamp and Versafine-Glamorous Ink to stamp several scribbles in the background. 


Once I was satisfied with the placement of the scribbles, I matted the photo with several pieces of snippets as shown. LOVE THESE!! They are super cute. I added a few more snippets at the bottom to make it more funky. Then I used the heart stamp and triangles to add a few more shapes. I colored them in using markers and jewels. I punched the butterflies from cardstock and used a variety of paint from Bad Girls Couture's shop to paint them. Then I added some black splatters to break up the red a bit.

00100dPORTRAIT_00100_BURST20190518160811352_COVER

This layout is something different for me because I am so not a pink or red girl... BUT I LIKE IT on paper... :)

00100dPORTRAIT_00100_BURST20190518160816882_COVER

00100dPORTRAIT_00100_BURST20190518160826456_COVER

I hope I inspired you today to use lots of snippets and stamps/shapes on your next project. It's super fun! I hope you have a wonderful weekend.