Thursday, January 07, 2021

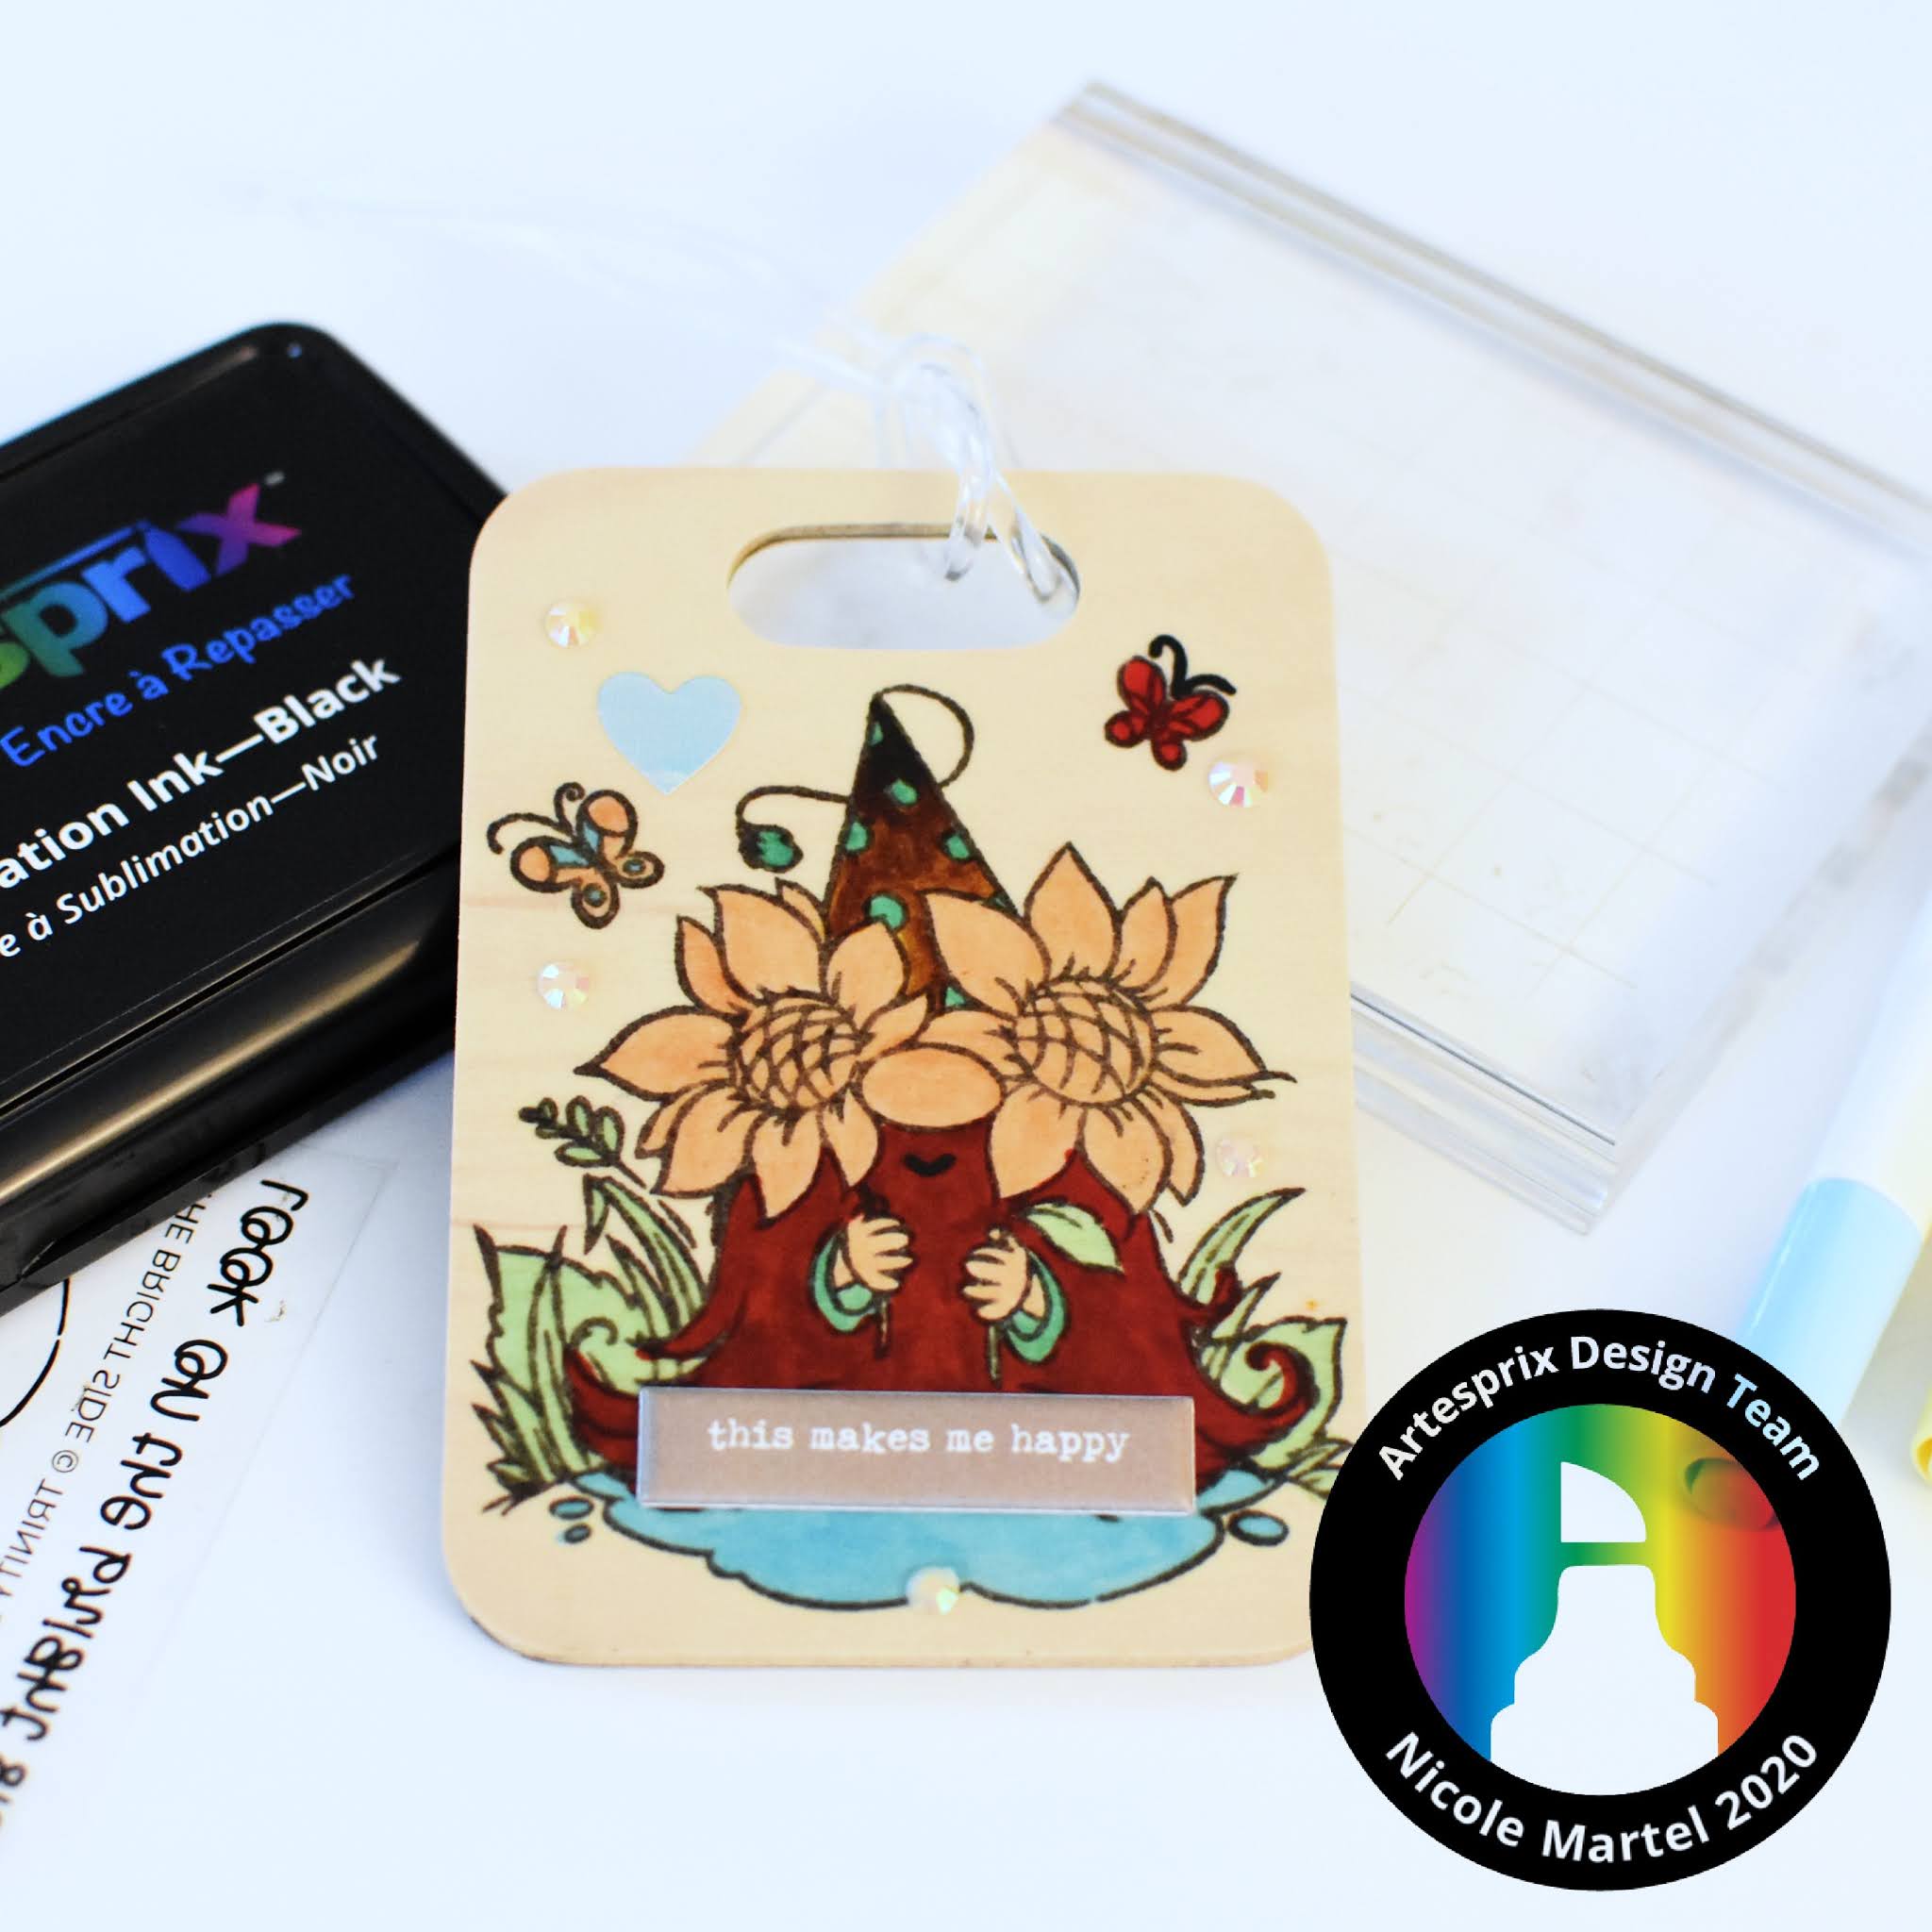
THIS MAKES ME HAPPY TAG

Hello everyone!! Happy New Year! Today, I have a fun tag to share with you...and there's a video as well! I really thought I was done with Gnomes...but I really can't help myself. They are just soooooo cute! And these little guys make me happy so why not?!


To create this tag, you will need the following:

Artesprix Maple Bag Tag

Artesprix Sublimation Ink-Black

Artesprix Pastel Sublimation Markers (my favorite)

Artesprix Acrylic Block

Heat Press or Regular Iron

Artesprix Heat Tape

Artesprix Protective Paper Roll

Trinity Stamp's Bright Side Stamp

Step by Step Instructions:

Step 1. To begin, I used the Maple Bag Tag as a template to trace on white cardstock using a pencil.


Step 2. Next, I stamped Trinity Stamp's Gnome image onto the plain piece of paper using the Sublimation Ink Pad.


Step 3. I colored the images using the Pastel Sublimation Markers. 


Step 4. Tape the blank image facing up using the heat tape. Then, create your sublimation sandwich. One protective Paper sheet at the bottom and one sheet at the top of the project.


Step 5. Set your heat press to 400 degrees Fahrenheit and timer for 45 seconds. Make sure you place your project in your heat source image facing up. After your timer has completed, make sure to let your project cool down before touch it.


Step 6. Embellish as desired!


Don't forget to check out the variety of blanks in the shop. There are many different things you can create by hand using the Sublimation Markers, Ink, and Stamps along with our blanks! Click here to see all of Artesprix's products!


Thank you for visiting today!


Tuesday, January 05, 2021

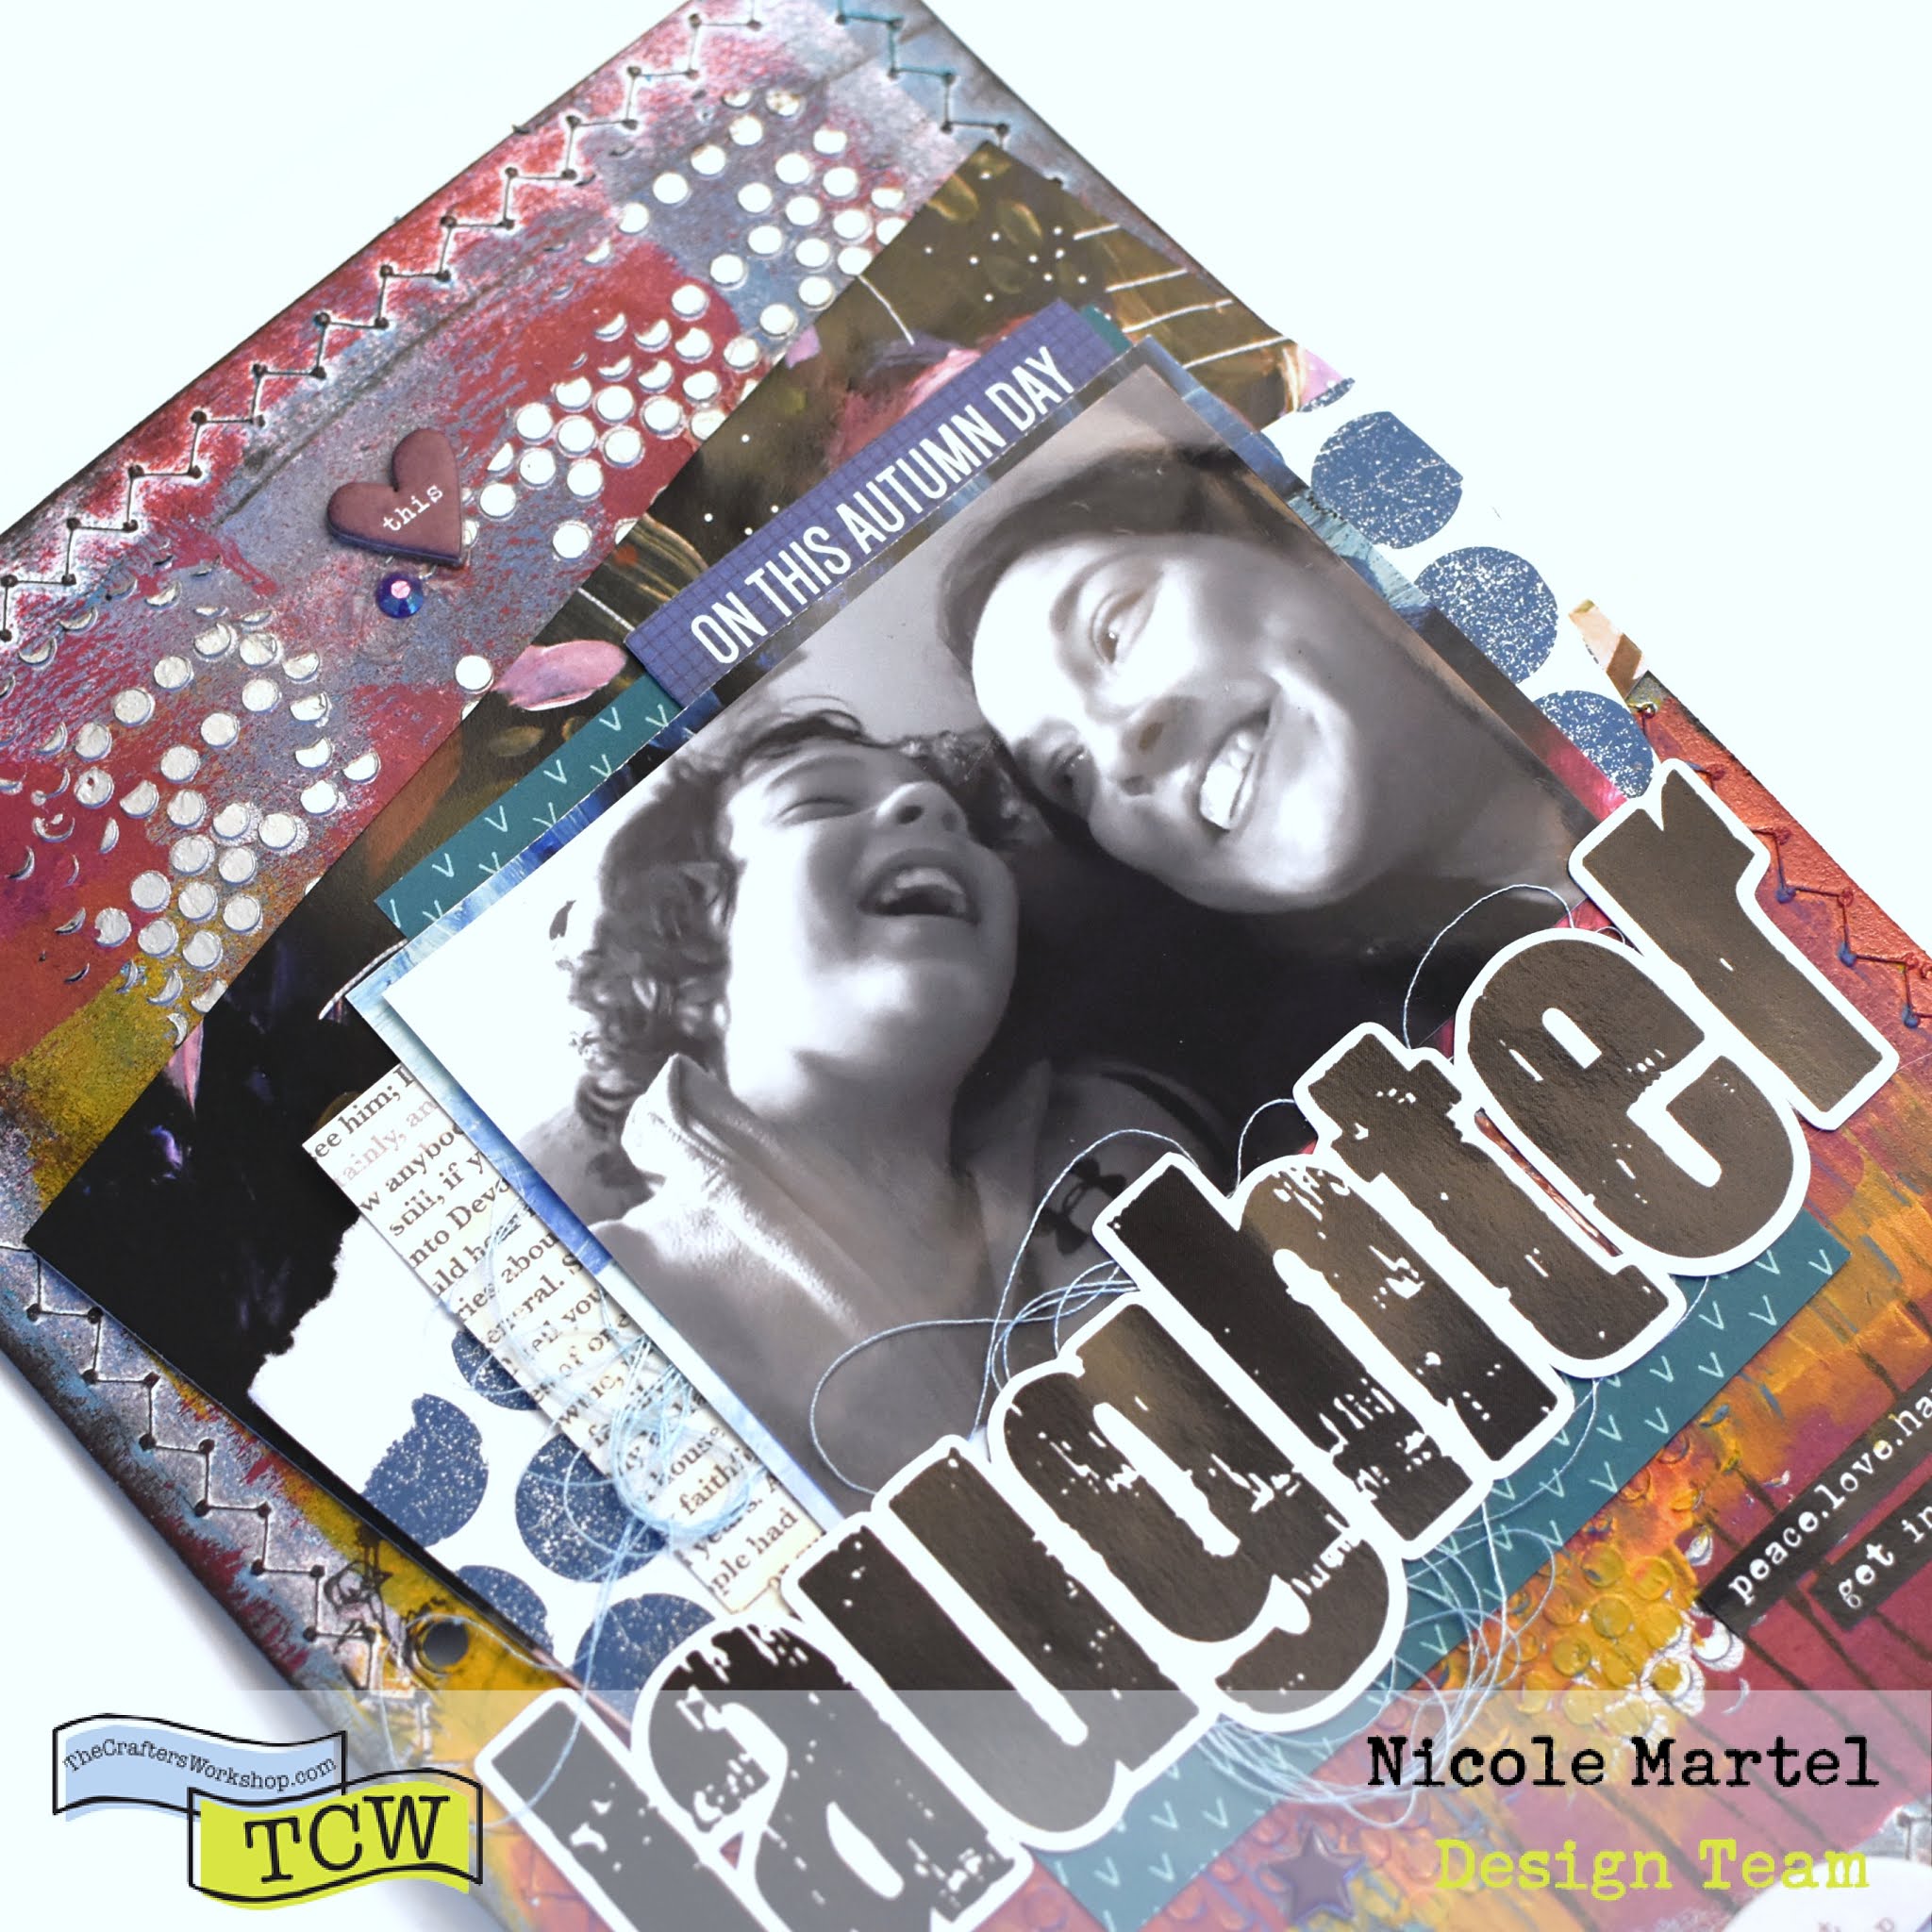
LAUGHTER MIXED MEDIA LAYOUT

Hello! This year, I'm going to make it a colorful year. I love playing with paint. Therefore, I am going to try using my Gel Plate by Gel Press more often. It's so cool and after you get the hang of it, you can really create some wonderful backgrounds for your projects.


Disclaimer: "The Crafter's Workshop Provided me with Product to create this project. The opinions I share are solely my own."

To create this layout, I used a gel plate to add lots of bold colors for the background. And then I used the TCW361 Tiny Circles stencil and Platinum Modeling paste to add several metallic dots in the background. I just love how the paint looks!! It's so cool.


To see the full tutorial on how this came together, please visit TCW's Blog!


I've had the big "Laughter" die cut from Pretty Little Studio in my stash for some time... I really love the font and how it looks against all the colors.


I added a few stickers, chipboard and gems at the bottom to help pull it all together. I love embellishments!


Thank you so much for visiting!


Saturday, January 02, 2021

THIS IS MAGIC

Hello everyone. A few months ago, my sister had a photo shoot with her little family and I just fell in love with these photos. Her son is absolutely adorable! 


I've been itching to play with Studio Forty's Lunare Collection. I actually started this layout for the DT call, but it was not complete and I just let the layout sit a few months before going back to it. I'm so glad I waited... because I just love how this came together. I added the chipboard and clear stickers to make this layout pop.


I colored in the bunny using a light brown marker. Isn't he adorable!?


I stamped the "magic is everywhere you just need to feel it" sentiment using a brown ink. Then Added the chipboard below it to kind of pull the layout together. 


And here is a little Happy New Year Card to our fans!! I created this adorable card using some stickers from the Lunare Collection. I just love this! And I added a journaling card inside the card. It's perfect.


Thanks so much for visiting today!