Wednesday, September 30, 2020

FAMILY SCRAPBOOKING LAYOUT

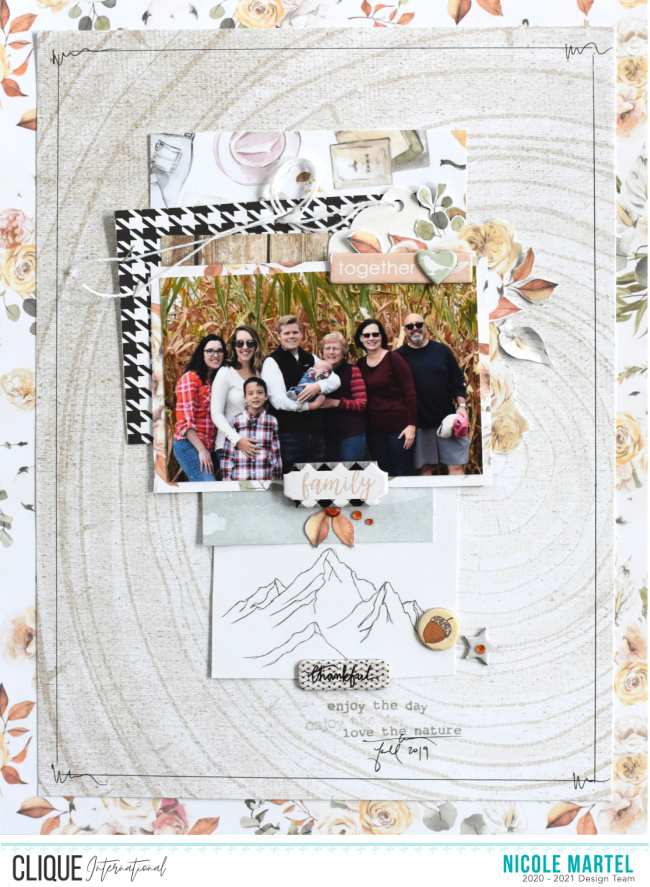
Hello everybody. Nicole here. I'm sharing this layout I created using the Gaia Kit! For more inspiration, visit Clique International's blog! I love the fall...and I think it's safe to say Fall is officially here and I can start scrapbooking my fall photos from last year. :)

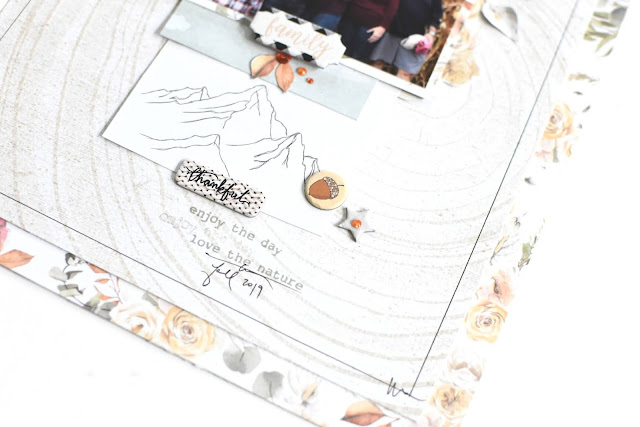
Studio Forty is one of my favorite companies. I love how fresh their collections are. They are unlike any collections I see on the market. And the color palette is so serene! I fussy cut the flowers from patterned paper to layer it with the tag and chipboard. Then I stapled the string in the position that I wanted it to stay. It drives me crazy to have the string dangle on the page.

I cut several pieces of cards from the cut-apart sheet to create a fun mats for the photo and staggered them down the layout. Then I added a few embellishments and stamping!  

There are a few of these kits left! Grab them before they sell out. Click here to purchase yours today. It's a lovely kit and the patterns and embellishments are perfect for scrapbooking those fall moments with your friends and family. 

Thank you for visiting today!


Sunday, September 27, 2020

THE STORY OF TODAY

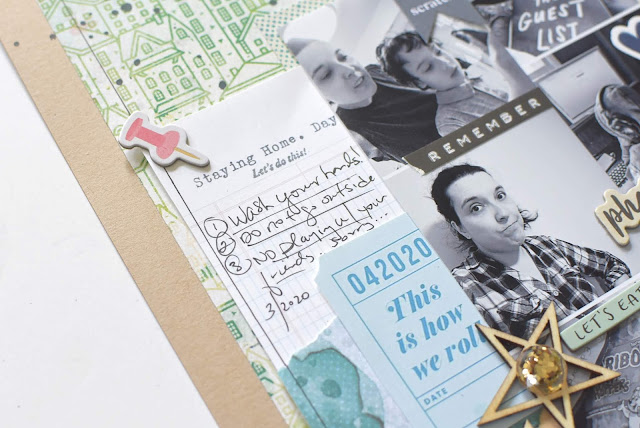
Hello! I just gathered some of my pictures that I have snapped here and there during the Pandemic. Vicki Boutin's "Let's Wander" collection worked perfectly for this layout! And I finally used my typewriter for a change. :) Initially, I was going to share this layout in April, but it got picked up for publication so I held off on sharing it. You can see it in the Fall Issue of Creative Scrapbooker!


This layout is a bit busy, something different for me... Normally, my layouts are much cleaner than this...even with paint and ink. But I had a lot of things I needed to say on this layout and it looks good...I think.


I used a cut-apart sheet from Citrus Twist Kits to help tell my story. They offered it as a freebie a week ago and I took advantage of it!


I'm a bit rusty when it comes to using my typewriter, but it turned out OK... I got the words down on paper and that's what matters.


Loving the chipboard pieces on this layout. They are very pretty, especially the gold stars.


I included additional journaling by hand on the left-side of the layout to fill in the white space.


Products Used:
Kraft Cardstock: My Mind's Eye
Patterned Paper: American Crafts
Puffy sticker alphas: Citrus Twist Kits
Wood veneer stars: American Crafts
Jewels: American Crafts
Stickers: American Crafts
Washi Tape: American Crafts
Clear Stamps: Citrus Twist Kits
Mini Stapler: Advantus
Ink: Catherine Pooler
Coloration Spray: Art Anthology (Raider)
Adhesives: Creative Memories
Markers: Altenew
Other: Typewriter

Thanks so much for visiting today! 


Thursday, September 24, 2020

THIS IS GOOD STUFF POLY-CANVAS ZIP CASE

Nicole Martel on the blog with you today. I've been wanting to play with this adorable Poly-Canvas Zip Case for sometime now. I'm always trying to think of new techniques that can be applied with Artesprix's sublimation markers and blanks to keep my post interesting. I don't like sharing the same techniques over and over again. Today, I'm going to share how I created this bag using a stencil!

Materials:

Step-by-Step Tutorial:

Step 1. Place the Poly Canvas Zip Case on a piece of plain copy paper and trace the outline using a pencil to determine the area that you have to work on. Then, use a stencil to trace the images within the rectangle.

 Step 2. Color in the images using the Pastel Sublimation Markers. Do not worry about erasing the pencil marks. The pencil will not come through the canvas after it comes out of the heat press.

Step 3. Using the Artesprix Heat Tape, tape your blank down to your design.

Step 4. Turn your heat press on and set the temperature to 400 degrees Fahrenheit and the timer for 45 seconds.

Step 5. Create your sublimation sandwich. Cut two pieces of Protective Paper to cover your project on the top and bottom. Place a small piece of protective paper inside the canvas to prevent the ink from bleeding through the canvas. Place it inside the Heat Press (making sure the zipper is placed on the outer edge of the heat press) and close the machine. The Heat Press will beep indicating that your project is finished!

Step 6. While wearing protective gloves, lift the handle and remove your Poly-Canvas Zip Case. Place it on the Protective Project Mat and give it about 2 minutes to cool down. Gently remove the paper to reveal your vivid design!

Step 7. Glue desired embellishments onto the bag and allow the glue to dry.

Thanks so much for stopping by today!


Sunday, September 20, 2020

RIGHT NOW

Good morning! I'm back with another summer layout. Just trying to squeeze them in before Fall arrives. Don't worry, I have some Fall layouts coming! :)


I used lots of product from Elle's Studio to create this monochromatic layout. I love teal! It's my favorite color besides blue. I kept this layout pretty simple...keeping the focus on the cute photo of my mom and son!


I love using journaling cards as my title...it totally works! You don't need thickers or dies all the time... just look through your stash of journaling cards. They are my favorite.


I clustered some labels and die cuts together to help frame the photo. Then, I printed my journaling on regular copy paper and cut it out to fit within the label. I don't even try to attempt to feed the label through my printer... It all looks the same.


Thanks so much for visiting today! I hope you have a fabulous week!


Friday, September 18, 2020

FOR THE RECORD

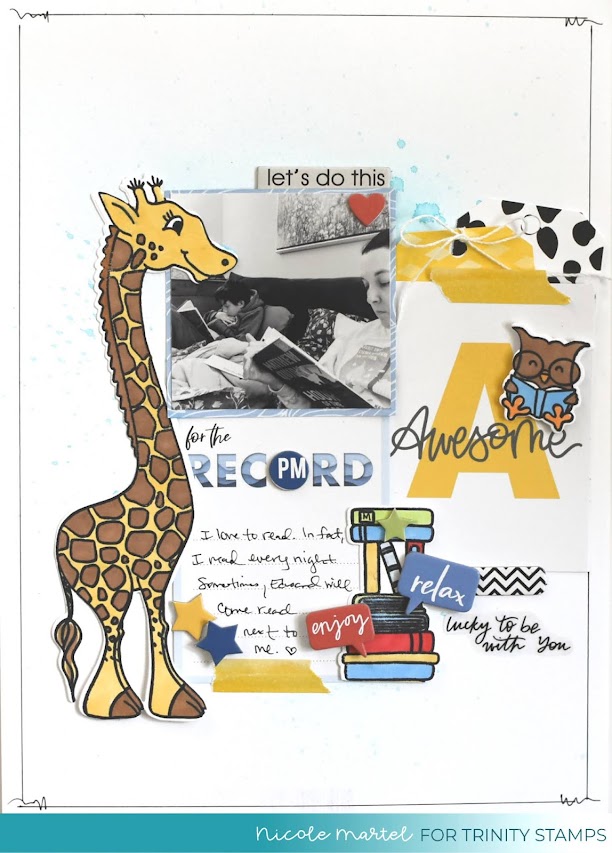
Happy Friday!! It's my birthday! But that's not why I'm posting...lol. Today is Trinity Stamps new product launch and if you're a stamper, you might want to check out the new stamps and dies. They are absolutely beautiful! Also, we are having a hop on Instagram. Come get inspired!


For this layout, I used Trinity Stamp's Tall Tales Stamps and Metal Dies. I LOVE this stamp set. What do you think? Cute, right?!


I used alcohol markers from Altenew to color in the images. I love their markers! When I bought their markers, it was worth the investment!


I used chipboard embellishments and Journaling cards from Studio Forty to embellish the layout. I tore a sticker strip to place across the tags just for fun.


Come check out all the beautiful stamps and if you have time, we'd love to invite you to the Instagram hop!

Thanks for stopping by today!


AWESOME DAY!

Hi everyone! I created another layout using the Bean Bag Boys Kit. There are so many fun papers in this collection! 


My husband took these photos a few weeks ago of Edward feeding the momma duck and her babies. Edward told me all about them. He loves animals.


To begin, I cut the flower patterned paper to measure 11"x11" and mounted it to the center of the red and white patterned paper. Then, I smeared white gesso all over the middle of the layout to cover some of the patterns. Once the gesso was completely dry, I layered lots of die cuts on this layout. Then to add dimension, I added a few enamel dots and jewels to the center of the flowers. The tag was made by hand with some patterned paper, ribbon, and a hole punch.


Since I didn't really have anything for the title, I cut the "Awesome day!" die using my Silhouette and then colored it using a marker that matched the red in the flowers. Love how it looks here!


Thanks so much for stopping by today!


Wednesday, September 16, 2020

HOME IS WHERE YOU ARE

Good morning! I am so excited to share my very first layout I created for Studio Forty. They just came out with two new collections and they are both adorable! For this layout, I used the Cozy Time Collection. This collection is so pretty and it's perfect for scrapbooking everyday moments. Especially those cozy moments with you kitties and books. 


For this layout, I used a variety of travel notebook patterned paper and journaling cards to frame the photos. I'm really liking the layers on this layout.  I used a good amount of embellishments too. They are too cute not to! 


I love the "grow your plants" sentiment from the stamp set so I had to find a way to incorporate it on my layout. After some careful consideration, I decided to stamp the sentiment below the chipboard at the top of the photo.


I added a few sticker dots. Love these beauties! They are so pretty. They are great for adding dimension to stickers! If you take a closer look, there is an sticker dot in the middle of the orange flower.


My other favorite embellishments from this collection is the clear stickers! I added the "Home is where you are" clear sticker at the bottom of the photo. You can hardly tell it's a sticker. These are perfect for those who like the look of stamps, but are uncomfortable with stamping on photos.


I stamped the "treasures" sentiment and added a chipboard heart to the journaling card along with the sticker dot on the flower pot. 


Then, I cut the chair image from the journaling card and colored it in using markers. I stamped the books onto the layout and colored them in as well and tucked the clear flower pot behind the chair to kind of pull the bottom of the layout together. 

Thank you so much for visiting today. Have you seen the new Cozy Time Collection? What's your favorite thing about this collection? We want to know! 


Tuesday, September 15, 2020

IN NEED OF VITAMIN SEA

Happy Tuesday! I have a fun layout to share with you! For months, I've had my eyes on the ColorSparx Watercolor Powders...wondering what all can be done with these powders. The possibilities are endless! Rather than use them as watercolors, I decided to mix it with Clear Modeling Paste to see what happens. And I must say, I was very excited with the outcome. Come see how this layout came together!


Disclaimer: The Crafter's Workshop provided me with some product to create this project. The opinions I share are soley my own.

To begin, I used a palette knife to scoop out about 7-8 table spoons of Clear Modeling Paste. I decided to use the Clear Modeling Paste instead of the White Modeling Paste thinking the colors would be more vibrant with the Clear Modeling Paste.

I mixed the TCW9057 Cerulean Blue ColorSparx to the Clear Modeling Paste. I used about 18 gentle taps of the powder. Be careful with the powders. You do not need to squeeze the bottle. Gentle taps will do.

One of the great things about this technique is that you can add more powder to enhance the color. You have complete control over how bright you want the color. There is a lot of powder in this little bottle! I think I need to pull them out for my next project!!

I like to apply the Modeling Paste on thickly because if it's applied too thin, you may end up scraping the stencil and lifting it in the process, which will cause some of the paste to steep below the stencil. I have done this in the past and I ended up with smudges and broken pieces...

Once I was satisfied with the color of the Clear Modeling Paste, I taped the stencil above white cardstock. Then, I used a palette knife to apply the Modeling Paste all over the TCW847 Wave stencil.

Also, I always drag the palette knife from top to bottom to avoid moving the stencil too much.

After the Modeling Paste was completely dry, I used the TCW9052 Super Thick Gel to glue down my pictures and embellishments. Initially, I used regular adhesives, but the embellishments would not hold so I used the glue to seal everything down.


Thanks so much for visiting today!