Sunday, October 30, 2022

THAT FALL FEELING/PINKFRESH STUDIO

Happy Sunday friends and family. I am sharing a simple layout I created with a few stamps I used from Pinkfresh Studio. I love their products... they make stamping easy! You can purchase layered stencils that work with the stamps to color in the images within minutes... and they sell metal dies too... I've had these products in my drawer for awhile now...untouched because I've been working on design team stuff...


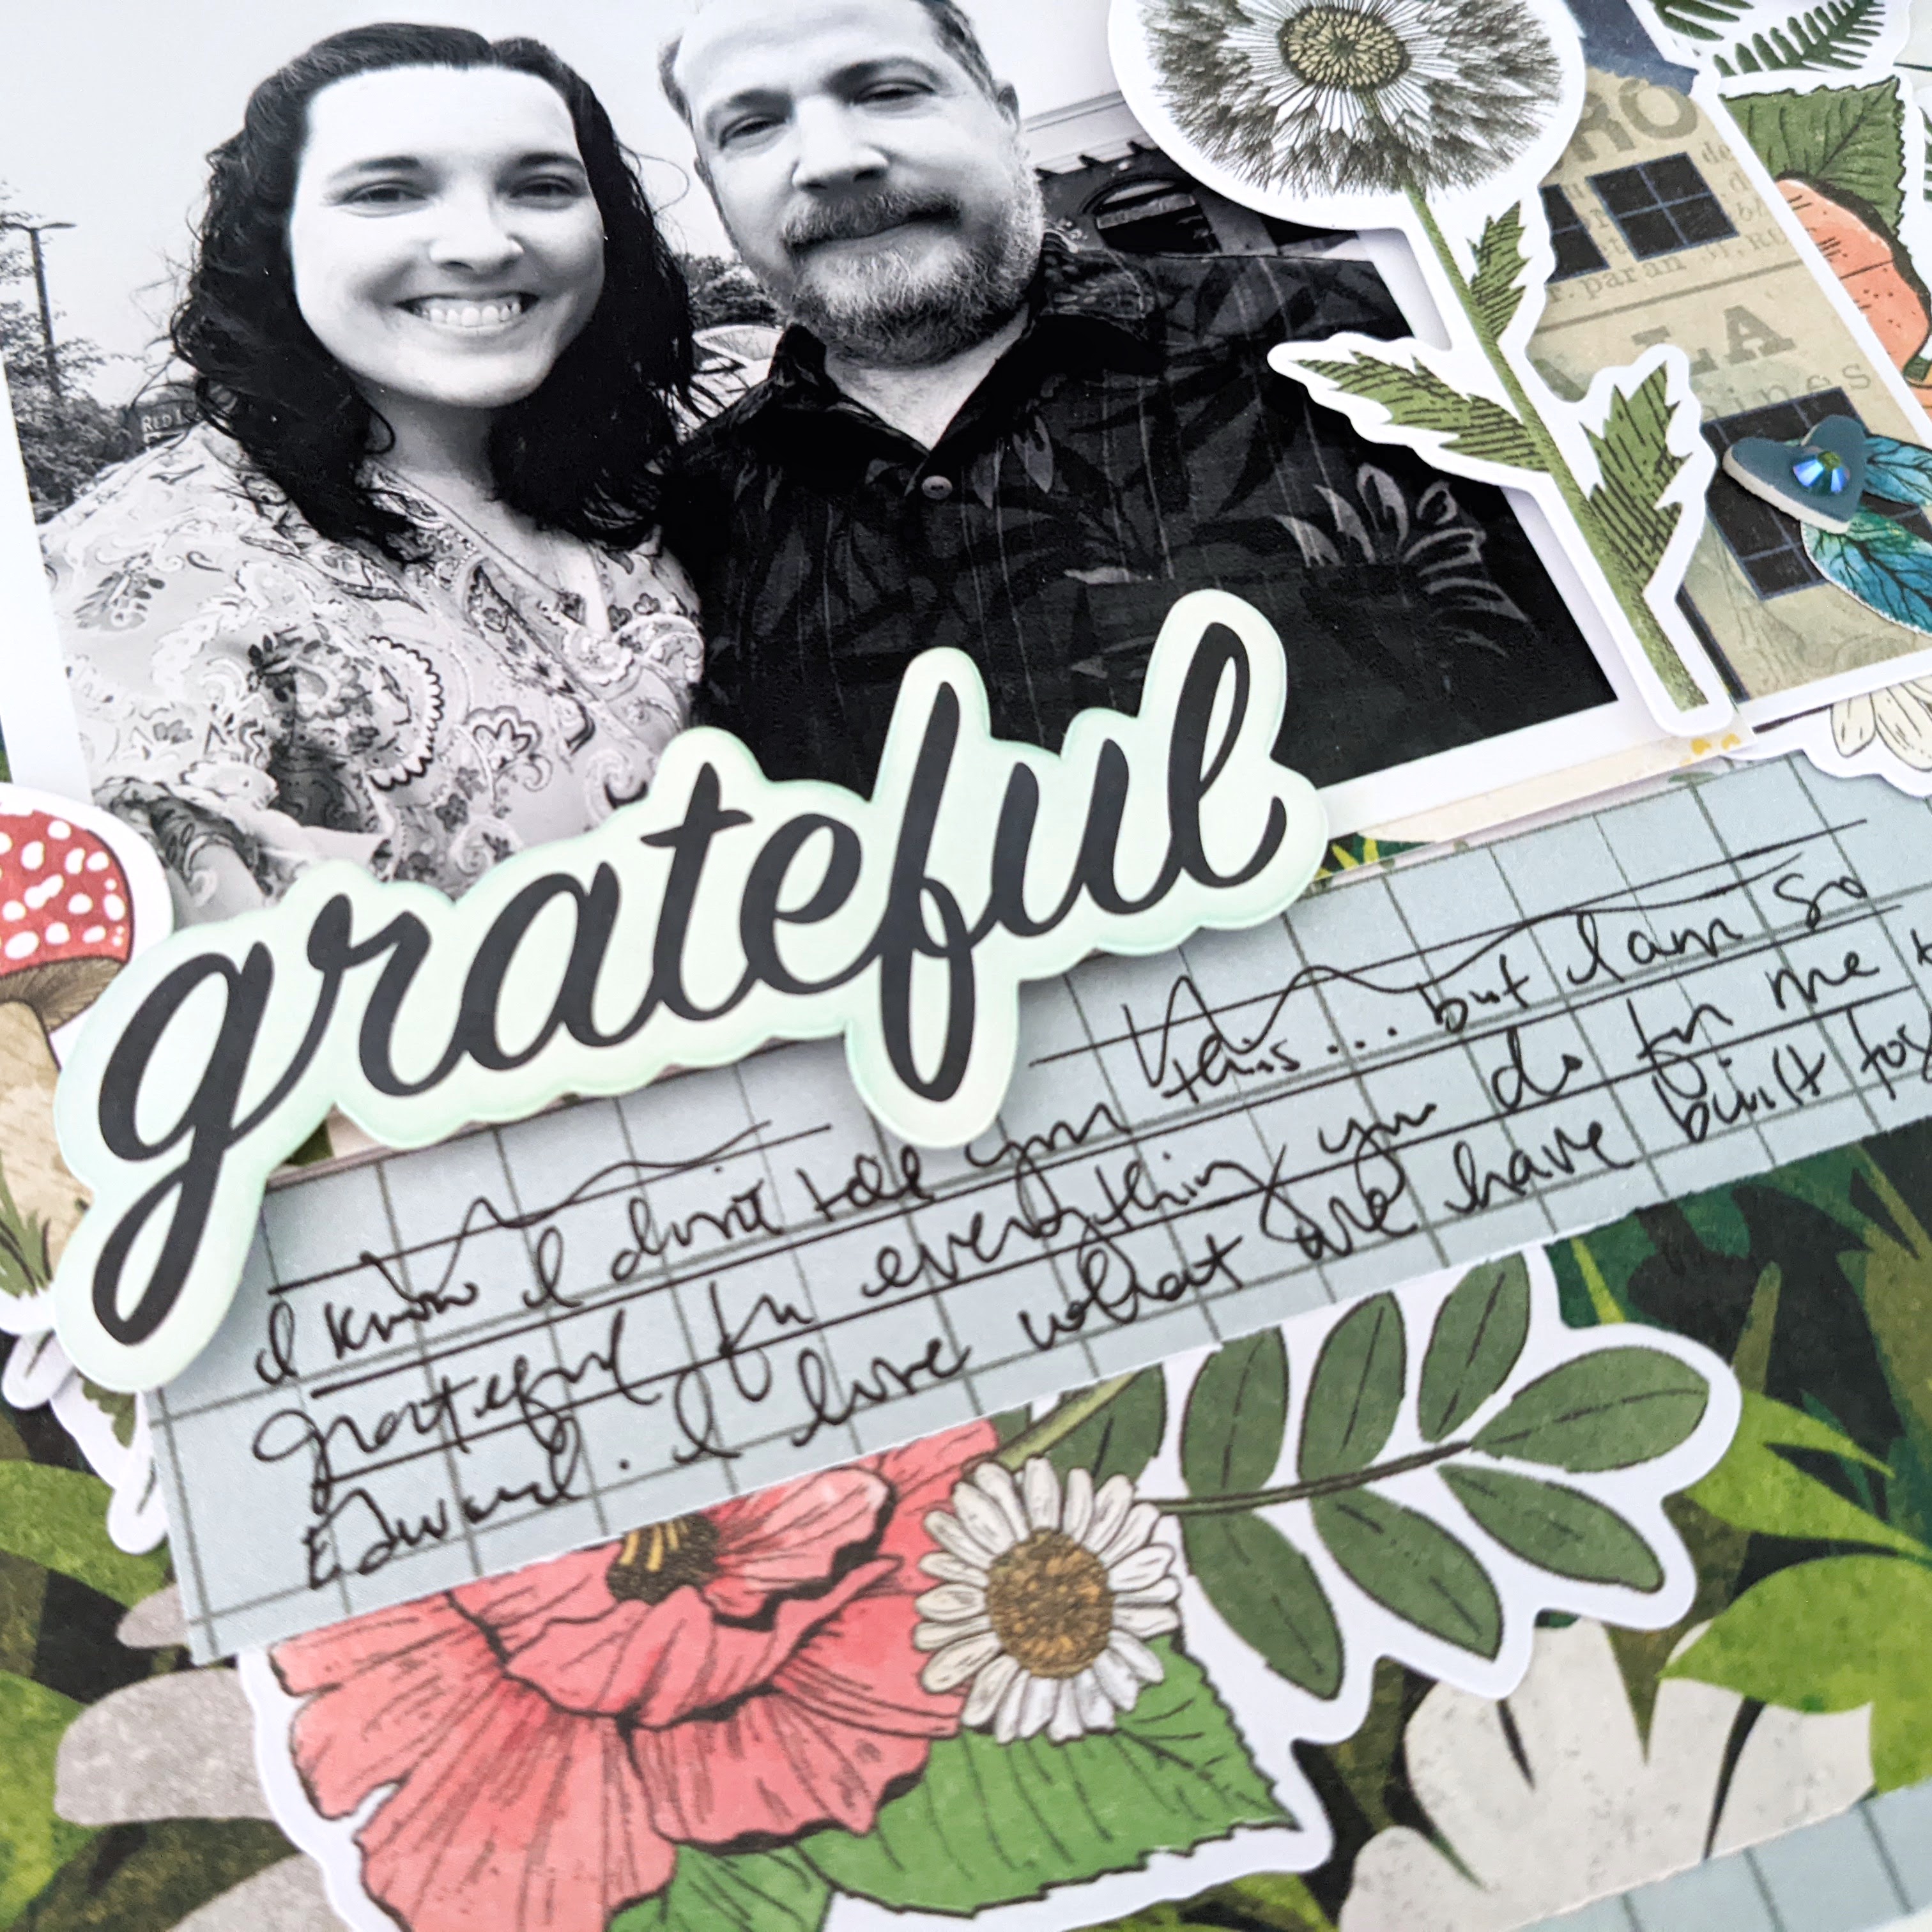
I used a light purple for the flower and a darker purple for the little details along with green ink.

Aren't these flowers beautiful! I can't get enough of them. I think I'll make a few cards with them.

I cut bits and pieces of them to tuck them here and there to stretch them, rather than having pieces hidden behind the photos going to waste.


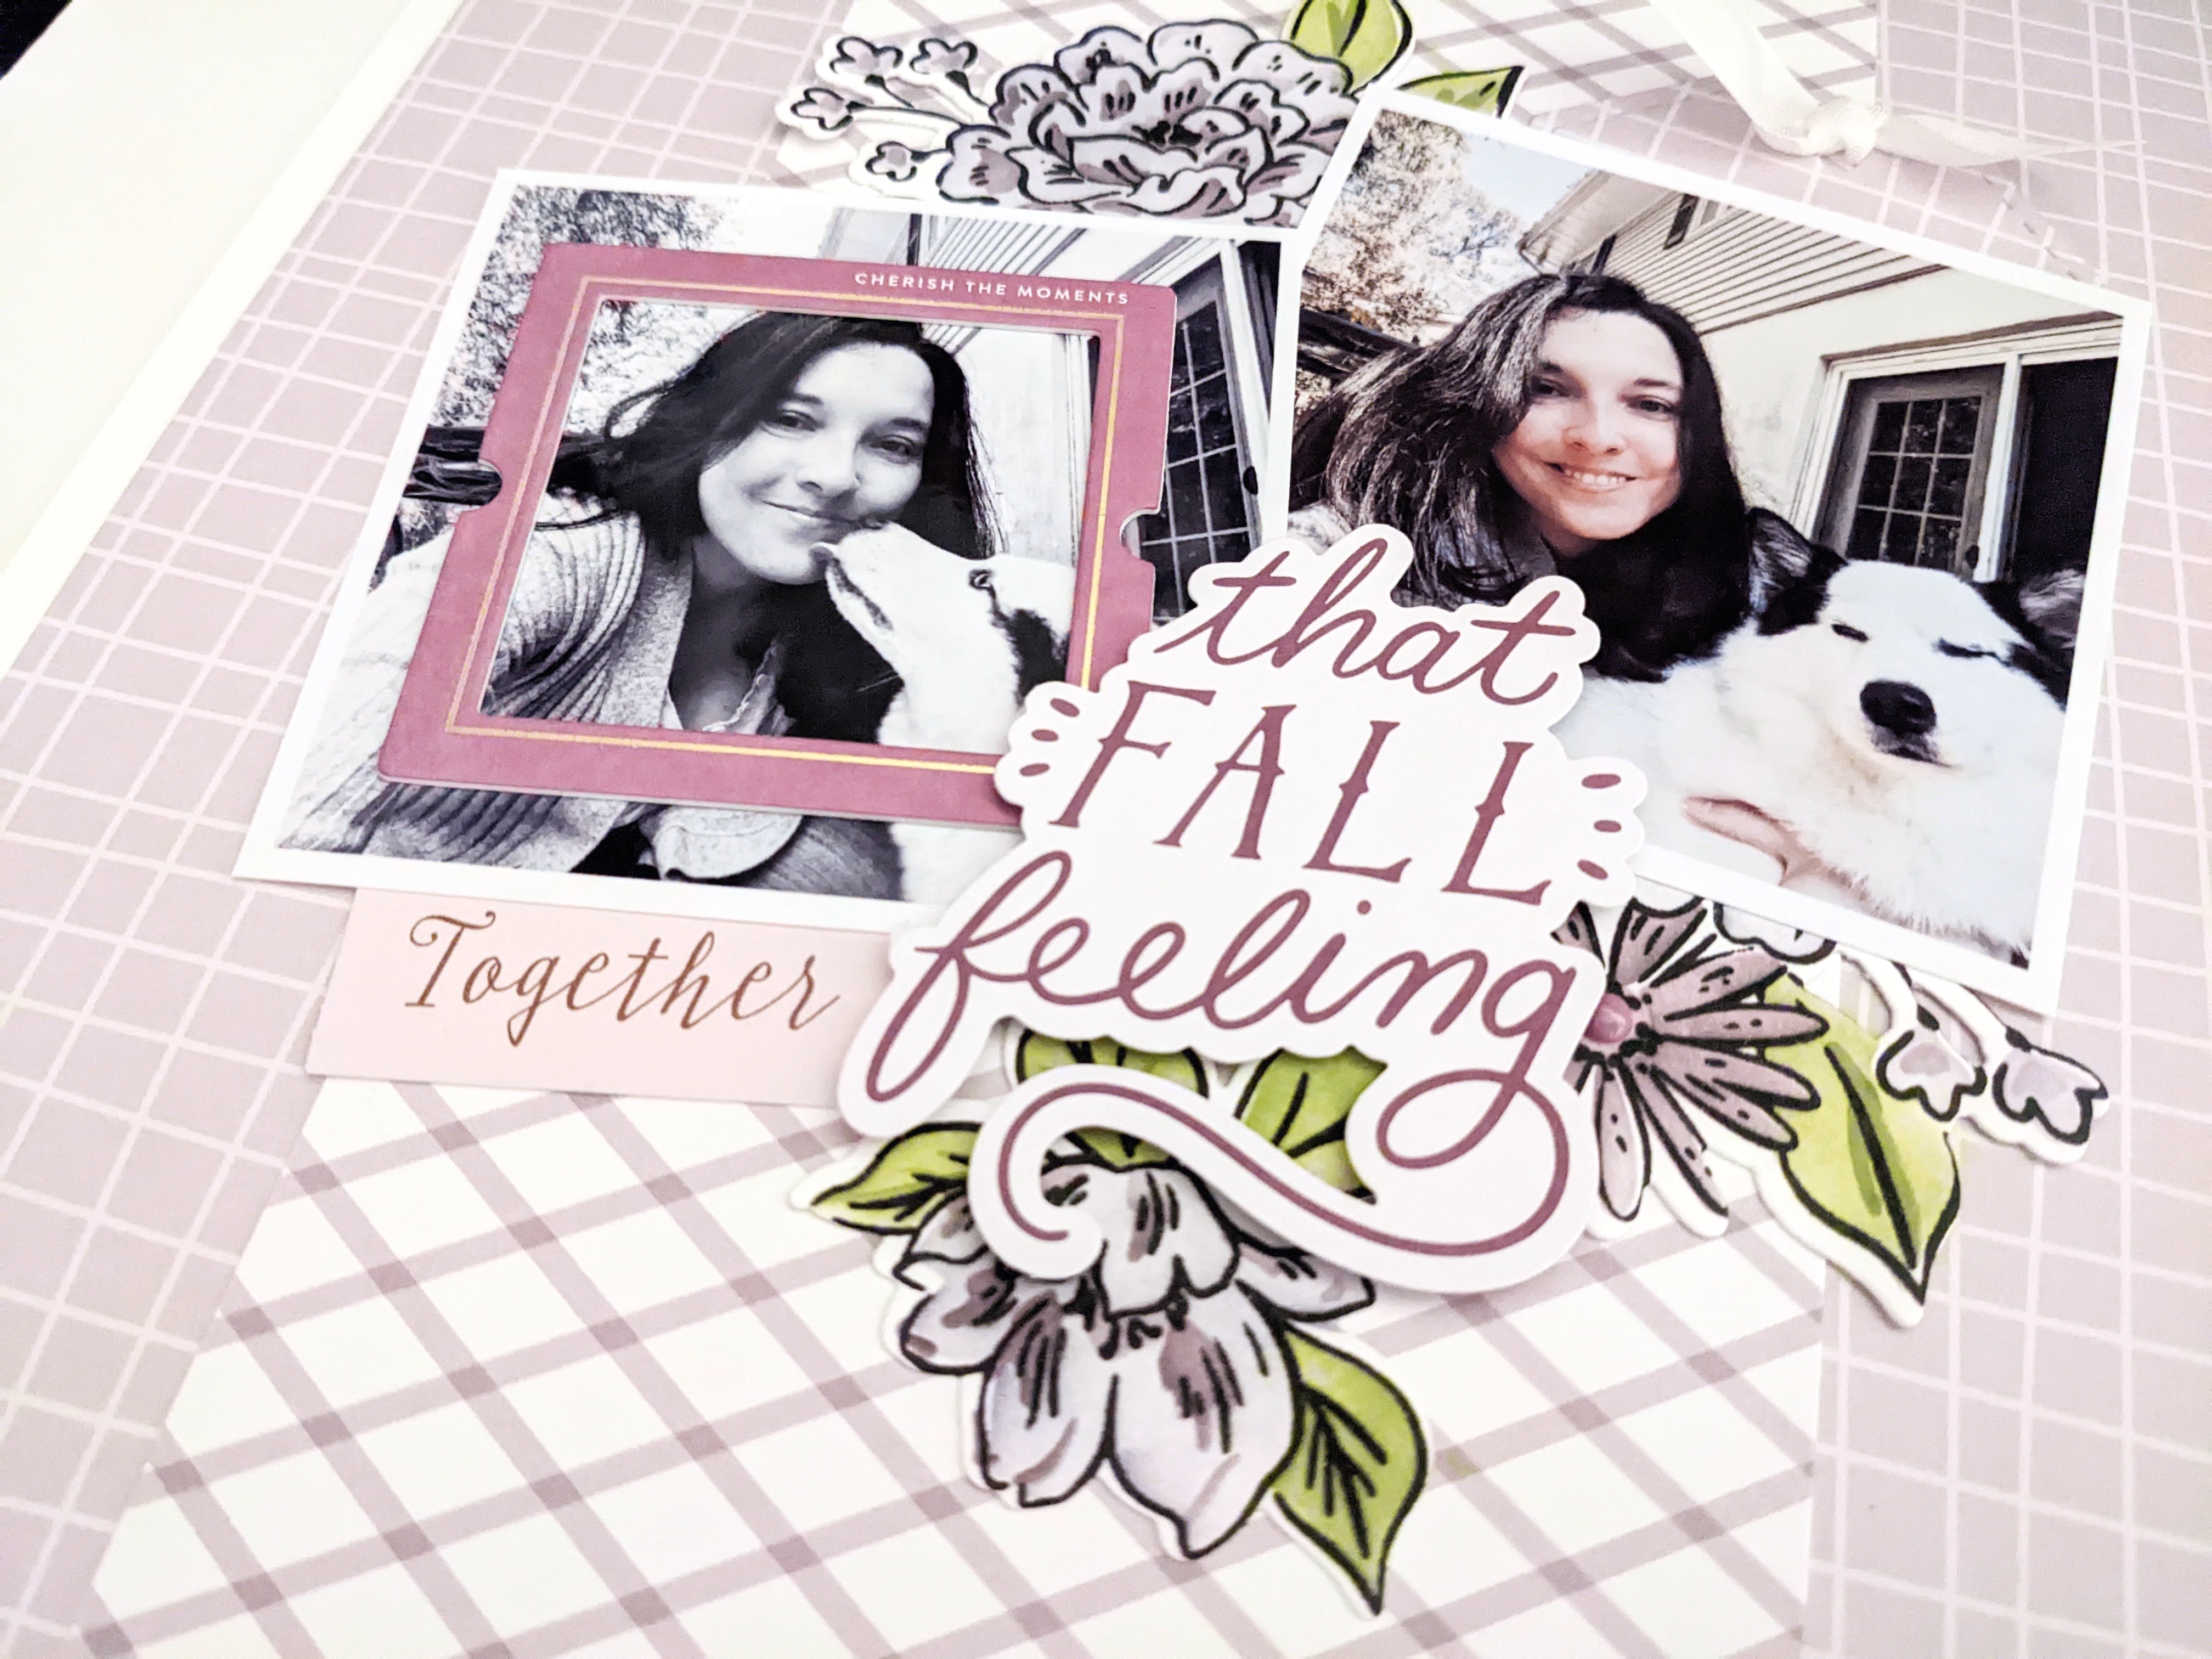
So you can see how it looked before I added the flowers to the layout. You can use any colors you want! I chose purple because I wanted to use the purple papers because it looks pretty with the photos.


I need to catch up on some design team work, but I can't wait to use the other stamps and dies I have that I have't used yet. :) Thank you for visiting today!
-Nic


MIXED MEDIA TAGS/THE CRAFTER'S WORKSHOP

Hello all! Today, I'm sharing a few more tags I created for the holidays. For the first tag, I used the TCW6007 Ornaments Layered Slimline Stencil with the Ocean BlueBarn Door, and Terre Verte Stencil butter.

I really like the red, green and blue here with a touch of black. What do you think? I was going to color in the ornaments using ColorSparx, but I decided to keep it as is.

Believe me when I tell you… anyone can make these tags. You do not need to be an artist. You just need to have a little patience. 🙂 I made all of these at the same time… depending on what colors I was using. It was easier to have them all lined up on the table and working on them at the same time since I had to let them dry awhile.

For the next tag, I used the TCW6010 Pinecone Branch Layered Slimline Stencil with the Terre Verte stencil butter and Champagne Gold Modeling Paste. I did not want to use brown…so I thought the gold would look great for the pinecones and I really love it!

What do you think? Are you ready to make some holiday tags!?


Thanks so much for visiting today!
-Nic

Friday, October 28, 2022

BELIEVE IN THE MAGIC/STUDIO FORTY

Good morning friends! I'm sharing another layout I created using the Together Collection. This layout started out simple, but I wasn't quite happy with it and just kept adding more stuff until I was satisfied with it. Does that ever happen to you? I just never know when to stop... it's the perfectionist in me.

I played with all the embellishments on this layout! And I didn't forget about the journaling cards. :) I used a pencil to roll up the bottoms of each card to add dimension and then I added the chipboard pieces

I added a few journaling cards to the left side to fill in the white space and stamped "twinkle", "twinkle" a few times using a light gray ink. I used foam squares to mount the ephemera down to add dimension. 


I hope you found this layout inspiring. Notice how I did NOT use holiday photos, but I used holiday elements. It totally works! I just love the overall feel of this layout. 


Thank you so much for visiting today!
-Nic


Thursday, October 27, 2022

AUTUMN LEAVES/PINKFRESH STUDIO CHALLENGE

Hi friends. It's been a great day off from work. I played a little in my craft room and then went to lunch with the hubs. And it's so pretty outside. I'm about to take Moxie on another mile walk for the day, but first, I want to share this layout I created for the Pinkfresh Challenge. :) This month, it's all about leaves...being fall and all. :)


I LOVE FALL. It's my favorite time of the year. I just love how pretty the leaves look when they change colors.  Doesn't this layout look pretty?

I played with lots of embellishments and I love the chipboard frames! You can do so many different things with them. I chose to use a variety of frames backed with patterned paper to create a fun background for the photo.

Lots of beautiful layers. I just love it. I used foam squares to pop up some of the die cuts.

I tucked several leaves to the side of the photo to add dimension and a nice cluster of floral leaves. Just beautiful. 


Off to walk my dog! He's pawing at me... Thank you for visiting today!

-Nic

MIXED MEDIA HOLIDAY TAGS/THE CRAFTER'S WORKSHOP

Good morning! Nicole here with a few holiday tags I created using several holiday stencils and stamps! These tags were so much fun to create and I incorporated a few techniques that I am going to share with you!

I used TCW6011 Tall Christmas Tree Layered Slimline Stencil to create this tag. The tree isn’t perfect, but I still think it’s pretty! I think I applied too much stencil butter over the red ornaments, but that’s OK because art doesn’t need to be perfect! This is such a pretty stencil and I can’t wait to use it on a layout. 

Disclaimer: “The Crafter’s Workshop provided me with product to create these projects. The opinions I share are solely my own.”

One main thing to remember when using layered stencils…make sure you tape down the stencil so it does not move and apply a small amount of stencil butter through the stencil to prevent smudges…otherwise, you ornaments will look like mine. 🙂 Also, I let my stencil butter dry over night before applying the next layer to make sure it was completely dry. I used Barn DoorTerre Verte, and Champagne Stardust Stencil Butter for the tree.

I added a few gems to make it a littler prettier since the red ornaments are a little sloppy and I think it worked! I just glued them using a strong glue and stamped “Merry Christmas” from the TCW2218 Christmas Joy Stamp set at the top and added the ribbon, Super easy and so much fun to make!

For the next tag, I used the TCW6008 Poinsettia Spray Layered Slimline Stencil. I think this tag is my favorite from all of the ones I made. 

I used the Terre Verse and Barn Door stencil butter through the stencil to create the leaves and Poinsettia. Again, I used too much stencil butter and it smudged…which is why I decided to use the ColorSparx to color in the images to make it less noticeable. Sometimes, mistakes can be good… 🙂 I love how this turned out.

I let each the stencil butter dry between each step. Also, one thing I want to mention about these stencils… The stencils have little etching marks so you know exactly where to place the stencil! I can’t get it to show through the pictures, but in this case. There are little etchings showing part of the flower so you can line the stencil down perfectly! I just love the quality of these stencils and clear etchings! 

After the stencil butter was completely dry, I mixed the ColorSparx with some water and used a paint brush to paint inside the images. Next, I tapped the watercolor off the brush lightly to create the splatters. To finish the tag, I stamped “Tis The Season To Be Jolly” from the TCW2217 Holly Jolly Stamp Setusing green ink and added the ribbon.

I hope you found this post inspiring! They were a lot of fun to make and I appreciate you visiting today!

Monday, October 24, 2022

HOLLY CARDINAL GIFT BAG/THE CRAFTER'S WORKSHOP

Good morning friends! The holidays are around the corner and I’m trying to get a heads start with handmade gifts. Today, I’m going to share how I created this gift bag using sublimation ink products from Artesprix and the TCW 997 Holly Cardinal Stencil from The Crafter's Workshop.

Disclaimer: “The Crafter’s Workshop provided me with product to create this project. The opinions I share are solely my own.”

First, I traced the bag onto regular copy paper using a pencil so that I knew how much space I had to work with.

Next, I used a light tack tape to tape down the stencil to prevent the stencil from moving.

Then, I used a blending brush to blend the sublimation ink though the stencil. I used a different brush for each color to prevent the colors from getting muddy.

I must admit, seeing this image take form during the ink blending process made me happy! It’s so beautiful.

I mean…look at that image. Just wait until you see how I managed to transfer this image to fabric… Before I prepared this for the heat press, I covered any little mistakes using heat tape. By doing this, the ink will not transfer to the sublimation bag.

After that, I taped the sublimation bag over the image using heat tape.

Next, I placed protective paper at the top and bottom of the project. Then, I set the heat press for 45 seconds at 400 degrees Fahrenheit.

I gave the heat press enough time to get hot and then I placed the project in the heat press with the image faced up.

I used heat gloves to remove the project from the heat press and let it cool down for a few minutes. I used fabric-tac glue to glue a few pearls in the center of the snowflakes. What do you think? Isn’t this beautiful?!

I hope I inspired you today! If you think you want to give sublimation a try, please check out Artesprix's shop. They carry a variety of products to get you started. I would appreciate it, if you shopped through my affiliate link. The price you pay will not be higher, however, I may get compensated for your sale!

Nic