Monday, July 29, 2024

JULY CITRUS TWIST PROJECTS/CITRUS TWIST KITS

Hello, friends! Today, I'm sharing my three projects I created for Citrus Twist Kits using their Summer Adventures digital collection. This collection is so groovy, and fun! I had so much fun making these layouts with it! 


This patterned paper is super fun! I love all the different elements in the blocks and thought it would be perfect for a semi-grid layout. I just added a few embellishments here and there and the photo. I popped up the "summer" die cut using foam squares to add dimension. Isn't this so pretty? It just screams summer!


I played with a variety of embellishments from the shop along with the Summer Adventures digital collection. This layout was created using a sketch as inspiration and I love it. :)


Here is the sketch. Feel free to use it on your next inspiration!


Close-up of the embellishments. So fun!


I used the Roam digitals with the papers from the Summer Adventures digital collections to create this layout. I LOVE this one... I especially love the Route 66 die cut along with the mountains. 


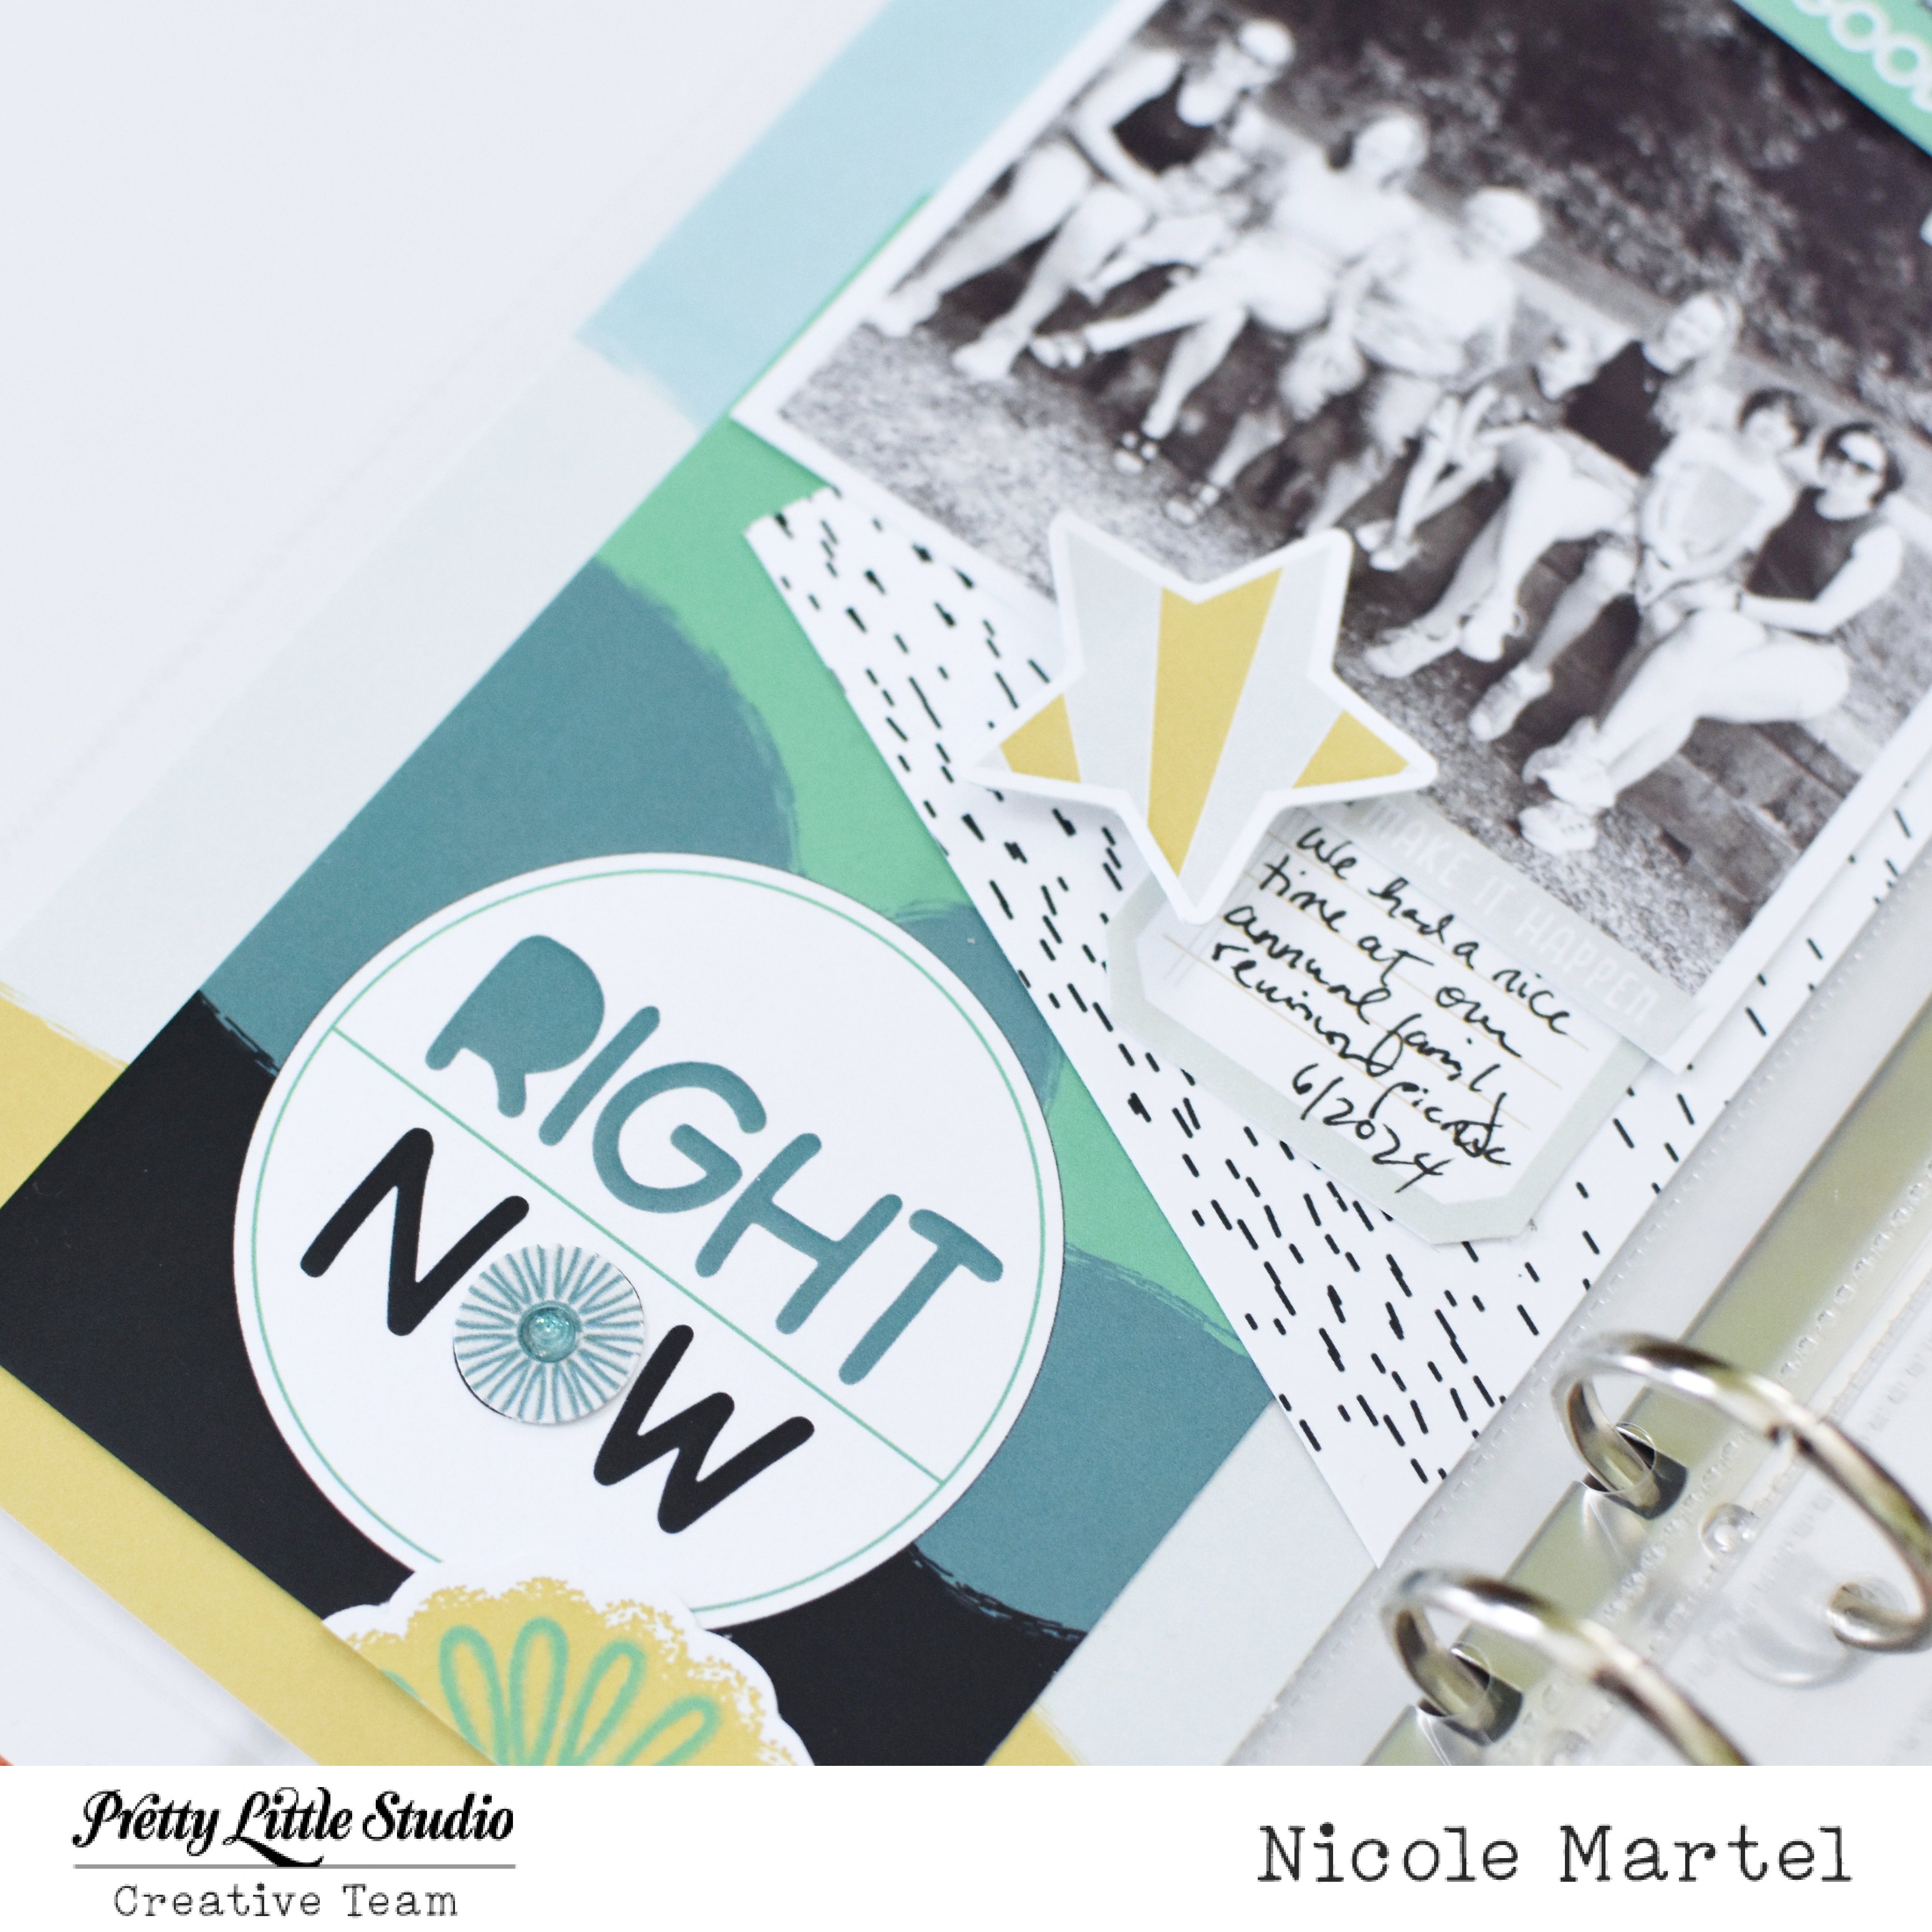
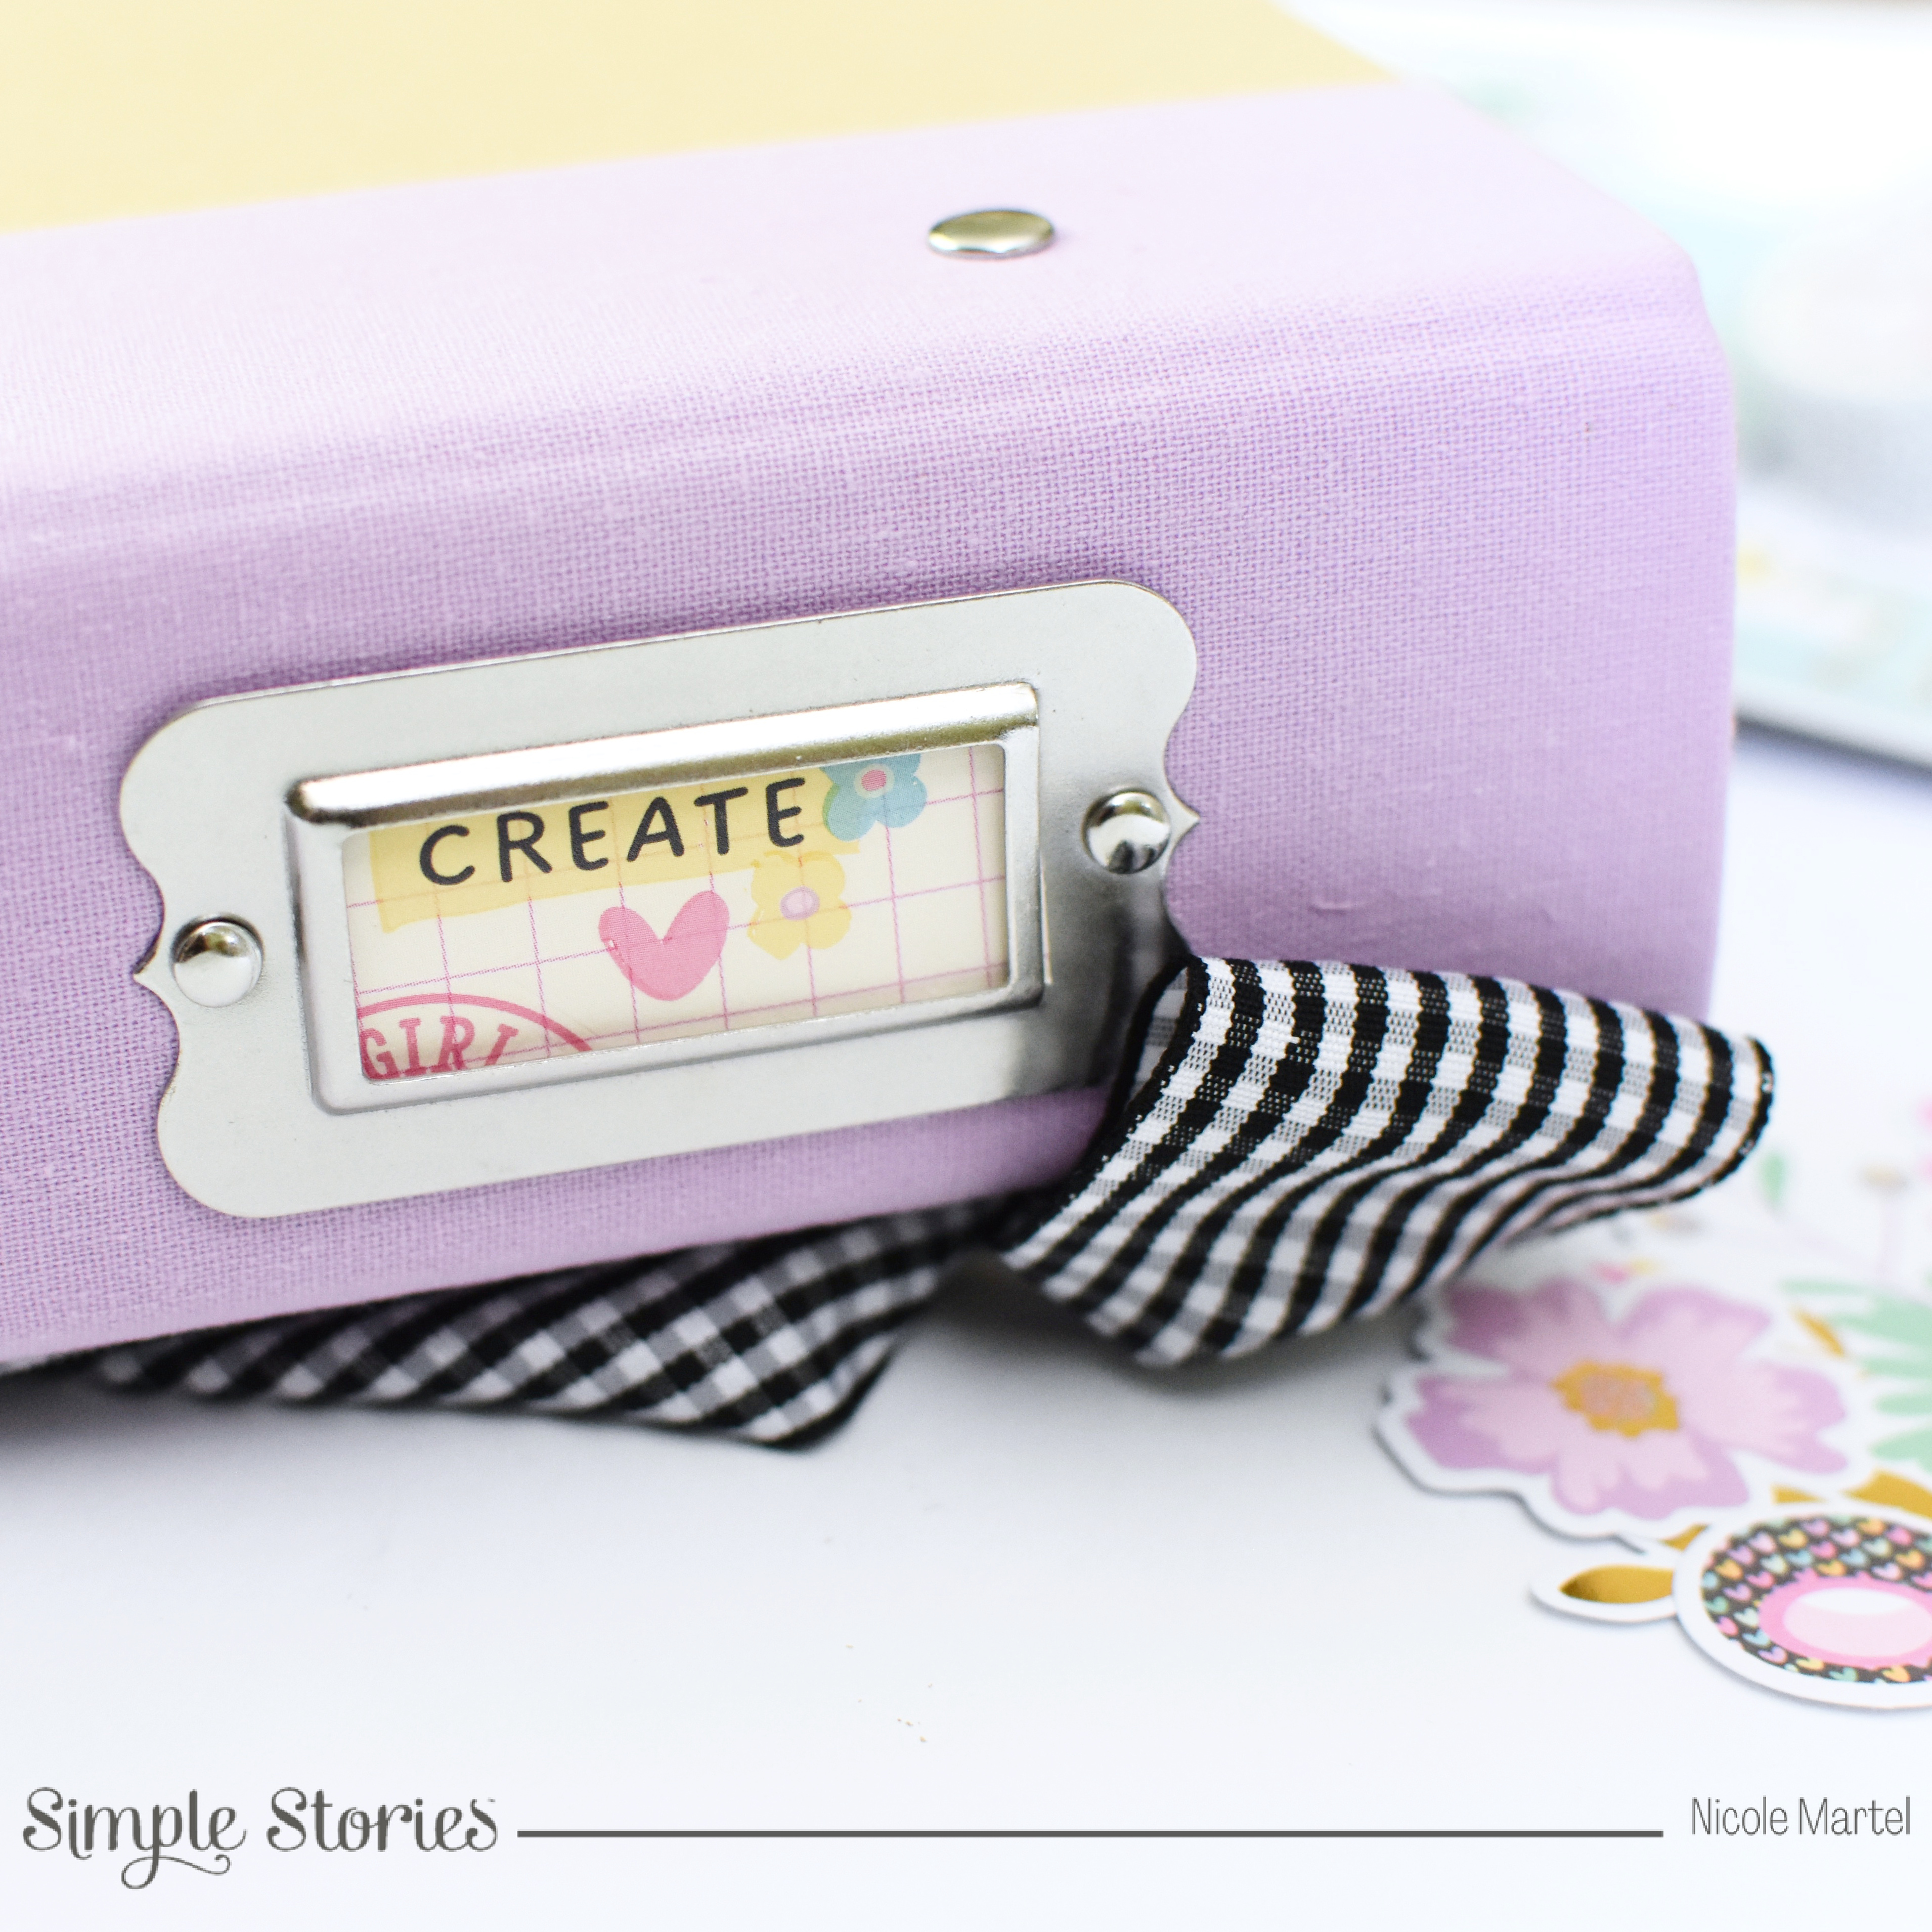
Can you spot all the embellishments. I just love it all. I used metal tags to create the tags from pieces of the die cuts and papers/journaling cards.


I used several foam squares to pop up the embellishments to add dimension.


I printed the journaling on white cardstock and then cut it out and matted it right on to the journaling card. It took me a few print jobs on regular print paper to get the sizing just right!

Which one is your favorite? I'm still learning how to use digital kits, but having the Cricut Maker makes it super easy! I just need to experiment with Photoshop to learn how to add text etc to the journaling cards. Thank you so much for visiting today!

Nicole


GOOD VIBES TRAVEL NOTEBOOK SPREADS/PRETTY LITTLE STUDIO

Good morning, friends! Nicole here, with two travel notebook spreads I created using the Good Vibrations collection. This collection is super fun and I really love the variety of colors/patterns in this collection. 

I really like the pink and orange gradient paper and I thought it paired nicely with the black and white patterned paper. I punched the circle elements from the cut-apart sheet using a circle punch and added them at the bottom to fill in the white space. For my pages, I am using Citrus Twist's Tangerine Travel Notebook. These are nice quality albums and I have been using them for years!

I used a few foam squares to pop some of the die cuts up to add dimension and cut the flower die cut in half to use as a fin border along the side of the layout.

I added the "awesome" die cut and a tiny sticker along with a few gems to fill in the top corner of the spread. I really like how this looks. Isn't it pretty?
I love the colors on this spread. The different green and blue tones is so striking!
I added a tiny floral die cut and gem to the "right now" sentiment for fun. 

I cut the flower die cuts in half and moved them all over the top of the layout to fill in the white space.

What do you think of this groovy collection? I think it's super fun and versatile. It's great for feminine and masculine projects! 


Thank you so much for visiting today.  Click here, to check out the Good Vibrations collection!
-Nicole

Friday, July 26, 2024

ED-SAY CHEESE/TRINITY STAMPS


Hello, friends! Nicole here with a mixed media layout I created using a variety of fun metal dies and stamps! I totally had fun creating this layout. I just love the mixed media background with the numbers! There's more Trinity products on this layout than I realized.

To begin, I splashed a few different watercolor spray inks all over watercolor paper. Next, I used a paper towel to dab the excess ink off the paper.


 I let the ink dry a little before stamping all the "13" in the background. I just love the Number Candles stamp set! The numbers look so great in the background. 


After I finished stamping the numbers, I added a few embellishments and some more stamping and dies. I punched the "ED" title out using the Modern Embossed Alphabet Die Set. I love how they have an embossed edge. They add so much to the alphas! I used alcohol markers to color in the letters. I clustered a variety of embellishments at the bottom of the layout, adding some elements from the Tiny Speech BubblesDie Set, and the Picture This Stamp Set, along with some Baubles. Isn't this fun!?


What do you think? It's super fun, right...and a great masculine layout! I hope you found this layout inspiring! Click here to shop through my affiliate link. The price you pay will not be higher...however, I may be compensated for your purchase.Thank you for visiting today.

Nic

Thursday, July 25, 2024

HAPPY MOMENT/PERFECT PAINTS

Good morning, friends. Nicole here with a mixed media spread I created using a picture from the 4th of July. The Cayenne, Guilded Azure, and Dove's Wing Polishing Plaster are the perfect mediums for 4th of July projects! I paired them together with a star stencil to create a fun background!

I love using Polishing Plaster because there's no prep needed since there isn't much water in this medium... Also, it works great with chipboard pages, which I am using for today's project. After looking at this, I wished I had used a little more Dove's Wing and less Gilded Azure to make it more even, but I still love it!

Here is a close up of the Polishing Plasters... aren't they beautiful! It's my favorite medium to play with and they are so easy to work with...just grab a stencil and palette knife and start spreading the Polishing Plaster through the Twilight Stencil from Art Anthology.
To begin, I taped down the stencil over the chipboard to prevent the stencil from slipping. Next, I grabbed my palette knife and spreaded each of the Polishing Platers, one by one down the stencil to create a colorful background.
While the Polishing Plaster is drying... I usually work on creating a fun matted background for my picture using a variety of die cuts and embellishments. I used Simple Stories' Linen Market die cuts and embellishments to embellish this spread. Once the mixed media is completely dry, I adhere the matted photo to the center of the page. Super fun and simple!

Loving the cluster of embellishments on this spread. Isn't it fun? I glued a few enamel dots to the center of the stars, too.
That Gilded Azure is absolutely beautiful. I'm partially biased since blue is my favorite color.

Have you played with the Polishing Plaster? What is your favorite colors? We'd love to hear in the comments. Thank you so much for visiting today!


Nicole

Tuesday, July 23, 2024

TREASURED PHOTO TRAVEL NOTEBOOK SPREADS/A CHERRY ON TOP


Good morning, friends! It’s Nicole here with a few pages I added to my grandmother’s album I started a few months ago. I’m using the Moonlit Garden Collection from 49 & Market. I just love this collection. The colors are so serene and beautiful. I’m going to share with you, three ways to add doodling to your projects to make them pop! It’s super simple and fun.


Doodling on layouts is the last thing I do. I wait until my layouts are completed and all the embellishments are in place before adding a little scribbling. I normally like to add doodling along the edges of my layouts because otherwise, it looks like the layout is missing something. I am using the Blueberry travel notebook album from Citrus Twist to hold my pages.


The trick to making these doodling lines is to use a ruler and black pen to make a straight line. Next, take your pen and scribble down that line. If it’s not neat, that’s ok!! I don’t worry too much about keeping my scribbles neat. 


I added a little doodling below the “thoughful” chipboard and below the cluster of embellishments for fun. 


I used the vellum sticker roll for the first time and I love them!! You can barely tell they are stickers…they blend so nicely over the photos and patterned paper. Isn’t this so pretty? I used the big folder as an insert in the album.

I can’t wait to give this to my grandmother. I just know she’s going to cry when she sees it. It’s been a while since I’ve given her an album and it makes me so happy to do this for her.


I scribbled along the tag to make it stand out more. I didn’t want an all-white tag and this was the best solution!

Here are a few close-ups of the embellishments. I absolutely love the butterfly rub-ons! They are absolutely beautiful. What do you think? Are you ready to add some doodling to your next project? This beautiful collection is still available in the shop. You can see the full collection, hereClick here to start shopping through my affiliate link. The price you pay will not be higher...I may receive compensation for the referral. you so much for visiting today!


Nicole


Monday, July 15, 2024

BEAUTIFUL MEMORIES MIXED MEDIA/PERFECT PAINTS

Hello, friends. Nicole here, making a beautiful mess on my desk and I love everything about it because playing with mixed media makes my heart happy. Seriously, art is such a great way to relieve stress.

I'm excited to share my beautiful mess with you today! One thing I love about mixed media is in the beginning of the project, it can look very ugly...but then it's like magic... a little more paint and embellishments....and it's just one beautiful piece.


To begin, I taped the camera stencil onto a 6x6 mixed media board from The Crafter's Workshop. Next, I mixed the Perfect Clear Texture Gel with a little Wisteria ColorSparx to create a purple medium. I used a palette knife to pull the gel through the stencil.

Next, leaving the stencil taped down, I added a little bit of Cerulean Blue ColorSparx to the rest of the Perfect Clear Texture Gel mix. I do not like to waste mediums and you can totally mix colors...as long as you're working with lighter colors first.
Next, I added some Shimmering Acrylics-Ballet Slipper and Rainstorm. I used a palette knife to add the Ballet Slipper all over. It looks a little messy and ugly...but I promise you... it will look amazing after it's done. After I applied the Ballet Slipper, I dipped the end of a paintbrush in the Rainstorm Shimmering Acrylics and splattered it all over the stencil.


Now, the fun part! Carefully pulling the tape off the board and removing the stencil. Gosh, I love this part... Isn't this so pretty with all the beautiful colors! The acrylics add just the right amount of shimmer!
I added a little White Aqua Splash to add a little bit of white speckles. After that, I grabbed some chipboard, foam stickers and decorative brads/gems to add to the board after it was completely dry.


LOVE how pretty this turned out. I was worried this would look like my chipboard page, but it doesn't look anything like it...and I just had so much fun making this gem!

I hope you found this inspiring! Don't forget to check out the gorgeous Shimmering Acrylics in the shop and make sure you add the Perfect Clear Texture Gel as well because as you can see...it comes in handy!

Nicole


Sunday, July 07, 2024

OH SNAP SNAP ALBUM/SIMPLE STORIES


Hello friends, I’m excited to share my newest SNAP album with you using the beautiful Crafty Things collection! I absolutely love the pastel colors in this collection…the colors are beautiful, and this collection is just amazing in every way…I especially love all the little scrapbook tools in the form of embellishments…They are super cute!!


I normally don’t share the spine of the album, but I just had to share this one… I love how pretty the rub-ons look. It was a bit tricky getting the rub-ons to line up…but I managed to get it in there!


The paper clip rub-ons are soooo dang cute. This little cluster of rub-ons, chipboard and ephemera make my heart happy! 


For the first page, I used the chipboard frame as the main focal point. The pictures were printed small, and they worked perfectly with the frame. I added some chipboard, decorative brads, and ephemera to fill in some of the white space to make it cute.


I kept this layout simple because I really like the “SNAP” speech bubble. And that pom-pom banner is the cutest… I added a few decorative brads to the center for fun.


Next, I created a pocket page using some tags, rub-ons and chipboard. The first 4x6 card flips to show a few tiny pictures. As you can see, I LOVE playing and coming up with fun ways to use the products. Initially, I was going to place a photo in all the boxes, but I wanted to keep one of the hearts… 


The cut-apart cards are super cute, and I like making little bookmark inserts from them. It’s also a great way to use up some embellishments you wouldn’t normally use on a page.

I love that Simple Stories includes notebook pages in their SNAP albums… I used rub-ons and decorative brads to decorative the page. I still need to go back in and add my story from CHA…I had so much fun with the Clique Kits girls, and I will cherish those memories.


Finally, my last page and this is my FAVORITE. I just love how this spread came together with the tiny pictures at the bottom… I got to meet my favorite crafty designers/artists. I’m so happy I finally got these photos in an album! The Crafty Things collection was perfect for these photos. I still have a few more pages to complete and you’ll most likely see those pop up in my feed in the upcoming weeks. Thank you so much for visiting us today.


Nicole