Sunday, August 29, 2021

BEST DAY MINI/AMERICAN CRAFTS

Good morning friends! I'm here with a cute mini album I created for my sister using some product from Clique International's shop. Just recently, she had family pictures taken for my nephew, Henry's 2nd birthday celebration. As soon as she posted these photos, I snagged them and I knew immediately what papers I would use! I've been hoarding Heidi Swapp's patterned papers from the Carefree Collection for awhile now. We still have a few papers left in the shop!

To begin, I cut two pieces of transparency to measure 4x4 to use as the front and back of the album cover. Next, I cut several pieces of patterned paper to measure 4x4. I used metal border dies and tags to create borders and a tag from the scraps. I fussy cut the butterflies from Amy Tangerine's paper to use as embellishments. 


Once I had all of my papers cut and my selection of embellishments, I started embellishing the pages. As you can see...you do not need a lot of embellishments to create a beautiful mini. Sometimes, all you need is pretty papers and some stickers!


I used a Cinch to bind the album together. It's easier if you bind the album first before embellishing. That is what I did. When binding, the important thing to remember is to add the back page to the front of all of your pages so that once the album is binded, it holds the wire in the back nicely when you flip the first page to the back.


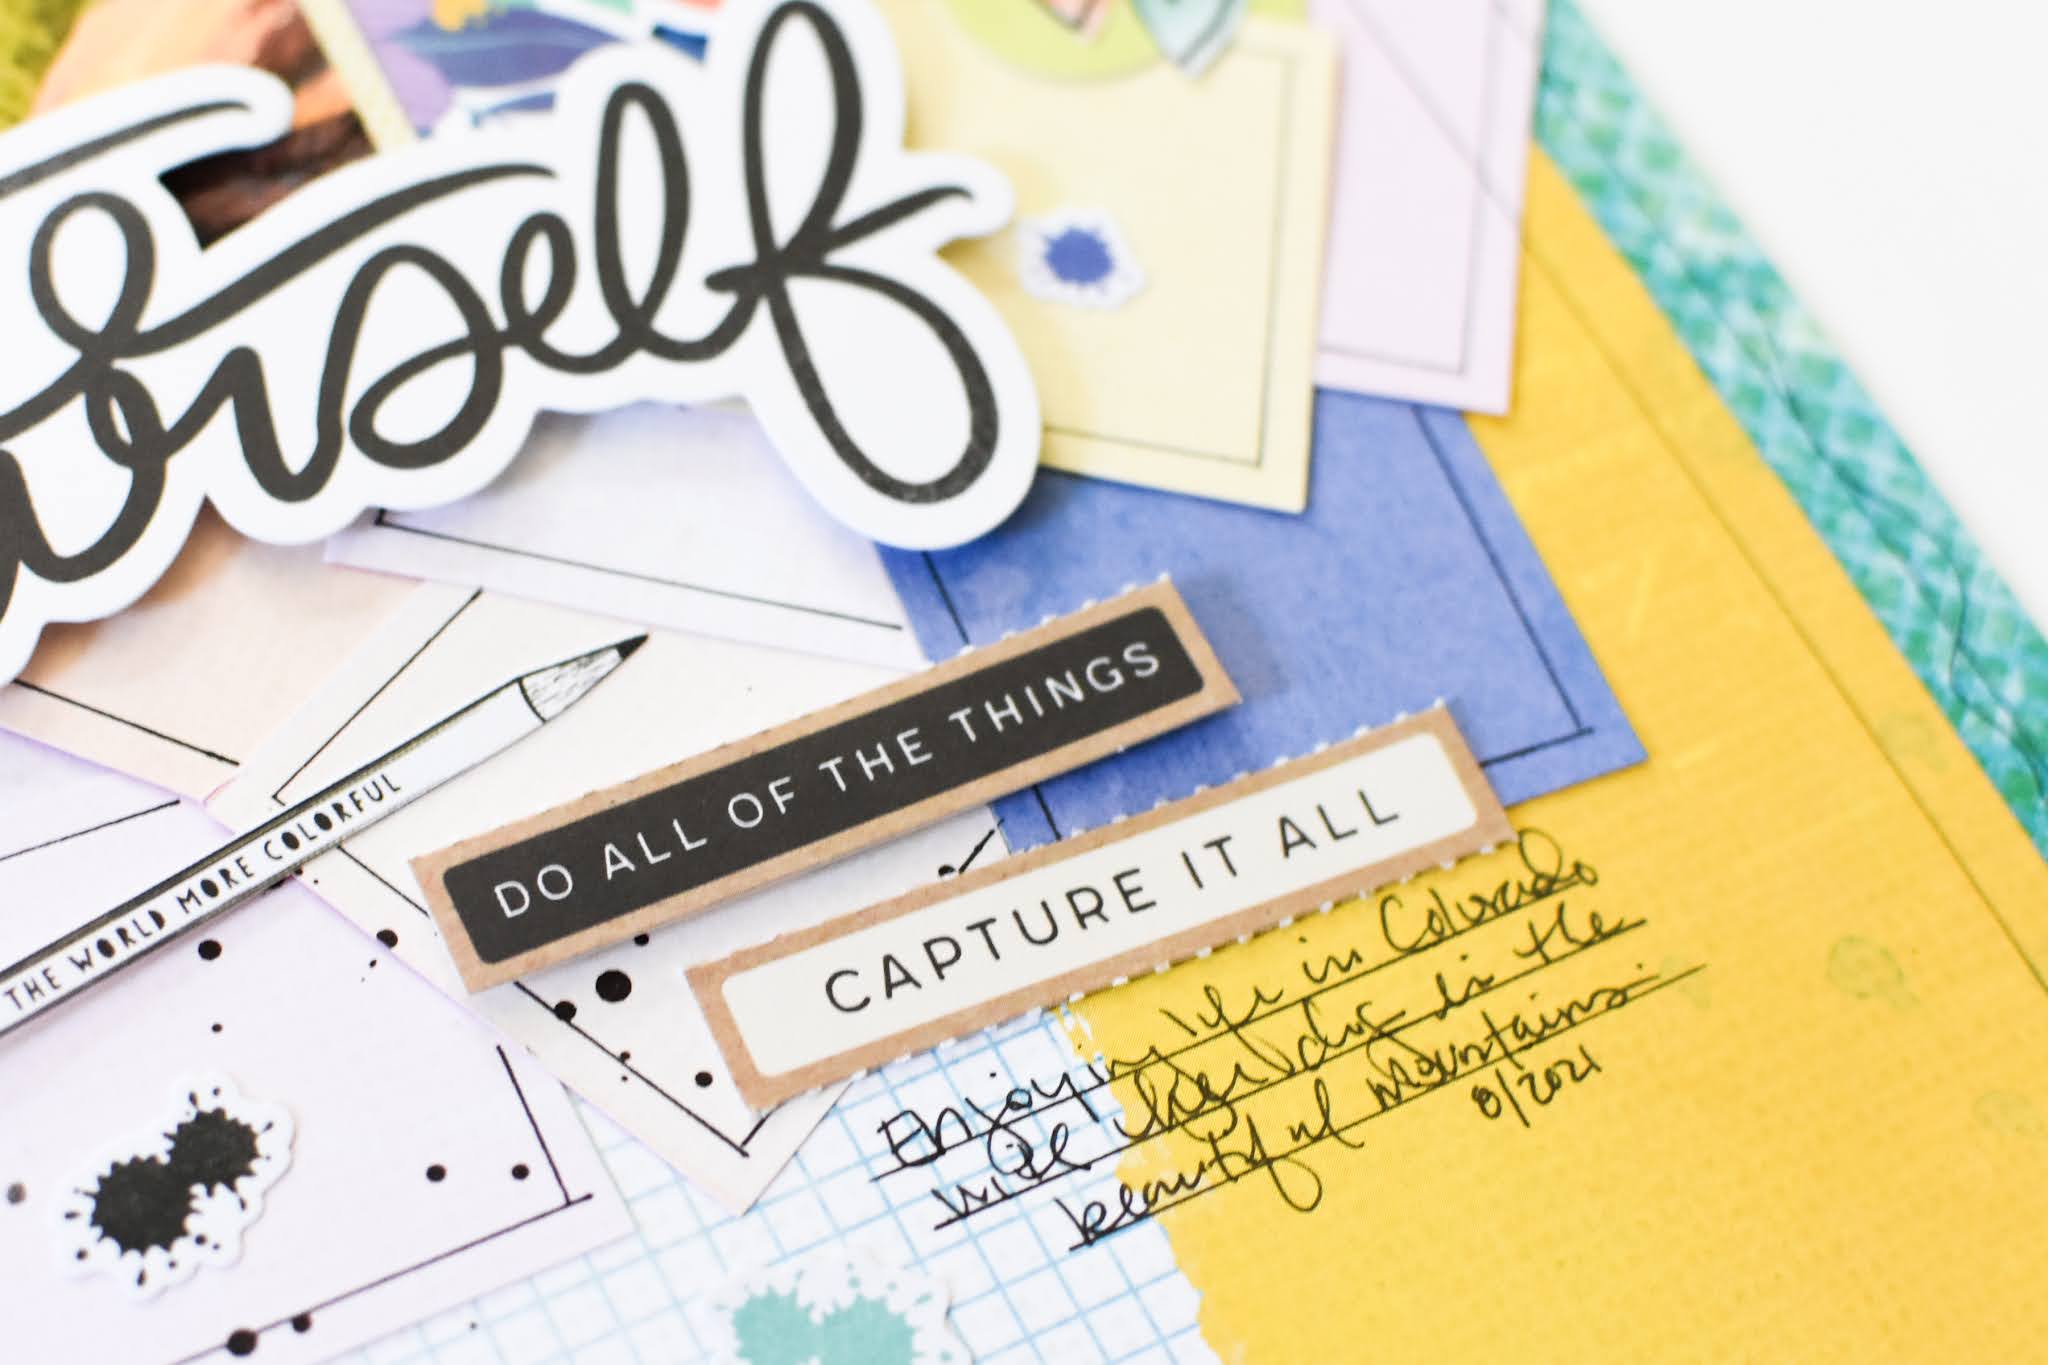
Here are a few close-ups of the embellishments. Super simple, but beautiful! I used foam squares to add dimension. It makes such a big difference when layering embellishments. 


Do you enjoy making mini albums? I must admit, I don't make them as much as I used to...but I am working on changing that! Thank you so much for visiting today. 


Wednesday, August 25, 2021

CREATE YOURSELF/VICKI BOUTIN-AMERICAN CRAFTS

Happy hump day! Just popping on to share this layout I created using Clique International's Color Study Embellishment Kit. I love how colorful these embellishments are...they are super fun and HAPPY!


To begin, I cut two patterned papers to measure 8 1/2x11 and 7 1/2x10 then mounted them together. Next, I cut several squares from patterned paper and placed them on the layout. I used a black pen and a ruler to draw the borders around the layout and each square. 


I cut the mountain from a journaling card to use as an embellishment and tucked in the flowers behind the photo. I used foam squares to mount the butterfly onto the layout.


I cut the circle embellishment in half then added the tab and sticker with a few enamel stickers to fill in the top left-side of the photo.


Love these die cuts and stickers together... super cute!


I mounted the big "create yourself" die cut onto the layout using foam squares so that the title popped off the page a bit.


I am super pleased with how this layout turned out. The colors and all of the elements make me happy.


Thanks for stopping by today!


Monday, August 23, 2021

DREAMS COME TRUE CARD

Hello everyone. I'm back with another card today. Who doesn't love rainbows? The Basic Rainbow Builder Vol 2 Stamp Set is super cute and I decided to pull out a rainbow of ink colors to create this beauty.


To begin, I stamped the rainbow image onto a piece of cardstock that measured 2 1/2x3 1/2. 


Here is what the rainbow stamp set looks like, layered together. So pretty! I used a marker to add a little blue around the edges.


Next, I splashed some black watercolor ink all over the rainbow using a tiny paint brush. I cut a piece of white cardstock to measure 6"x8" and scored it in half to make the card and then used a blending brush and blue ink to color the card. I mounted the smaller card to the base using foam squares. 


I went through my stash to find some type of sentiment to use on the front of the card. I found this die cut to use. 


At the last minute, I decided to use the You Are Important Stamp set to stamp the message inside the card. I think it's perfect!


Thanks so much for visiting today. I hope you found this post inspiring!


Friday, August 20, 2021

JUST WANTED YOU TO KNOW HOW VERY LOVED YOU ARE BAG TAG

Hello everyone!! I’m excited to share two inspiring bag tags with you today. They make great birthday gifts to tie to gift bags or luggage. You really can do just about anything with tags, right!? 


To create these tags, you will need the following:

Trinity Stamp's Creativi-Tea and So Very Loved Stamps

Artesprix Sublimation Markers

Artesprix Plastic Bag Tags

Artesprix Sublimation Ink Pad

Artesprix Protective Paper

Heat Tape

Heat Press

Protective Mat


Step by Step Instructions:

Step 1. To begin, I used the Plastic Bag Tag as a template to trace on white cardstock using a pencil.


Step 2. Next, I stamped Trinity Stamp's images onto the plain piece of paper using the Sublimation Ink Pad.


Step 3. I flipped the plastic film with the stamped images backwards and held the film up against the window under the paper to create the mirrored text using a Black Sublimation Marker.


Step 4. I colored the images using the Sublimation Markers. 


Step 5. Tape the blank image facing up using the heat tape. 


Step 6. Next, Create your sublimation sandwich. One protective Paper sheet at the bottom and one sheet at the top of the project.


Step 7. Set your heat press to 400 degrees Fahrenheit and timer for 30 seconds. Make sure you place your project in your heat source image facing up. 


Step 8. After your timer has completed, make sure to let your project cool down before touching it.


Step 9. Take a sneak peek of your projects before tearing the heat tape to ensure the colors are vibrant.


Step 10. Remove heat tape and paper from Plastic Bag Tags to reveal your vivid designs!


Step 11. Don’t forget to add the plastic hoops at the top of the tags.


Don't forget to check out the variety of blanks in the shop. There are many different things you can create by hand using the Sublimation Markers, Ink, and Stamps along with our blanks! Click here to shop for Artesprix's products using my affiliate link!

Thank you for visiting today!


Thursday, August 19, 2021

THIS IS MY HAPPY PLACE/FANCY PANTS DESIGNS

Hello all! I'm back with another layout I created using Fancy Pants Design's Lake Life Collection. Sometimes, I just want to use the die cuts on my layouts, but I feel the need to have some type of fun background... I don't always like to use a plain white background...


I really wanted to create an elegant background for the photos... something soft and serene so I grabbed the TCW865 Asian Floral stencil from The Crafter's Workshop and some alcohol inks and blended my own fun background onto white cardstock.


I taped down the stencil on my glass mat to prevent the stencil from moving and gently blended the colors through the stencil. 


Isn't this stencil beautiful? I just love the floral prints and how pretty the alcohol inks look against the white cardstock.


I used a light pink marker to color the heart. You can hardly notice the difference...but it's a little more pink than brown.


I mounted the die cuts down using foam squares to add dimension. The journaling card is from my stash of Elle's Studio cards.


I colored in the water wave wood piece with an aqua marker then added the "Heart of Gold" wood veneer since I felt it was missing something... I think it worked out perfectly!


Do you like to play with stencils? What are your favorite stencils to use on your projects? I'd love to know in the comments. Thank you so much for visiting today!