Happy hump day! I finally used the "I left my heart" kit and add-on kit from Clique International. I bought this kit about three months ago and loved it. And then I got it and looked at it and wasn't sure what I'd do with it since I'm not a big fan of Valentines Day...but hey...who said I had to use it for a Valentines Day layout.
I really didn't have a plan when I started this layout. All I know is that I wanted to use that paper because I thought it would make a great background!
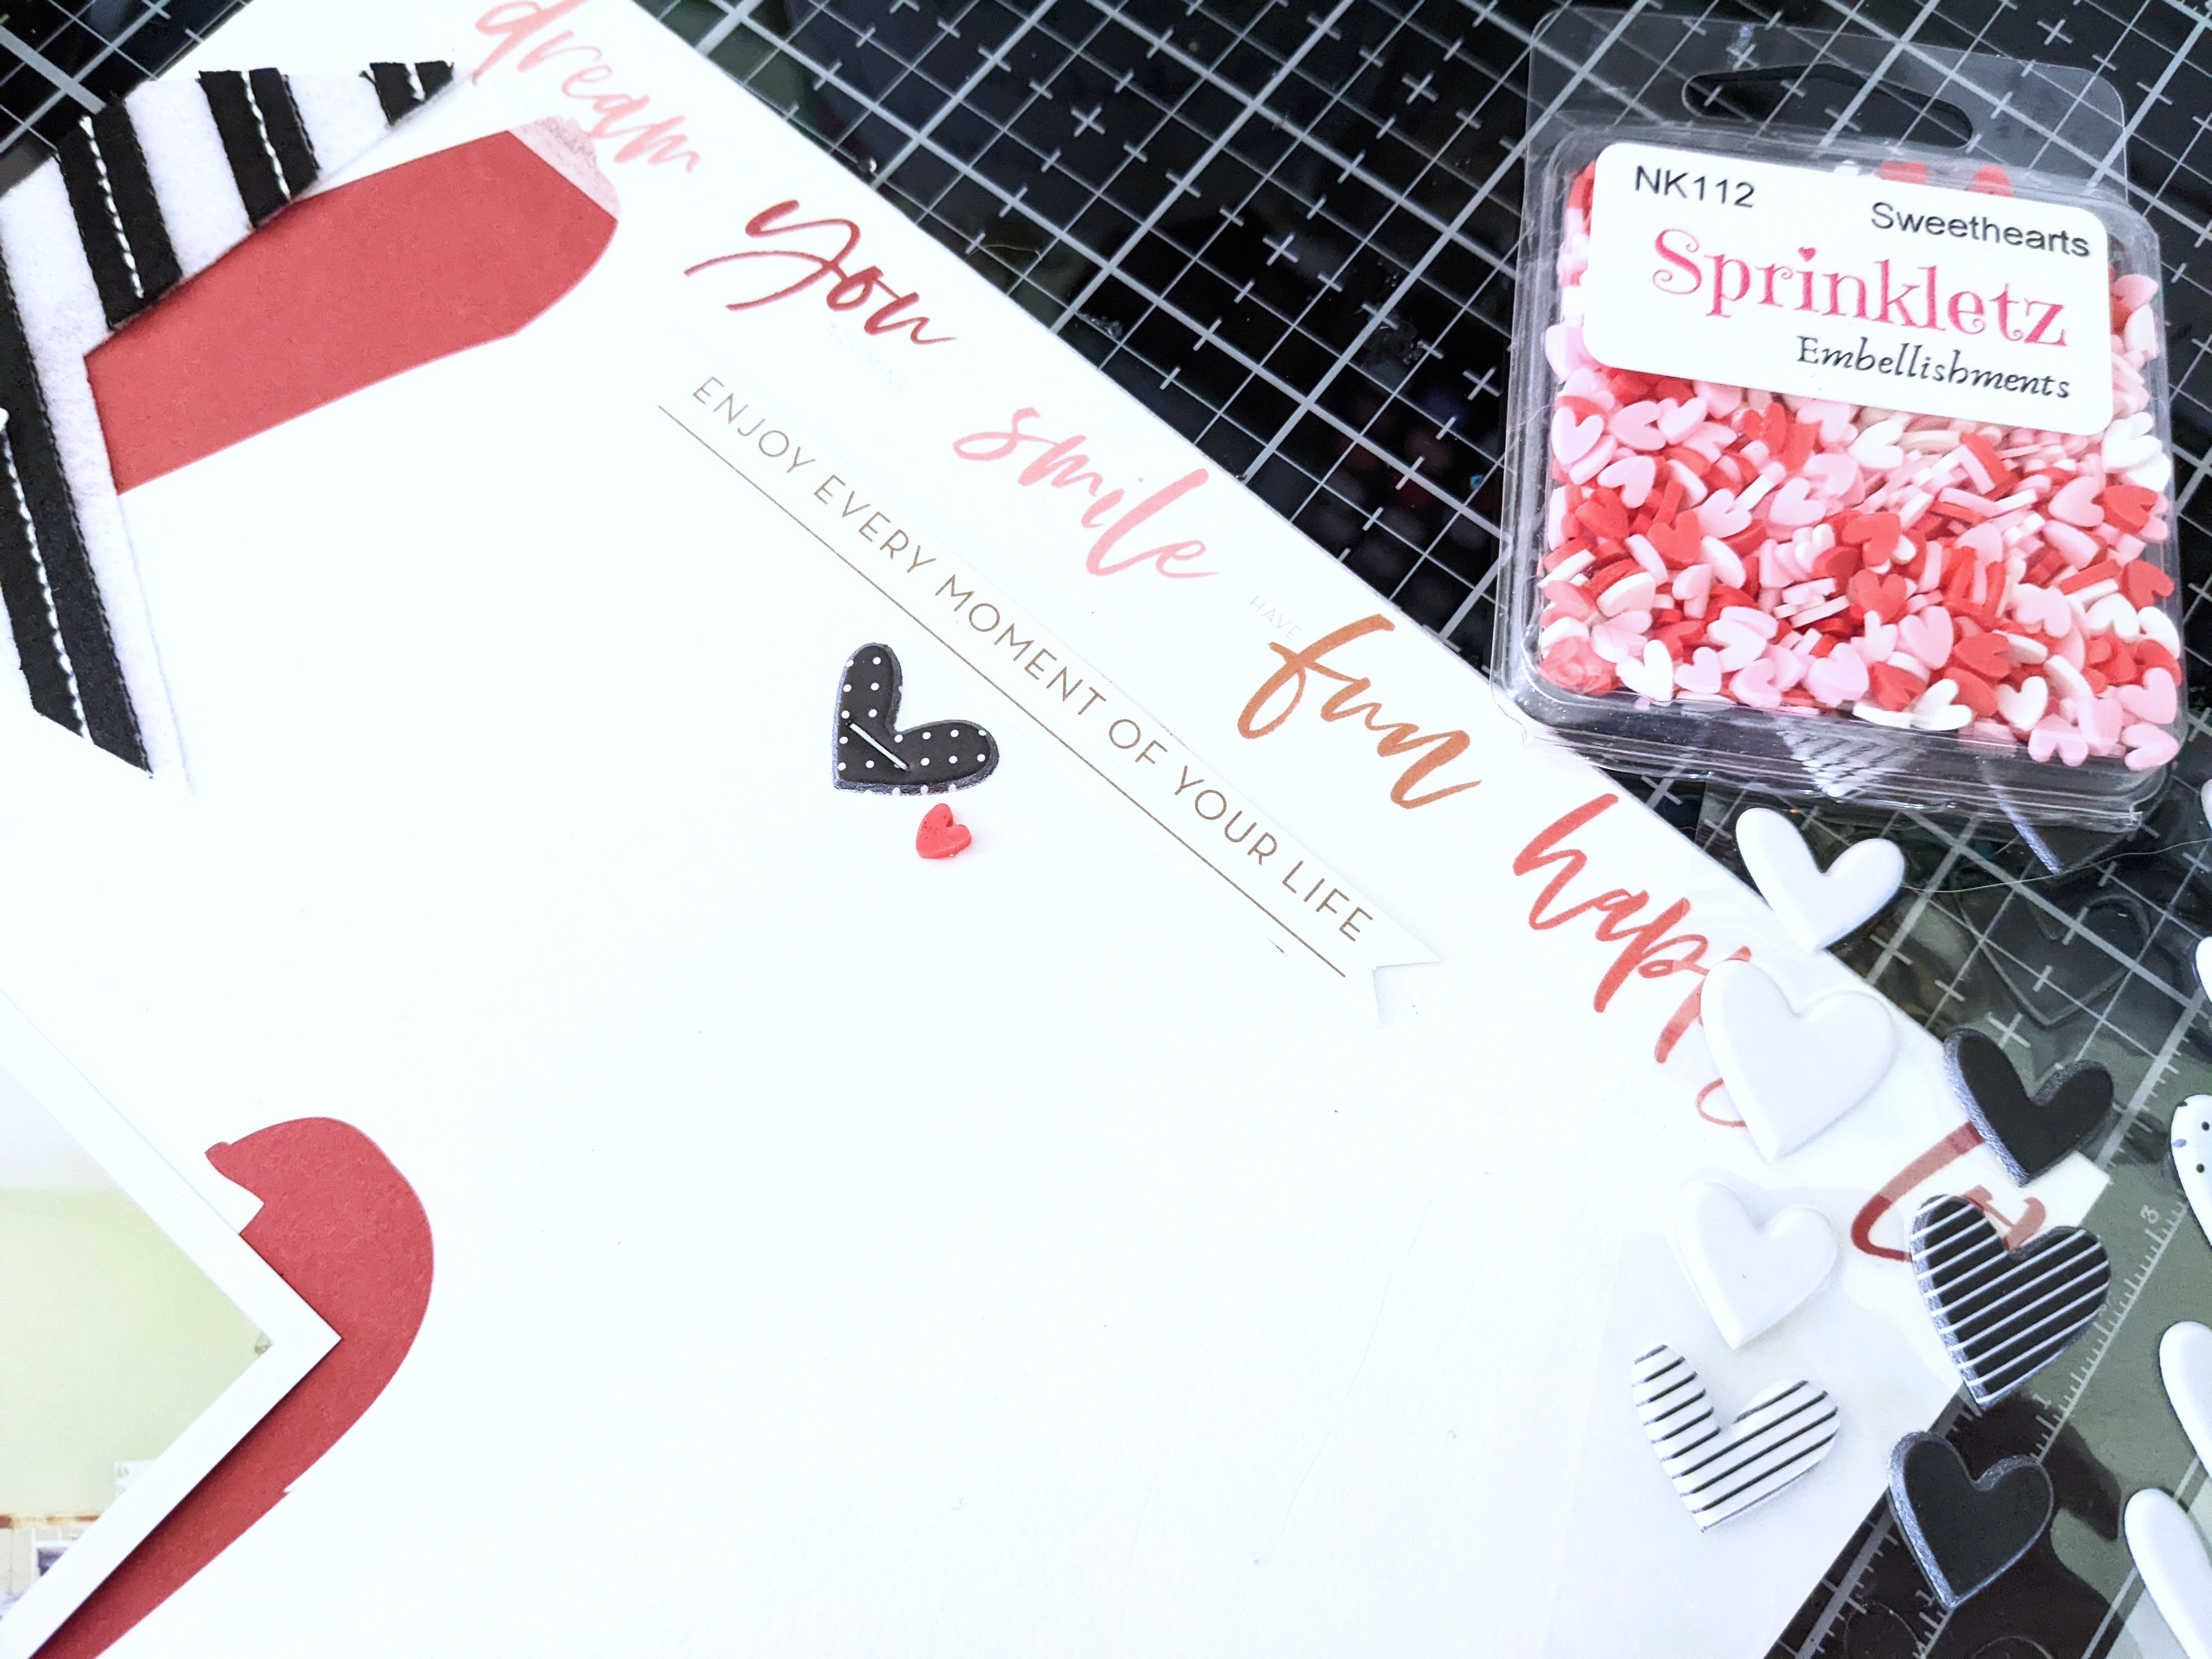
I cut the 12x12 paper to measure 8 1/2x11. Then, I cut the fabric star in half to make it stretch... I only had one in my stash and I really wanted two...
I added some washi tape across the top and bottom of the layout to make it stand out more.
I cut the "enjoy every moment of your life" sentiment from a piece of patterned paper and made a banner out of it to use at the top. Next, I added the heart and tiny heart. :)
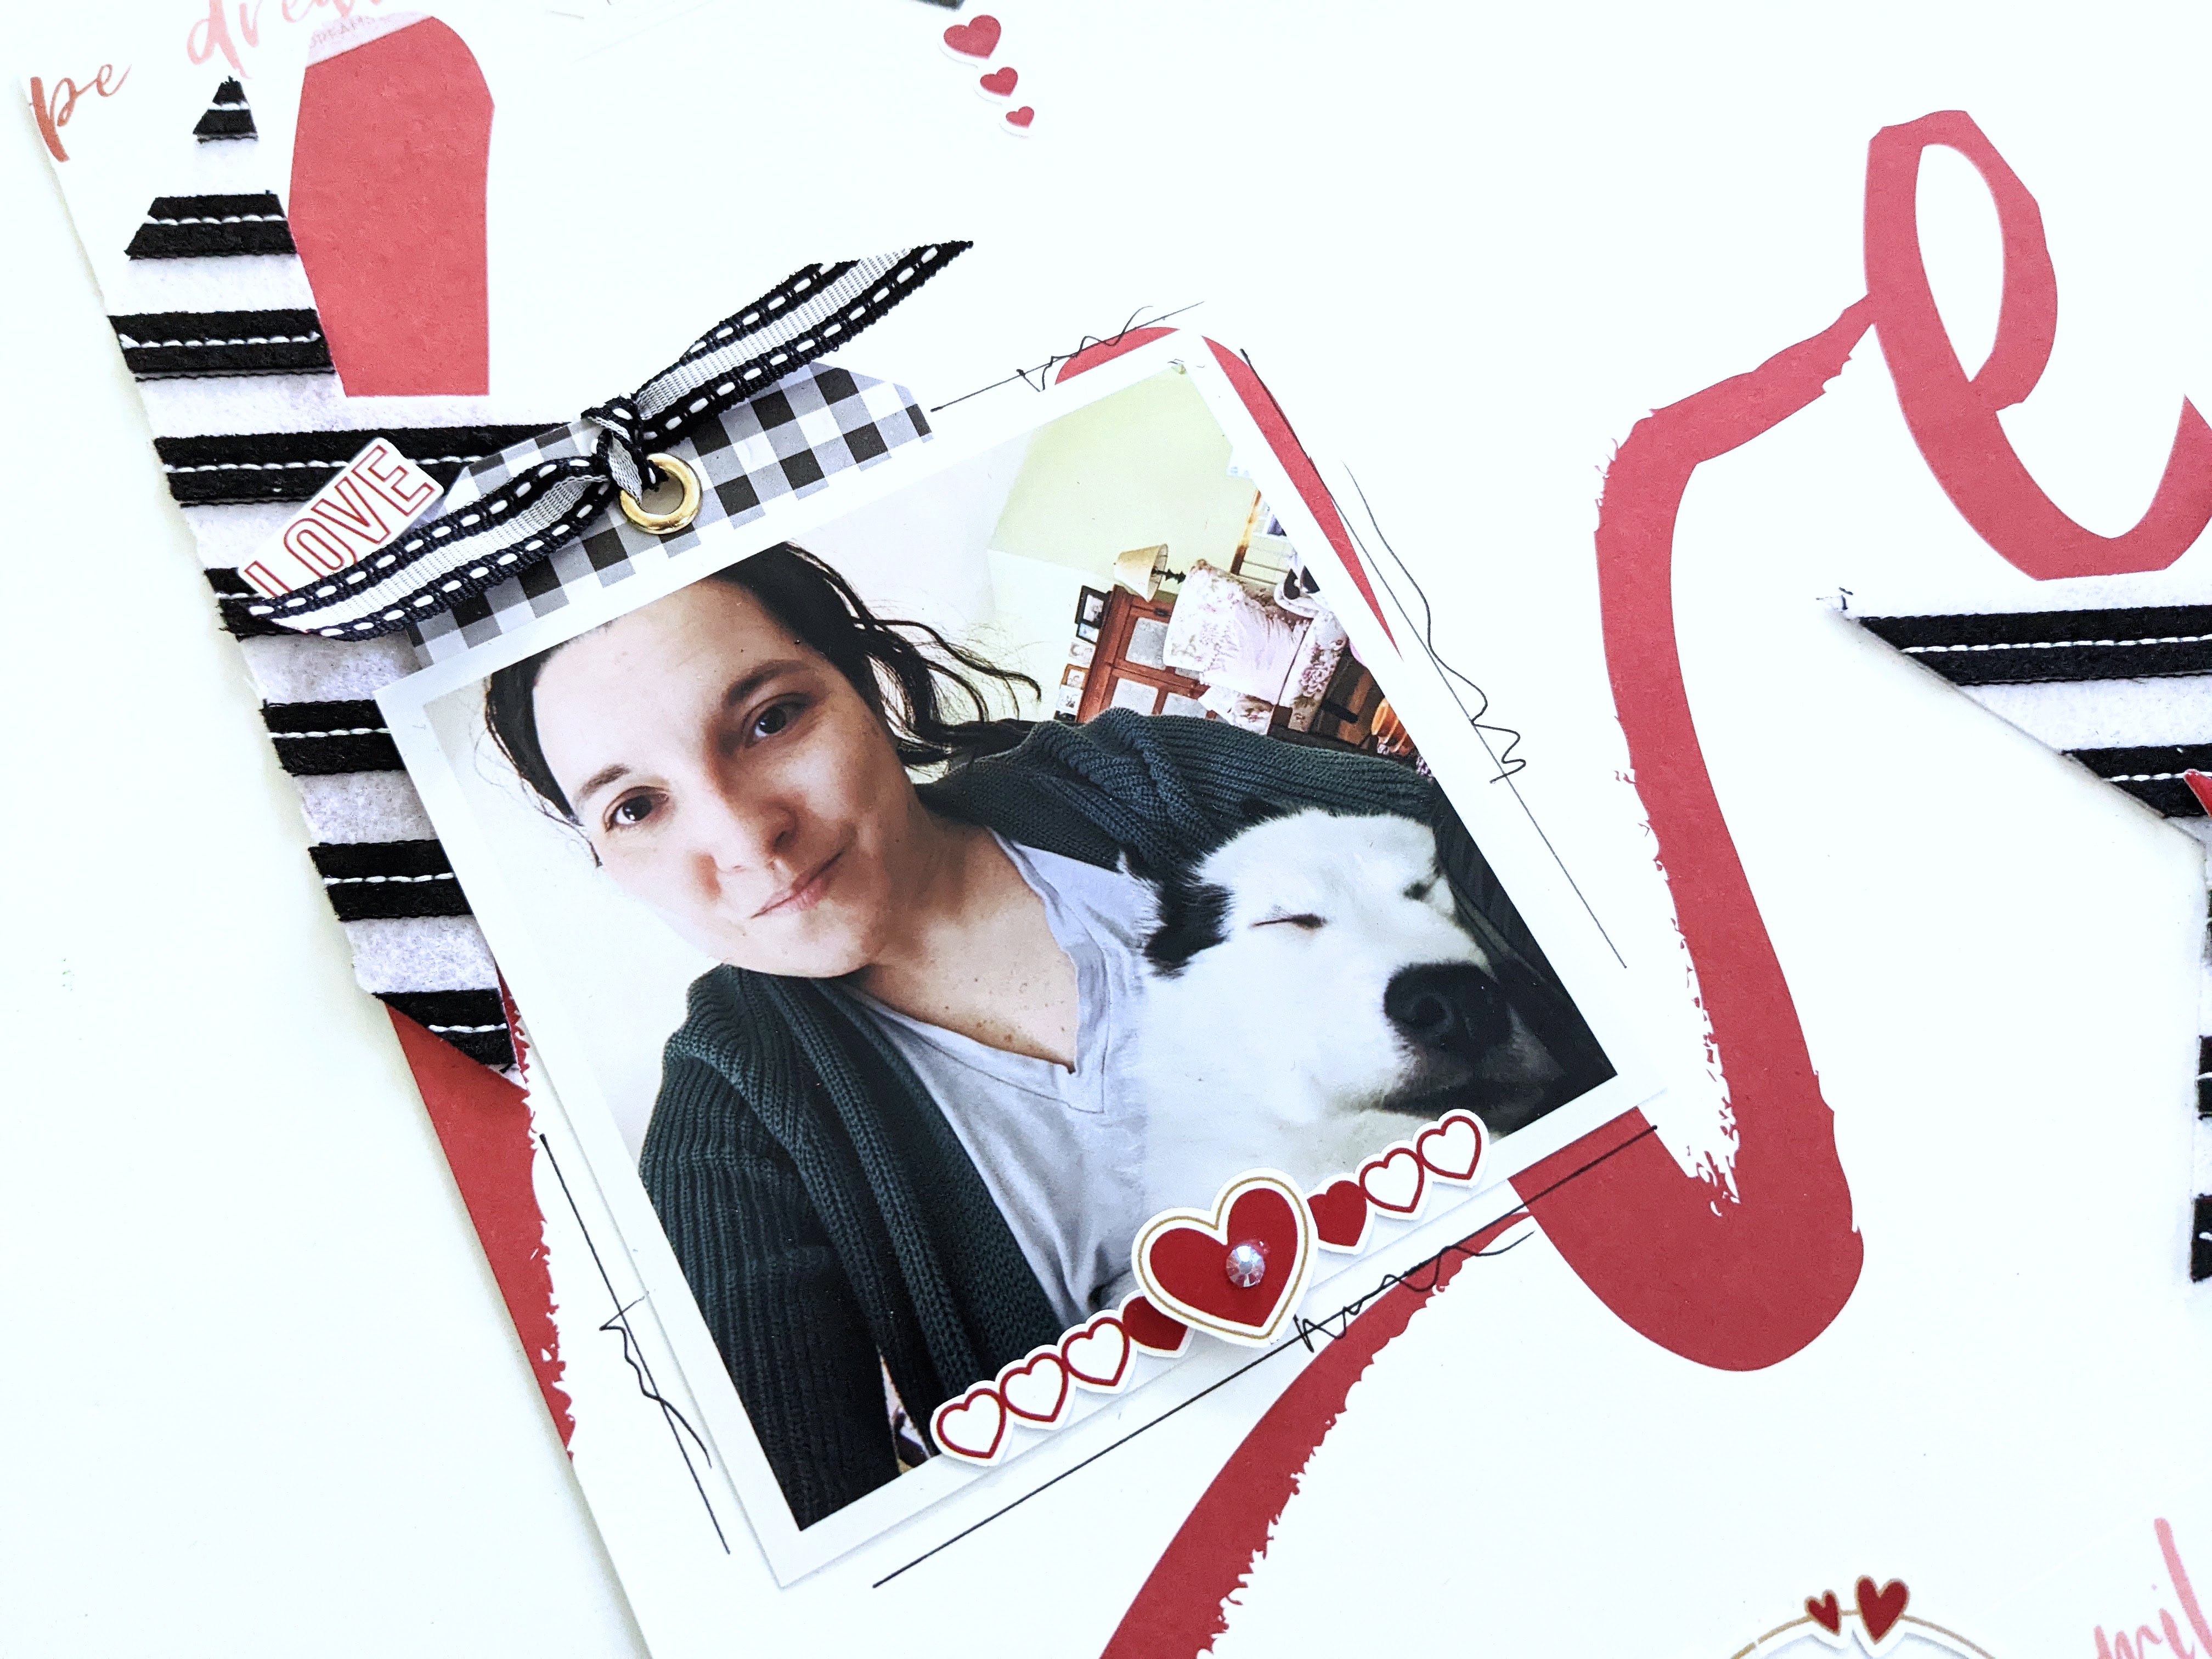
I was back and forth as to whether or not I wanted to add the tiny red hearts below the black heart... but then I just went ahead and glued it down and I have to say, I love it.
I stapled the "M" to the felt star because I was worried that the glue would not work on the fabric.
I added the border of hearts to the bottom of the photo and then used a ruler and black pen to create the scribbled border.
I'm so pleased with how this turned out. Isn't this the cutest layout? That precious little, furry face. This kit and the add-ons are still available. Click here to see the kits! Thank you for stopping by today! Hope you're having a fantastic week!
Hello friends! Happy Saturday. I manage to find some time to play with the Sunkissed Sampler Kit and the Modern Documenter Sunkissed kit to create this fun layout! And I am going to share with you how I created the background, step-by-step! Super easy and fun to do!
Disclaimer: "Clique International provided me with product to create this layout. The opinions I share are solely my own."
To begin, I taped down the ends of the Gathered Flowers stencil from The Crafter's Workshop to the glass mat to prevent the stencil from slipping when I blend the inks through the stencil.
Next, I used a blending brush and the Cummerbund Ink, Lime Rickey, Tiara and Tiki Torch from Catherine Pooler to create the florals. I really like using Catherine Pooler's inks because the colors are so vibrant!! Make sure you use a different brush in between colors so that the colors do not mix.
Now, carefully remove the stencil and washi from the paper. I cut the floral paper to measure 7 1/2"x10" and then I cut the heart patterned paper to measure 8 1/2"x11". I decided I wanted to have a little bit of patterned paper framing the layout.
And then I added all of the pretty embellishments. Some of the embellishments were mounted down using foam squares.
One of my favorite things to do is add layers of die cuts and stickers onto my layouts. It's my favorite part of the process-playing with embellishments!
More layers at the top. I used a black pen to create a thin border around the layout and added a few lines around the photos with some hand scribbles to make it look like stitching.
I really enjoyed making this layout. The colors and embellishments are so happy... I just love the whole vibe of this layout! What do you think? Thank you for stopping by today. We still have a few Sunkissed Sampler kits in the shop if you wanna snag one!
Good morning! I'm hoping to get out of town this spring to visit my sister in Colorado! I miss her so much. I was supposed to be in her wedding in September, but it was cancelled due to Covid. :( But, the good news is...there's not much holding me back this spring since I already purchased the tickets for 3, round trip... In the meantime, I decided to scrapbook this beautiful photo of her. She is a beautiful woman who isn't afraid to travel...and take risks. I love this girl so much.
To create this layout, I used papers and embellishments from Fancy Pant's Just Plane Fun Kit. We have some available in the shop! Click here to grab yours today!
I decided at the last minute to use stamps to use as my journaling, rather than using my handwriting. Love this stamp set from Studio Forty!
I used another stamp set to create the black border at the edge of the photo. Love this stamps set. Check it out here!
Good morning everyone!! Welcome to our Clique Kits and Bad Girls Couture Holiday Blog Hop! You will definitely be inspired with the vast array of holiday projects that we have created... there is something for everyone. Grab your favorite cuppa , join the Clique, and get ready to be a BAD GIRL maker as we take you on an AMAZING creative journey!
To begin, I mixed a small amount of the Oops! My Bad paint with molding paste. Then I covered the stencil using the medium. I used a tiny paint brush to splash the Kiss & Don't Tell acrylic paint over the stencil to add a little more color. Most of the green paint got covered by the photo and embellishment, but you can see a little bit of the paint.
Once the molding paste and paint was completely dry, I added layers using the die cuts and puffy stickers from Pinkfresh Studio's Home for the Holidays collection to embellish this chipboard page. I really love the stitched border on this chipboard page. It's so beautiful and it adds just the right touch to this spread!
I used a few foam squares and glue dots to pop some of the embellishments up from the page to add dimension.
Here is a quick video on how this little gem came to together!
I have a layout I created using the Simply Joyful kit that is available in the Clique Kits Shop. This kit features gorgeous product from Studio Forty! I love this kit. Can't wait to use it again for another project!
Lately, I'm loving the travel notebook size for my projects! It takes me a little longer scrapping this way because I'm not used to working with such a small space, but I love it so much. It's nice to mix things up a bit.
I really like the chipboard pieces from this Joyful kit! They are really nice quality too.
I used a stencil from Little Birdie to create a fun mixed media background using some Molding Paste and the Oops! My Bad acrylic paint from Bad Girls Couture! I like this color because it isn't too red... I'm not a big fan of red, but I like this color.
The enamel buttons are beautiful! I had to refrain myself... I wanted to stick them all over the place. :)
More chipboard... Aren't they pretty?
Here's a video to see how this came together!
TO BE ELIGIBLE FOR PRIZES!!!
We have lots of store Gift Certificates to the Clique & Bad Girls Couture Shops…this way you can shop to your hearts content and treat yourself for Christmas! Make sure you enter by following @cliquekits & @badgirlscouture2007 and tagging a friend on Instagram!
Happy Friday everyone! I am so excited to be hosting this week's journaling challenge. If you're looking for a fun challenge, stop by the Clique Group this weekend. Clique Kits and Bad Girls Couture will be collaborating all month long to challenge you to tell your stories! This week, I challenge you to create a journal page/layout about someone you love. Be sure your spread includes journaling. Why is this person so special to you? Don't look too closely at my journaling...I just realized I have a typo and it's too late to fix it...but, oh, well.
This stitched cardstock page was originally pink. I painted the page using the Dive Bar Acrylic paint and then I splashed the Mannequin Paint and Bye Felicia all over the page using the end of a paint brush.
Once the paint was completely dry, I printed my journaling on patterned paper, then embellished the page using My Mind's Eye Papers and Stickers.
Have fun with this. Once you've completed your spread, post it under my thread in the Clique Group on Facebook! I can't wait to see what you come up with!
Hello! This month, I am guest designing for my friends over at Clique Kits! This month's kit has all kinds of beautiful papers, stickers and die cuts from Vicki Boutin's latest collection. I love how vibrant and colorful this month's kit is...seriously gorgeous!
There are a few embellishments left in the shop available to purchase! Click here to see what's available.
I used a star punch to punch a few stars on some scraps and then I tucked it behind the photo to create a fun frame for the photo.
I really had fun with this layout. Lots of layers were created using stickers and die cuts. My favorite embellishments. :)
My name is Nicole Martel and I have been paper crafting for over 25 years. I absolutely love getting creative and playing with paper and stickers, along with everything else! This is my space where I share my paper crafts!